Orchestration using GKE
Note: While exploring GKE, keep a tab on billing (check every so often)!
Introduction to Google Kubernetes Engine by GCP
Google Kubernetes Engine (GKE) by GCP a managed service for running K8s, with key features such as security, scaling and multi-cluster support taken care of as part of K8s on their infrastructure.
GKE’s operation is very similar to ECS.
Our goal will be to use GKE for deploying our recommendation system (the ML model we have been using).
- We will first save our docker image to a Docker registry on GCP (this is called the Container Registry).
- Next we will use that image while setting up a K8s cluster.
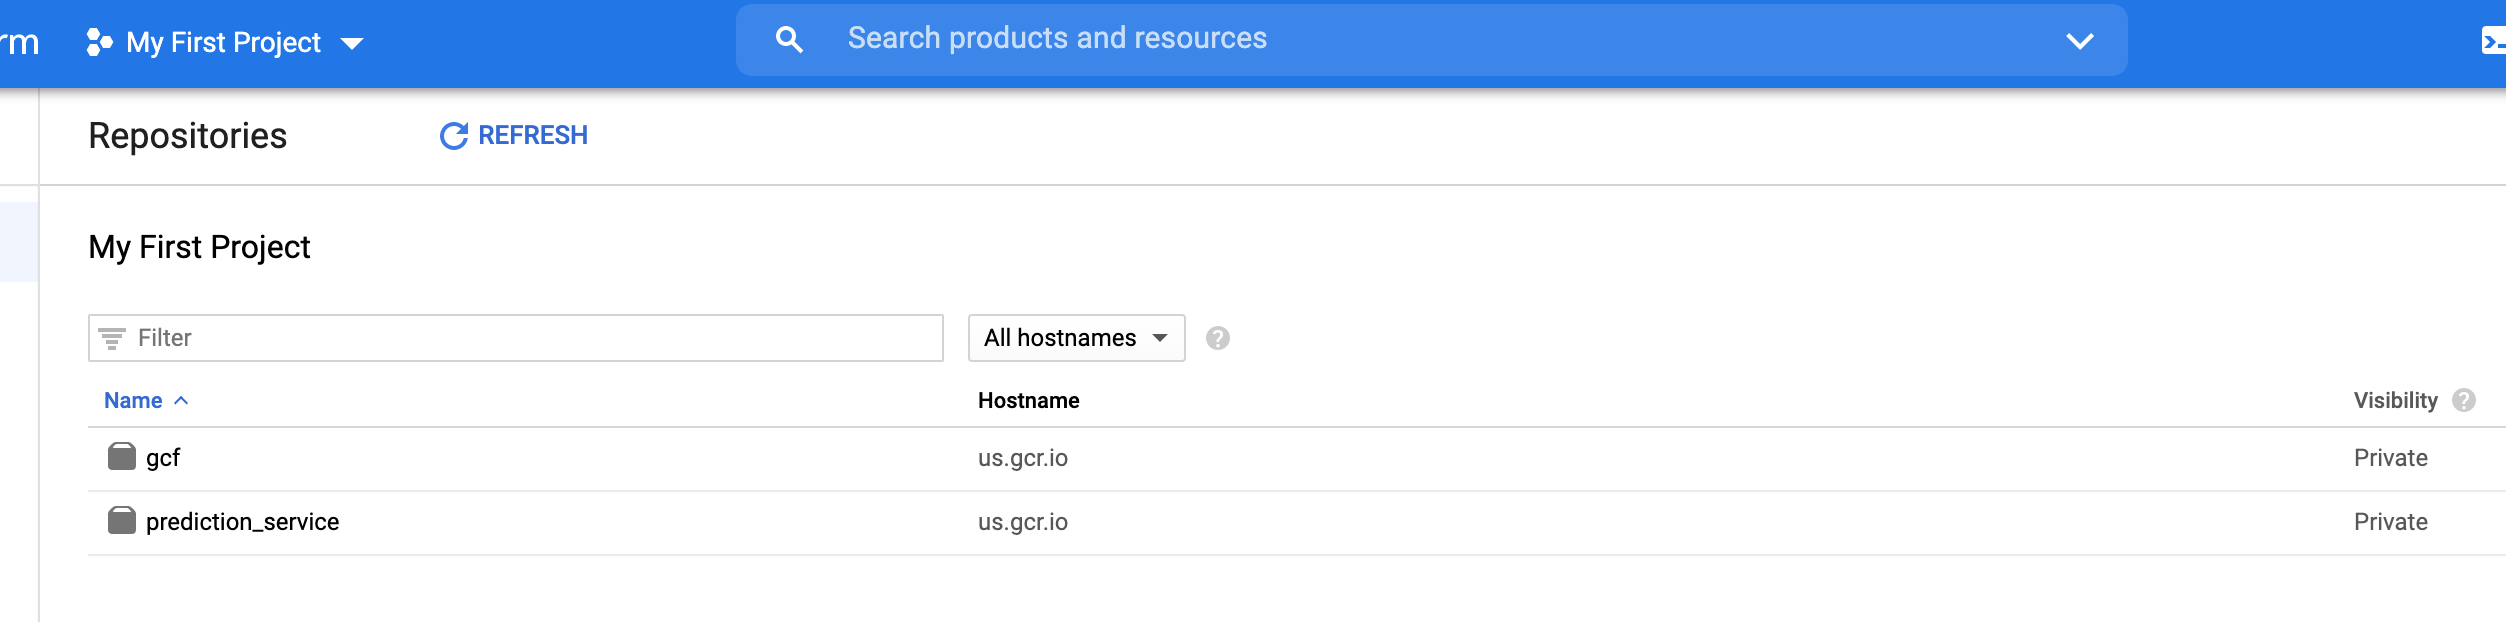
Google Container Registry
We will use the docker login command with the previously created service account with the JSON based credentials we had saved.
(base) ttmac:~ theja$ cat model-user.json | docker login -u _json_key --password-stdin https://us.gcr.io
Login Succeeded
Tag the docker image with the Google container registry specific tag as follows:
(base) ttmac:~ theja$ docker tag prediction_service us.gcr.io/authentic-realm-276822/prediction_service
(base) ttmac:~ theja$ docker images
REPOSITORY                                                     TAG                 IMAGE ID            CREATED             SIZE
prediction_service                                             latest              dd408a931e14        7 days ago          2.06GB
us.gcr.io/authentic-realm-276822/prediction_service            latest              dd408a931e14        7 days ago          2.06GB
weather_service                                                latest              20d340f941c0        9 days ago          496MB
debian                                                         buster-slim         c7346dd7f20e        6 weeks ago         69.2MB
continuumio/miniconda3                                         latest              b4adc22212f1        6 months ago        429MB
hello-world                                                    latest              bf756fb1ae65        8 months ago        13.3kB
Next, we push the local image to GCR. The upload status will keep getting updated.
(base) ttmac:~ theja$ docker push us.gcr.io/authentic-realm-276822/prediction_service
The push refers to repository [us.gcr.io/authentic-realm-276822/prediction_service]
d4bf100b2f89: Pushed
6719394c8842: Pushed
a432b6ec80f7: Pushing [>                                                  ]  20.81MB/1.635GB
fcd8d39597dd: Pushing [========>                                          ]  24.11MB/149.1MB
875120aa853c: Pushing [=====>                                             ]  23.17MB/210.4MB
f2cb0ecef392: Layer already exists
When its done, you will see the following:
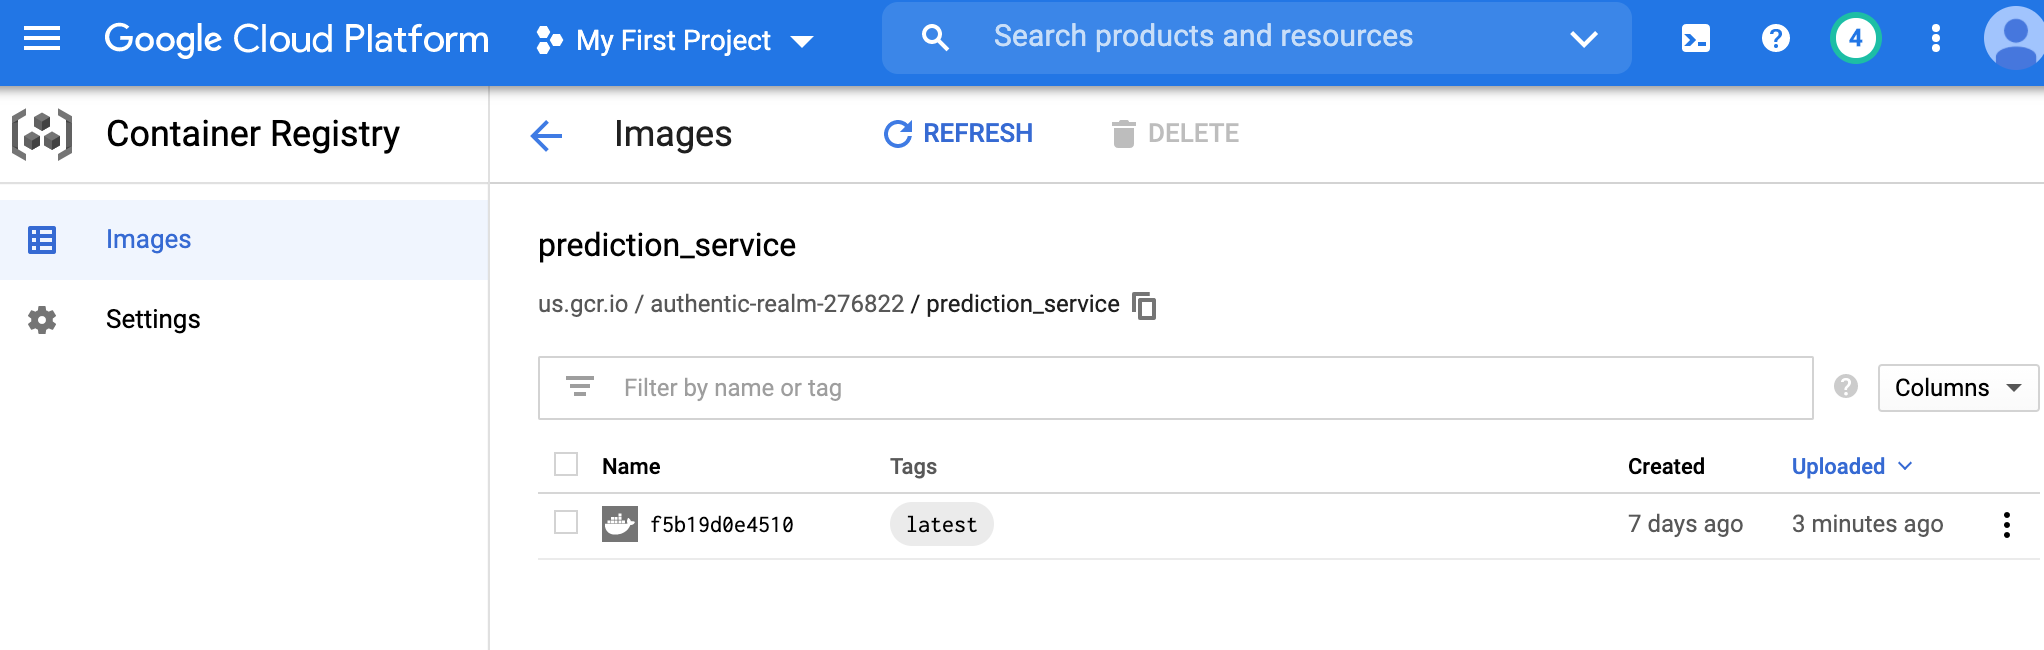
(base) ttmac:~ theja$ docker push us.gcr.io/authentic-realm-276822/prediction_service
The push refers to repository [us.gcr.io/authentic-realm-276822/prediction_service]
d4bf100b2f89: Pushed
6719394c8842: Pushed
a432b6ec80f7: Pushed
fcd8d39597dd: Pushed
875120aa853c: Pushed
f2cb0ecef392: Layer already exists
latest: digest: sha256:f5b19d0e4510194ab8bdbed22f915fec8a07d1a465725ccfa6196782a480172c size: 1582
We can verify that the prediction_service image is present in the GCR page.
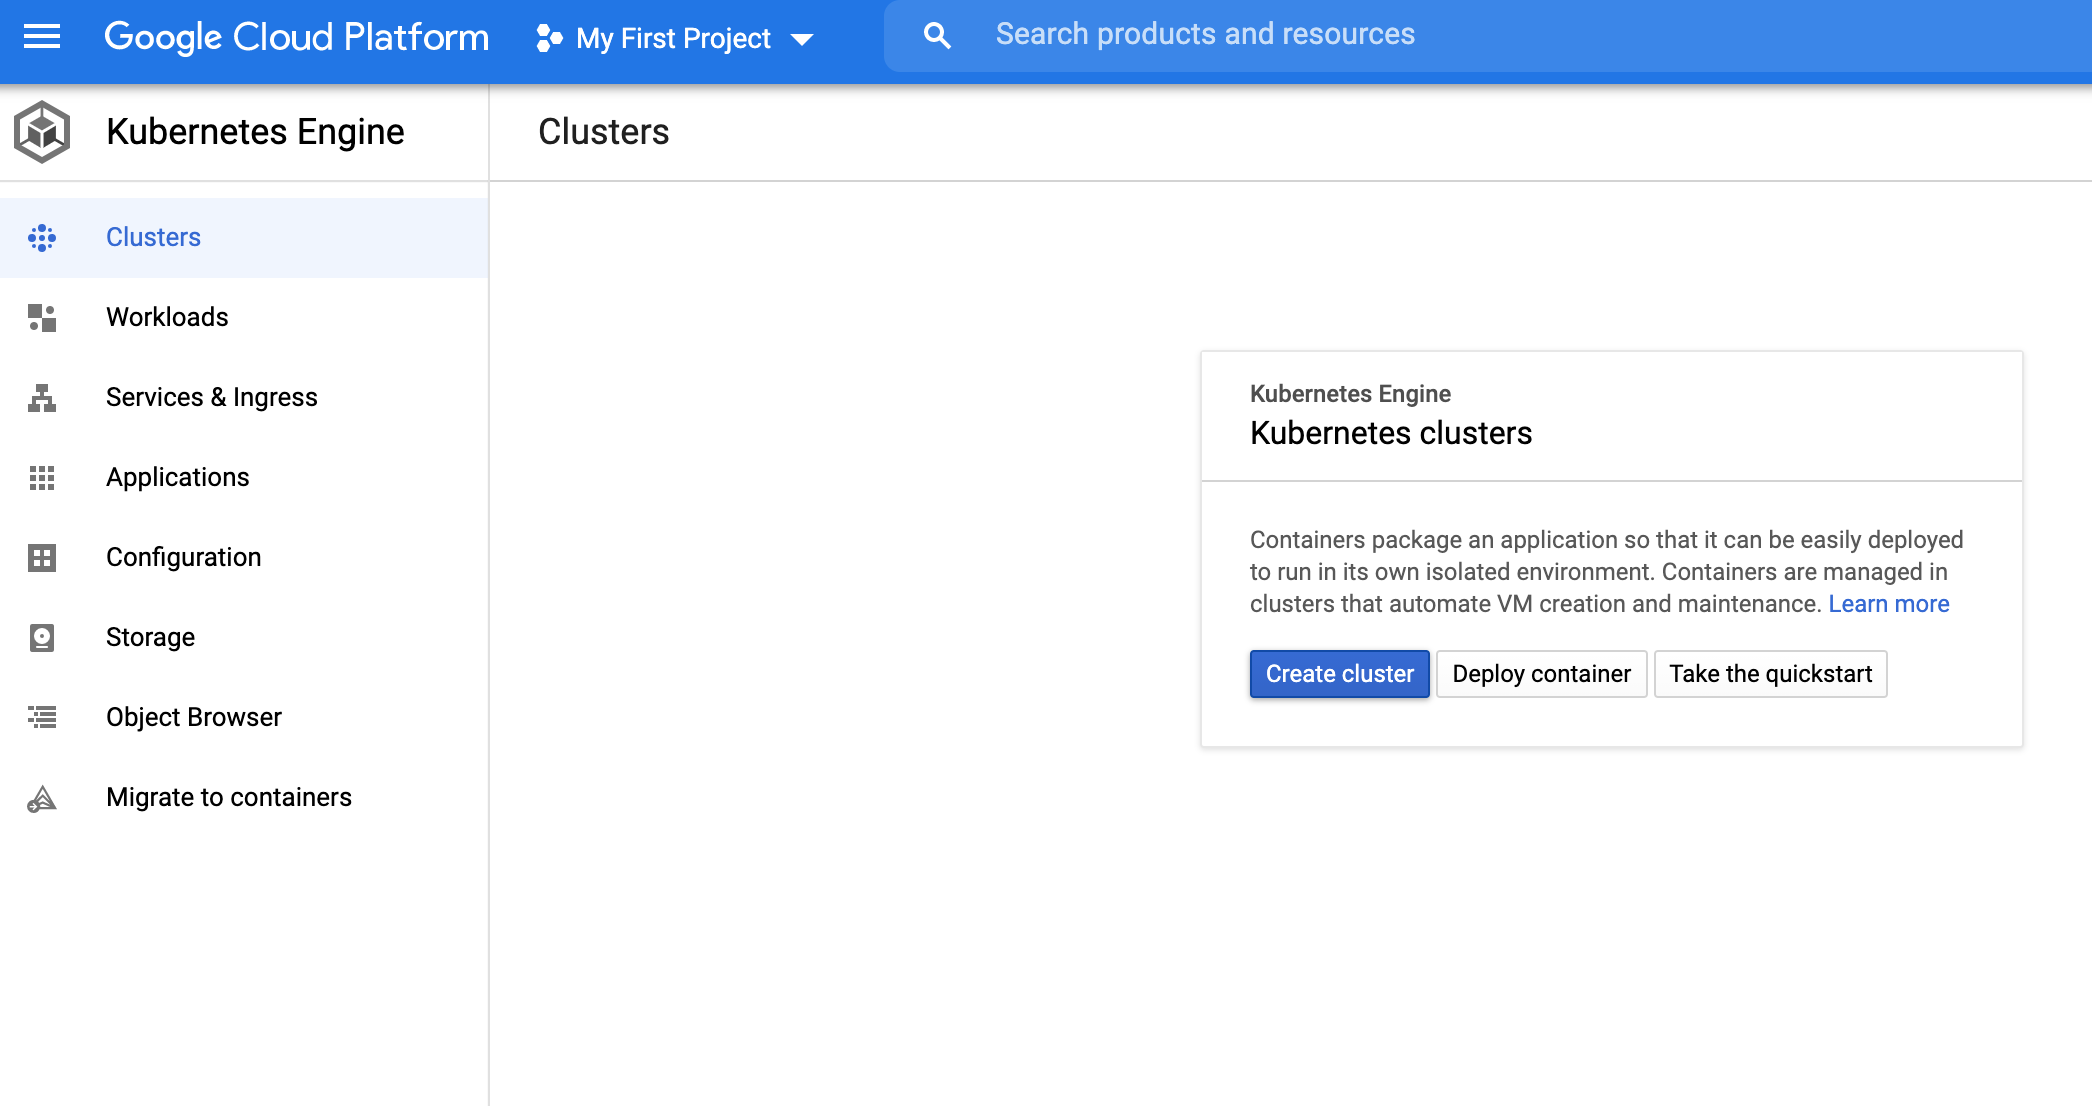
Google Kubernetes Engine
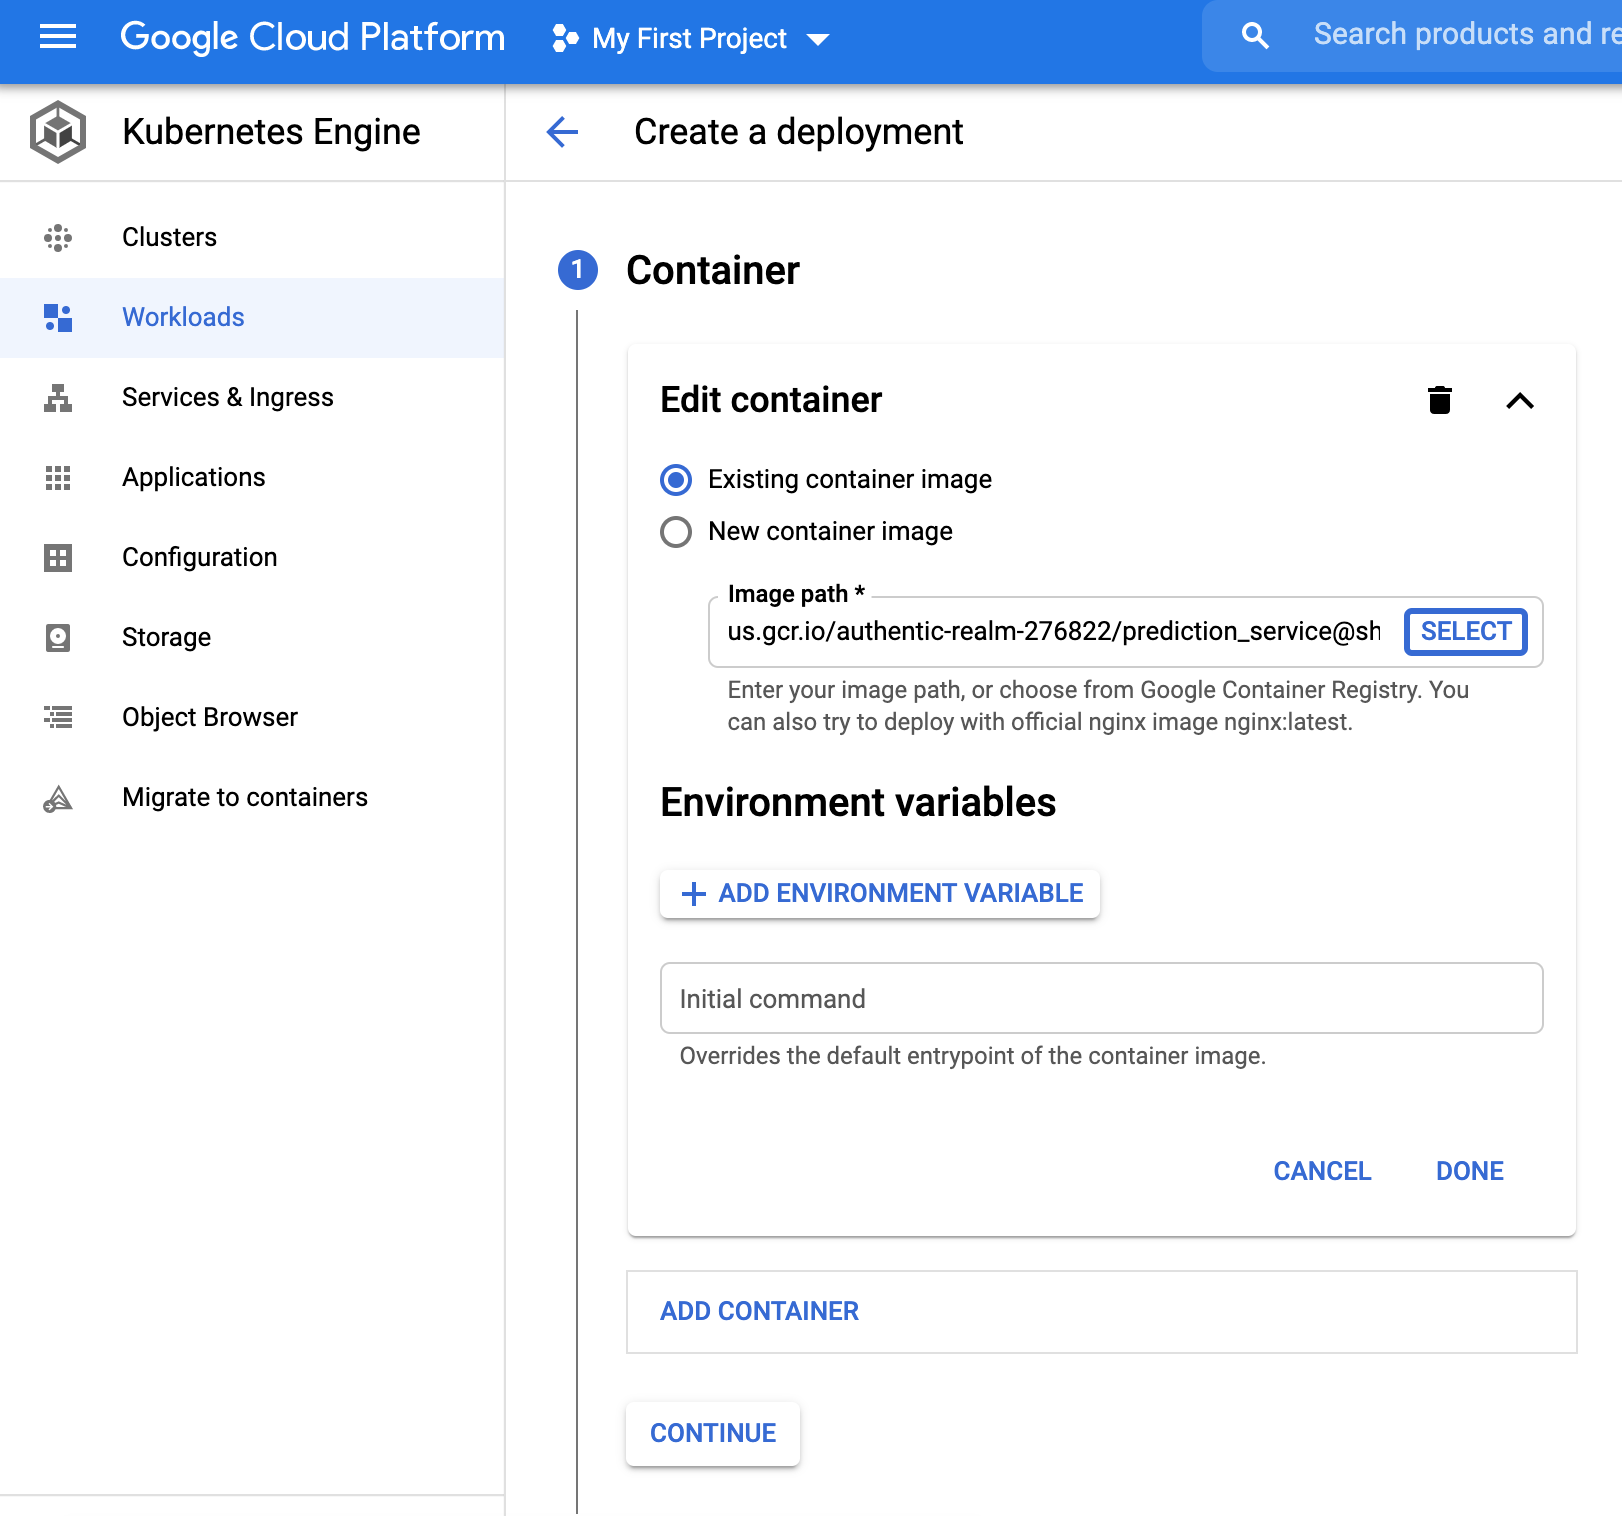
- We will now set up the K8s cluster. Lets start by accessing the GKE page.

- Click on
Deply containernext to theCreate clusterbutton.
- Pick the existing cluster option and choose
select.
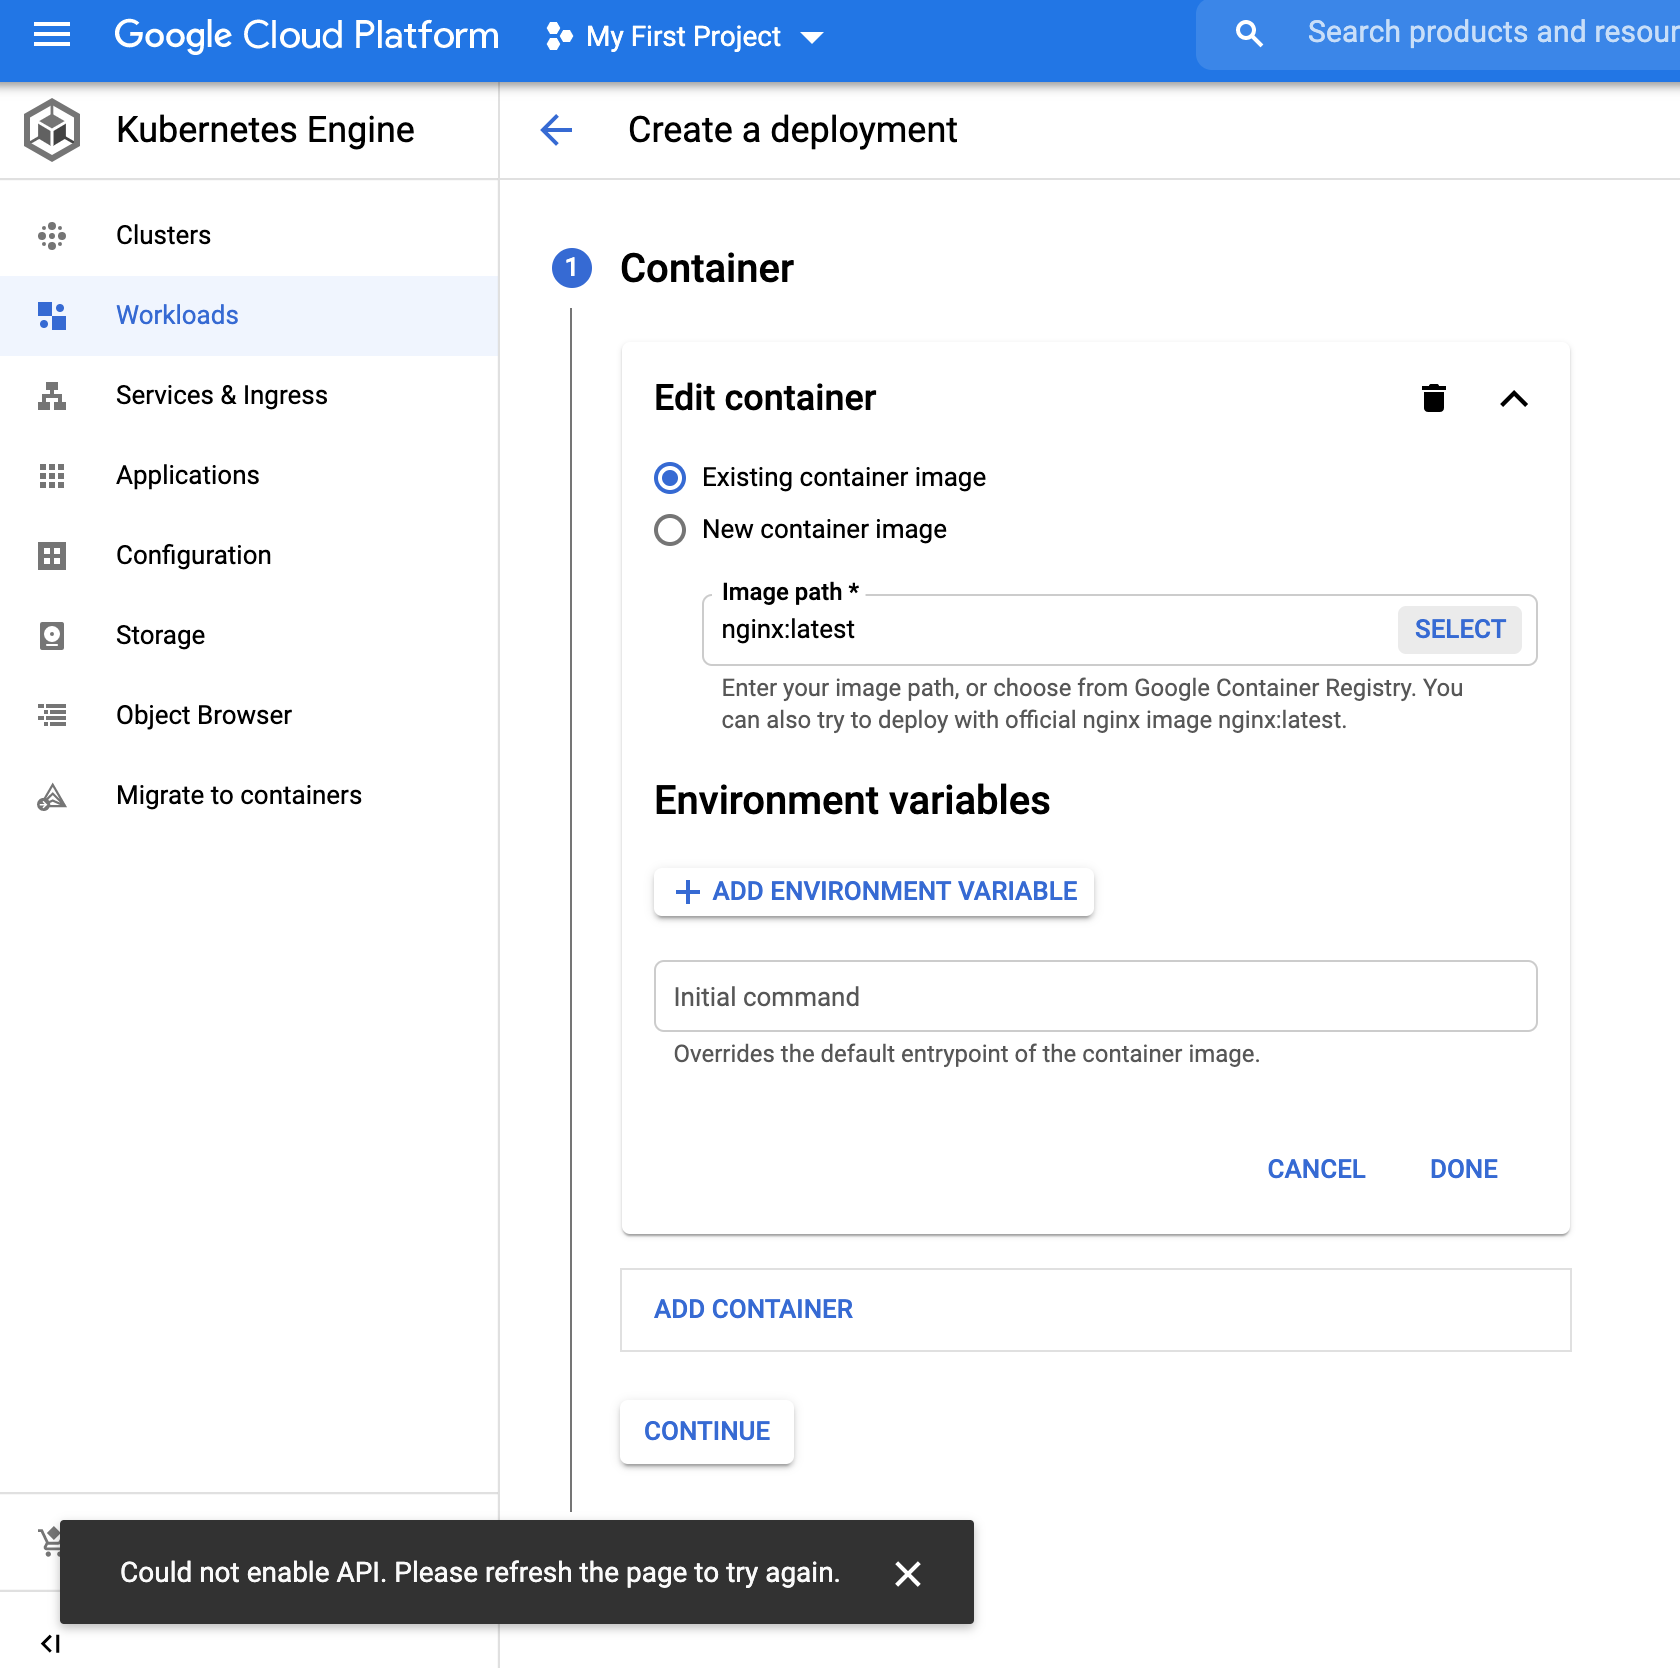
- Choose the recently uploaded prediction_service image.

- Hit continue.
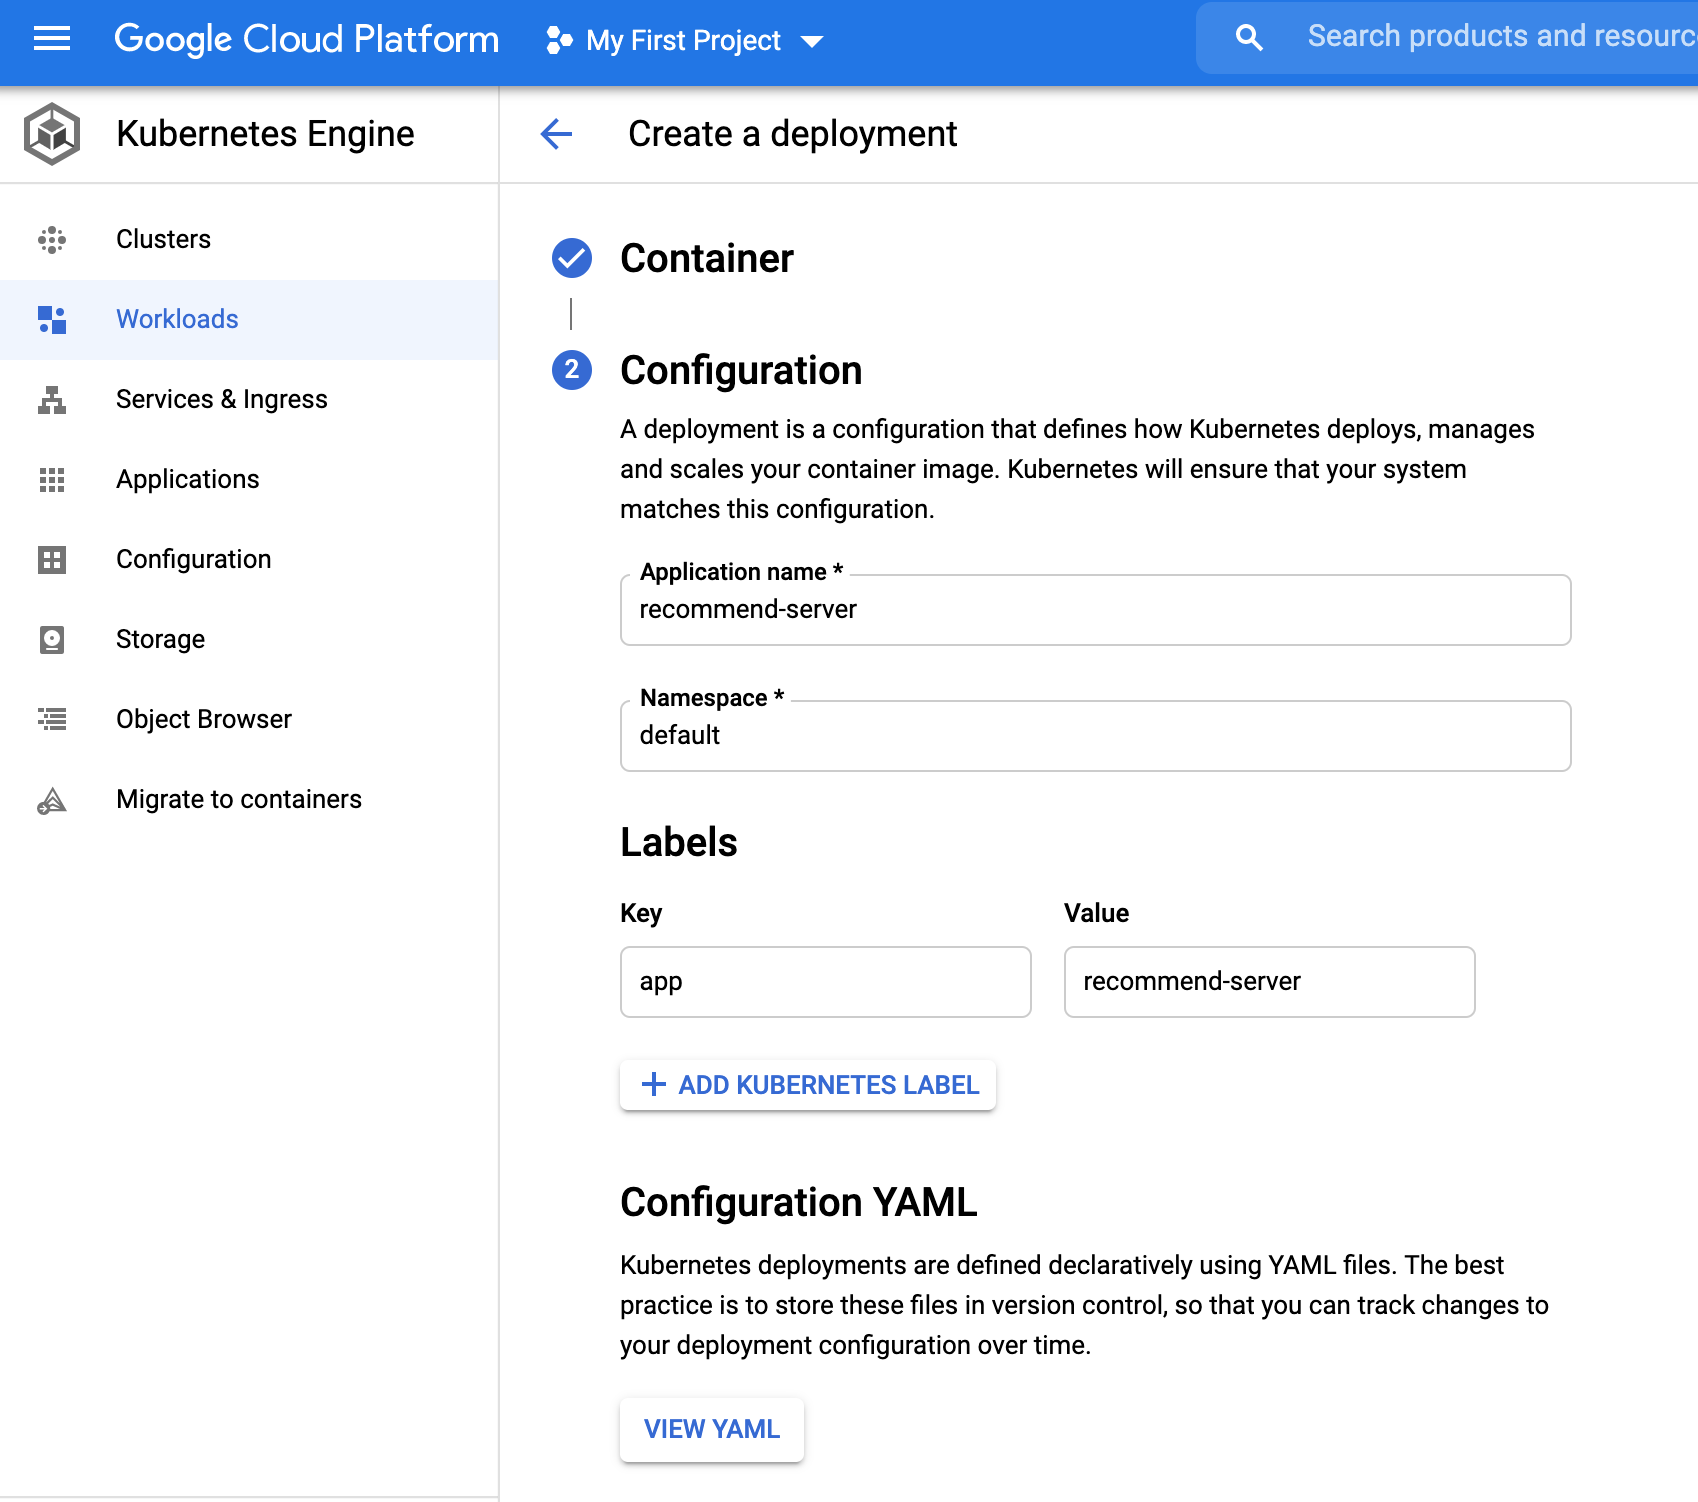
- On the next page, we will leave everything to default except for the name and then hit
Deploybutton.
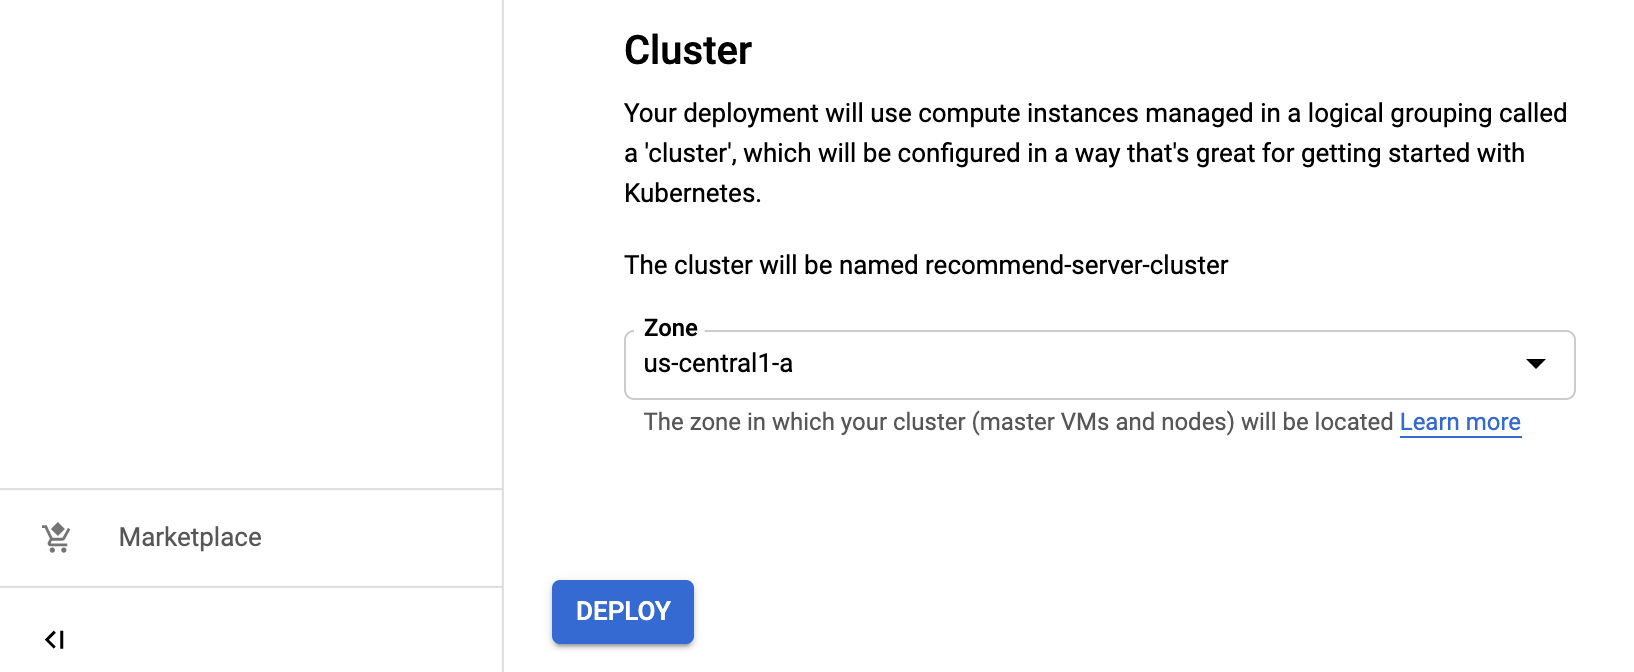
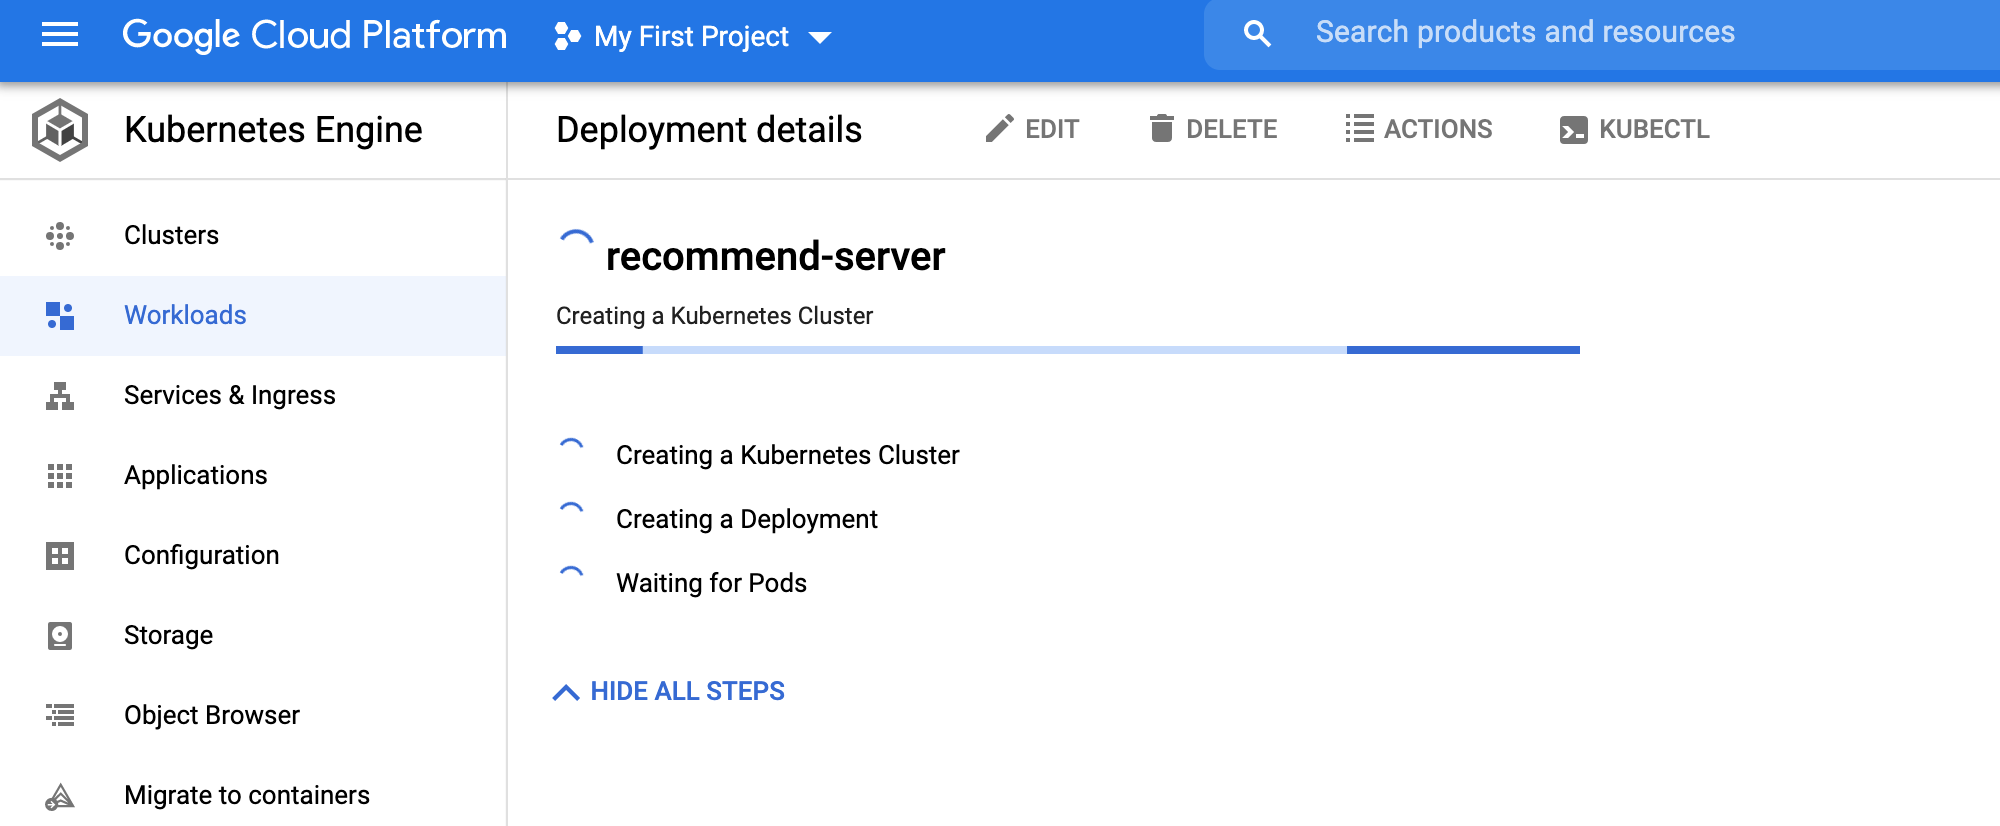
- It may take some time for the cluster to get fully set up.
Recall the system level diagram.

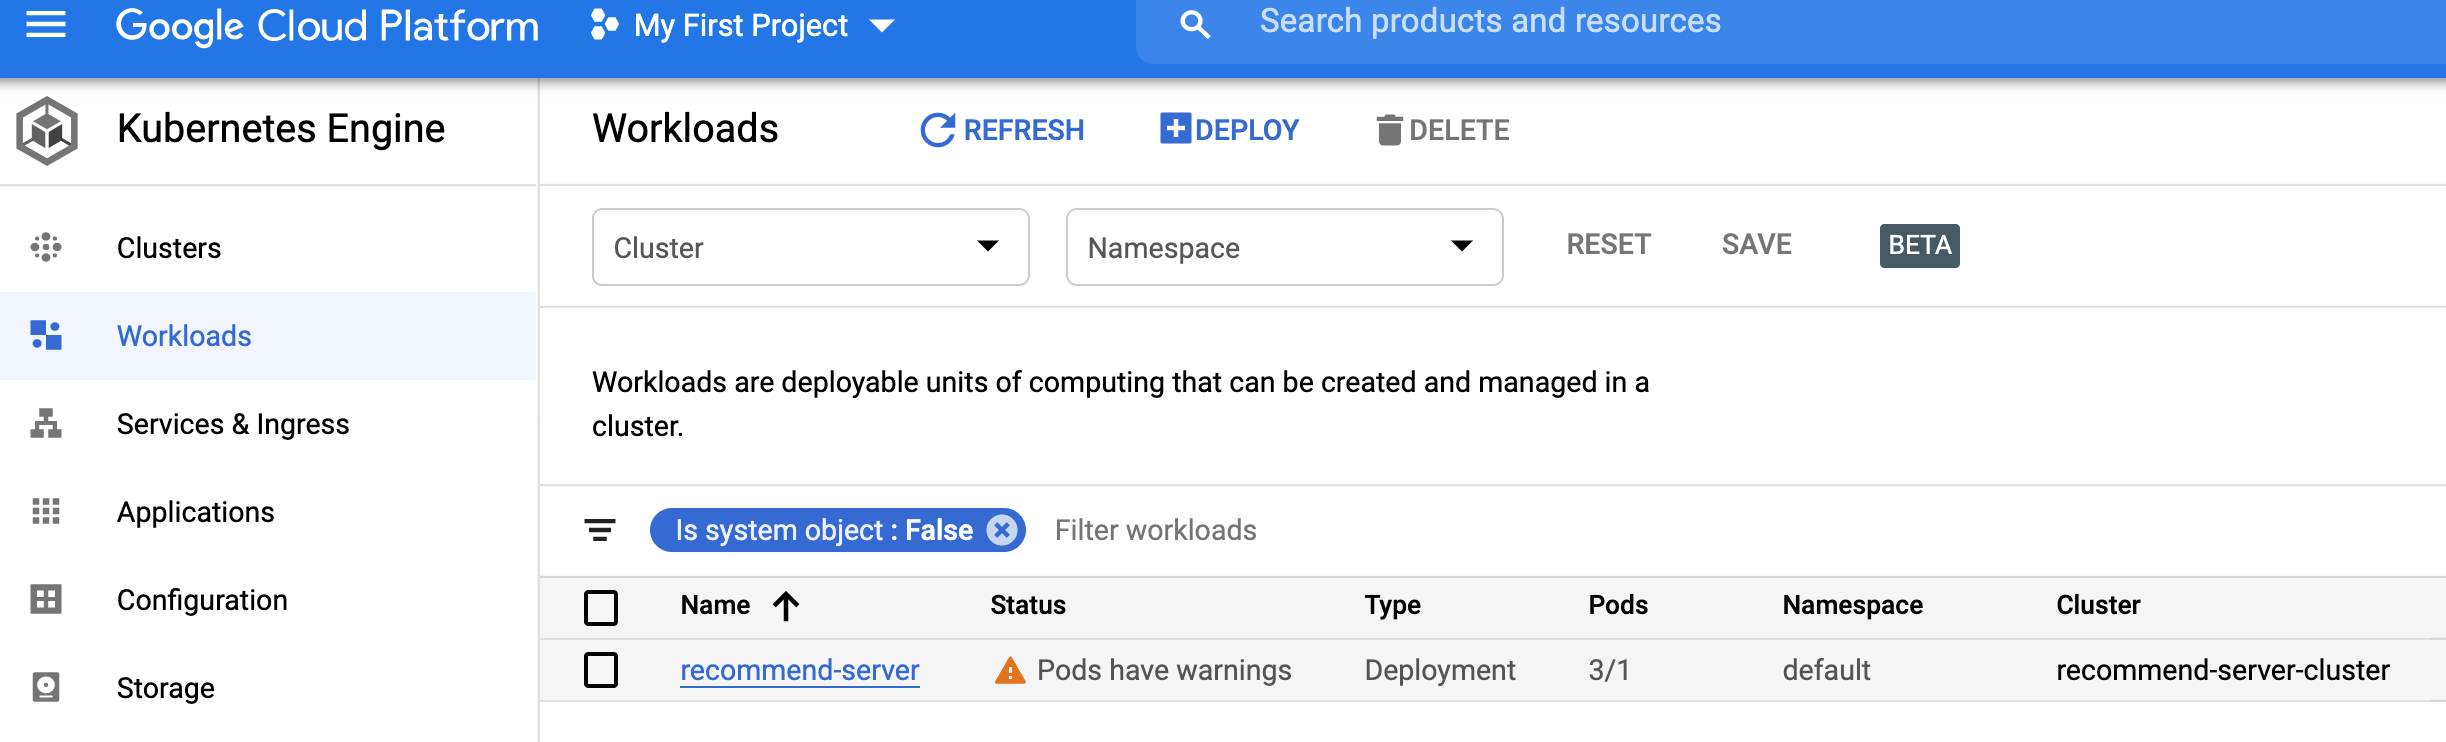
Once the cluster is set up, we can investigate its properties.
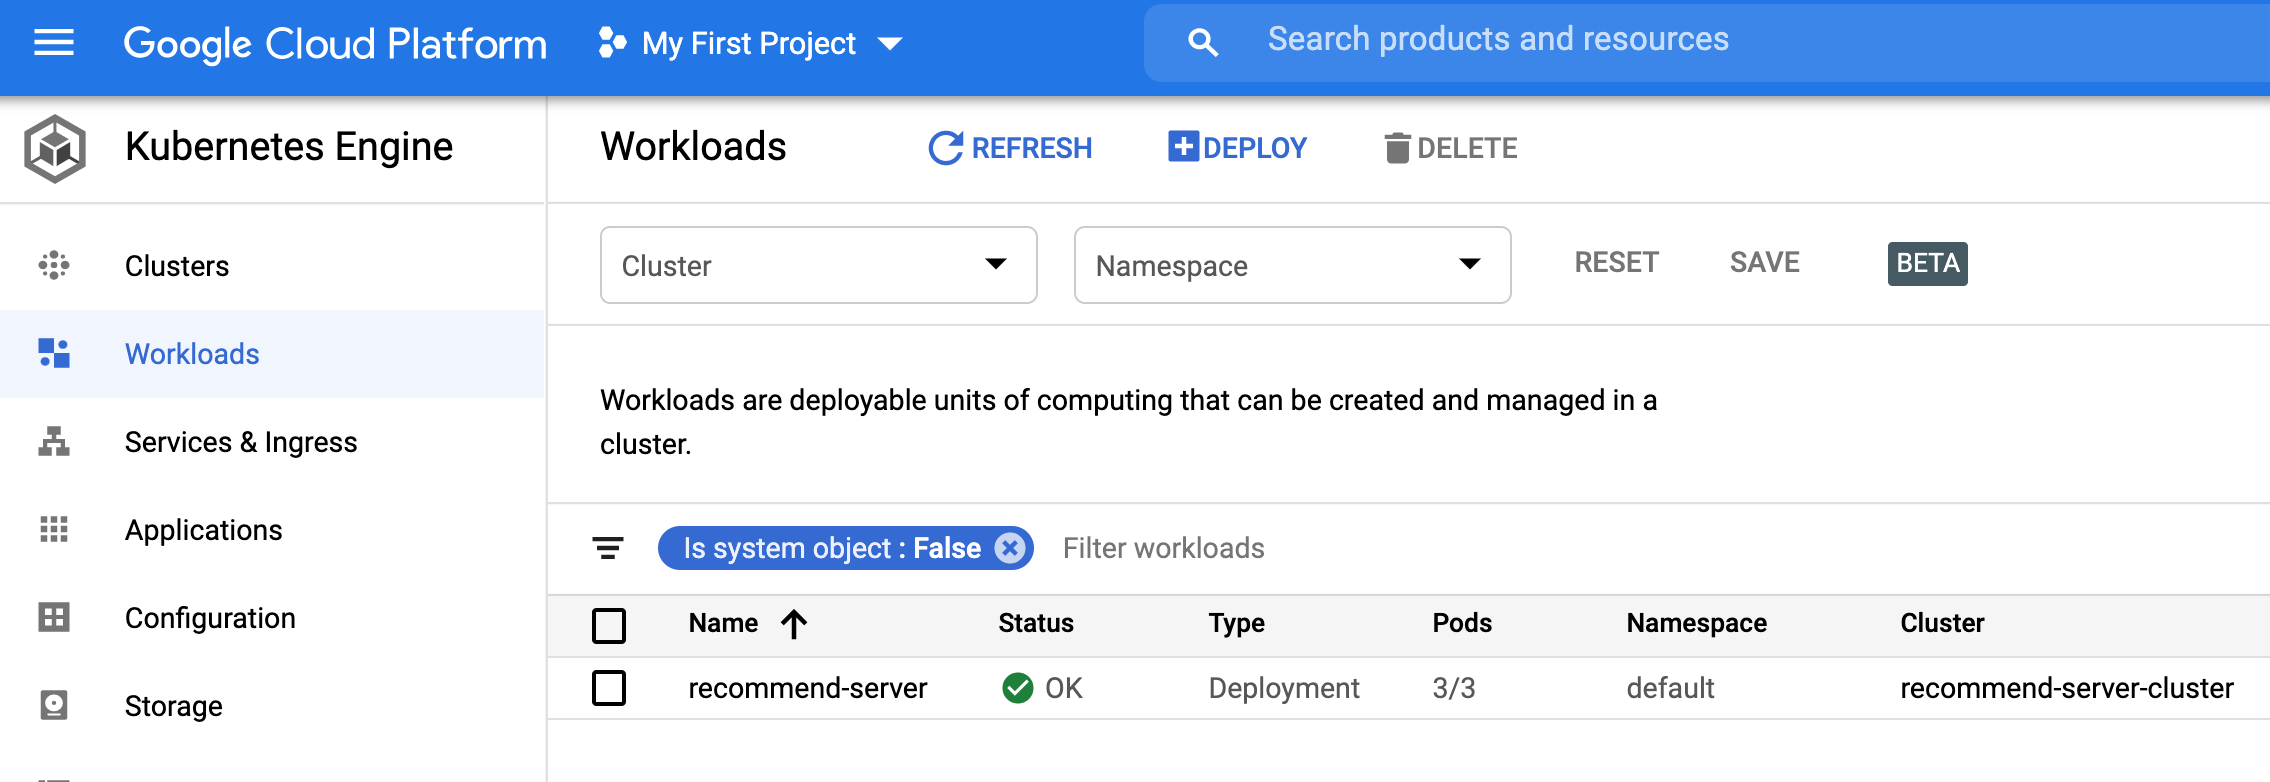
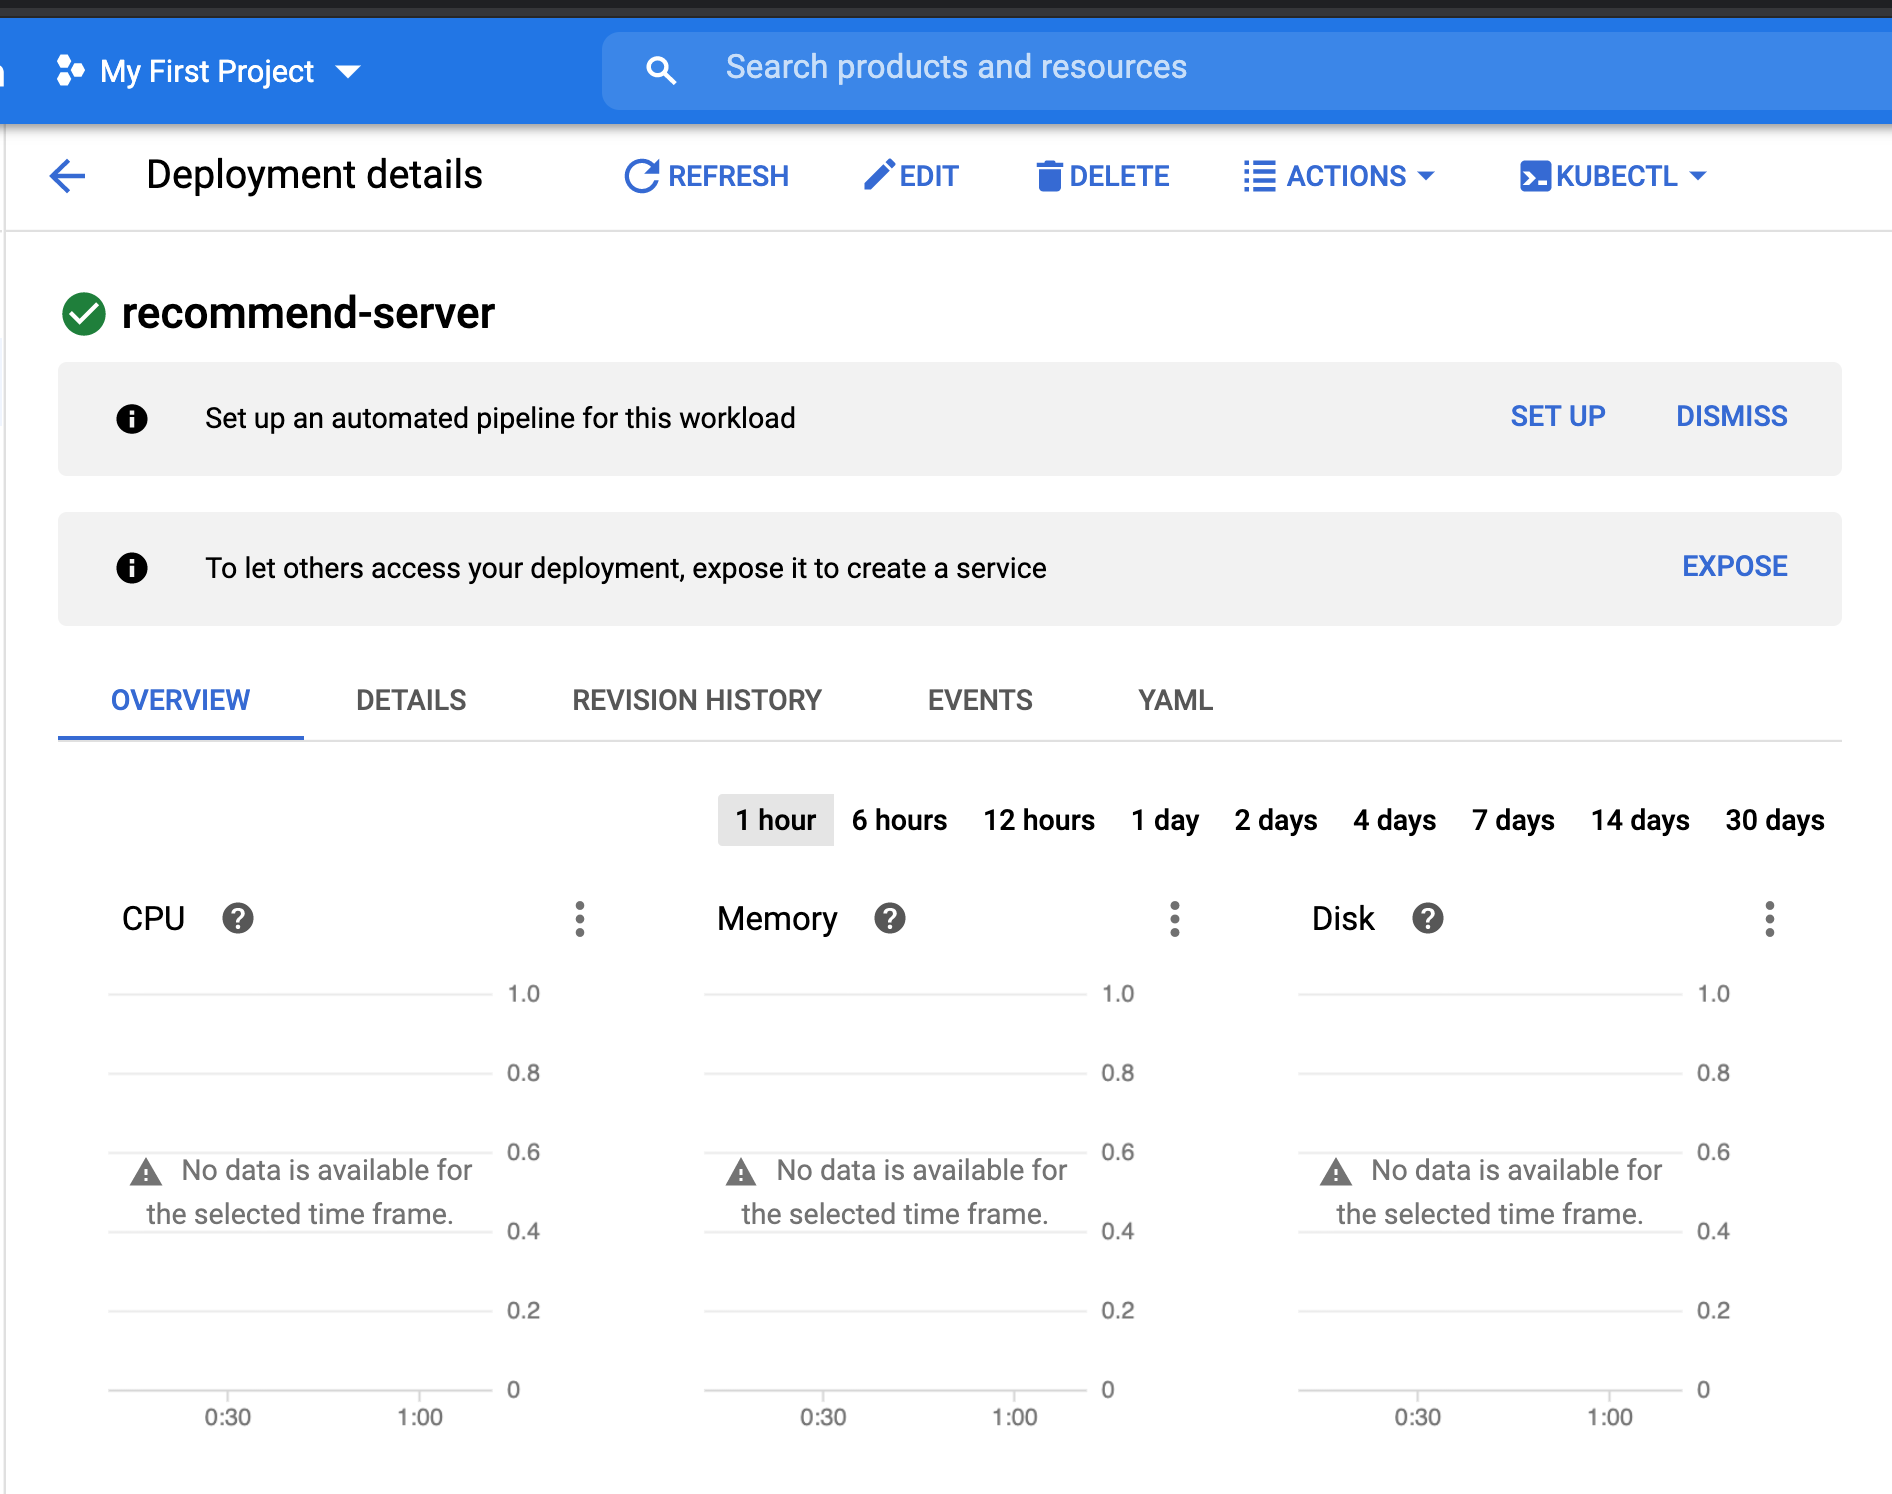

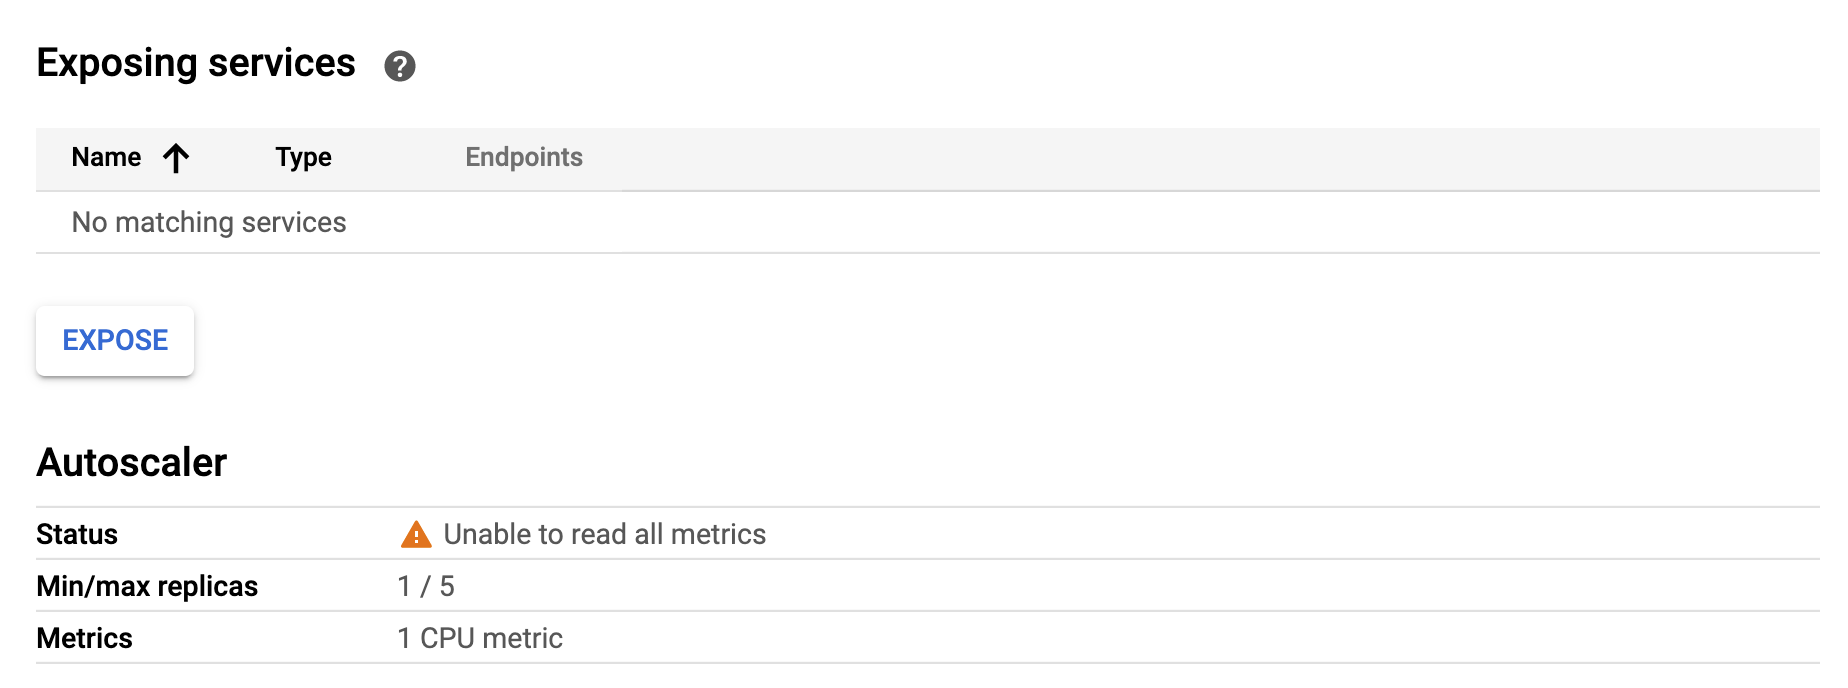
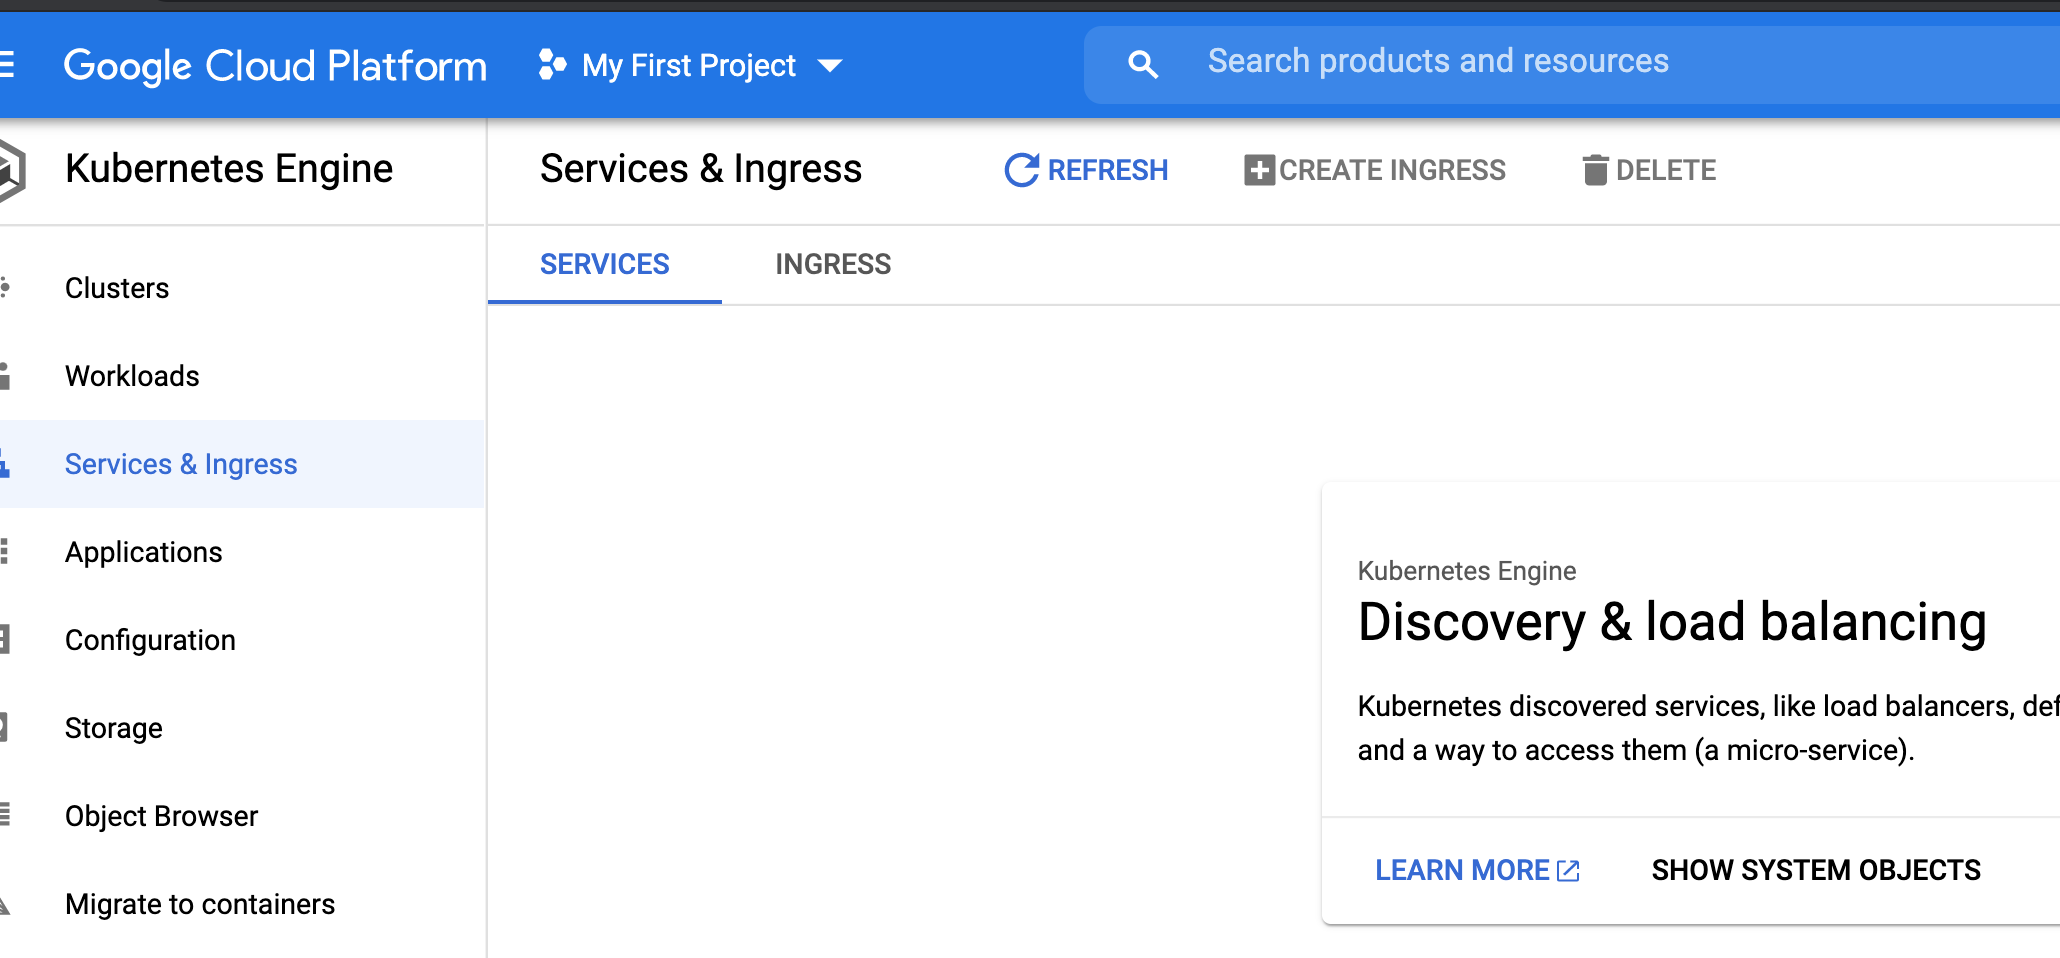
- Just as we did in the local deployment, we will expose the cluster to be able to trigger prediction requests. We can do that by going to the Workload tab and clicking on the cluster.
- We will next click on the
exposebutton to the far right.
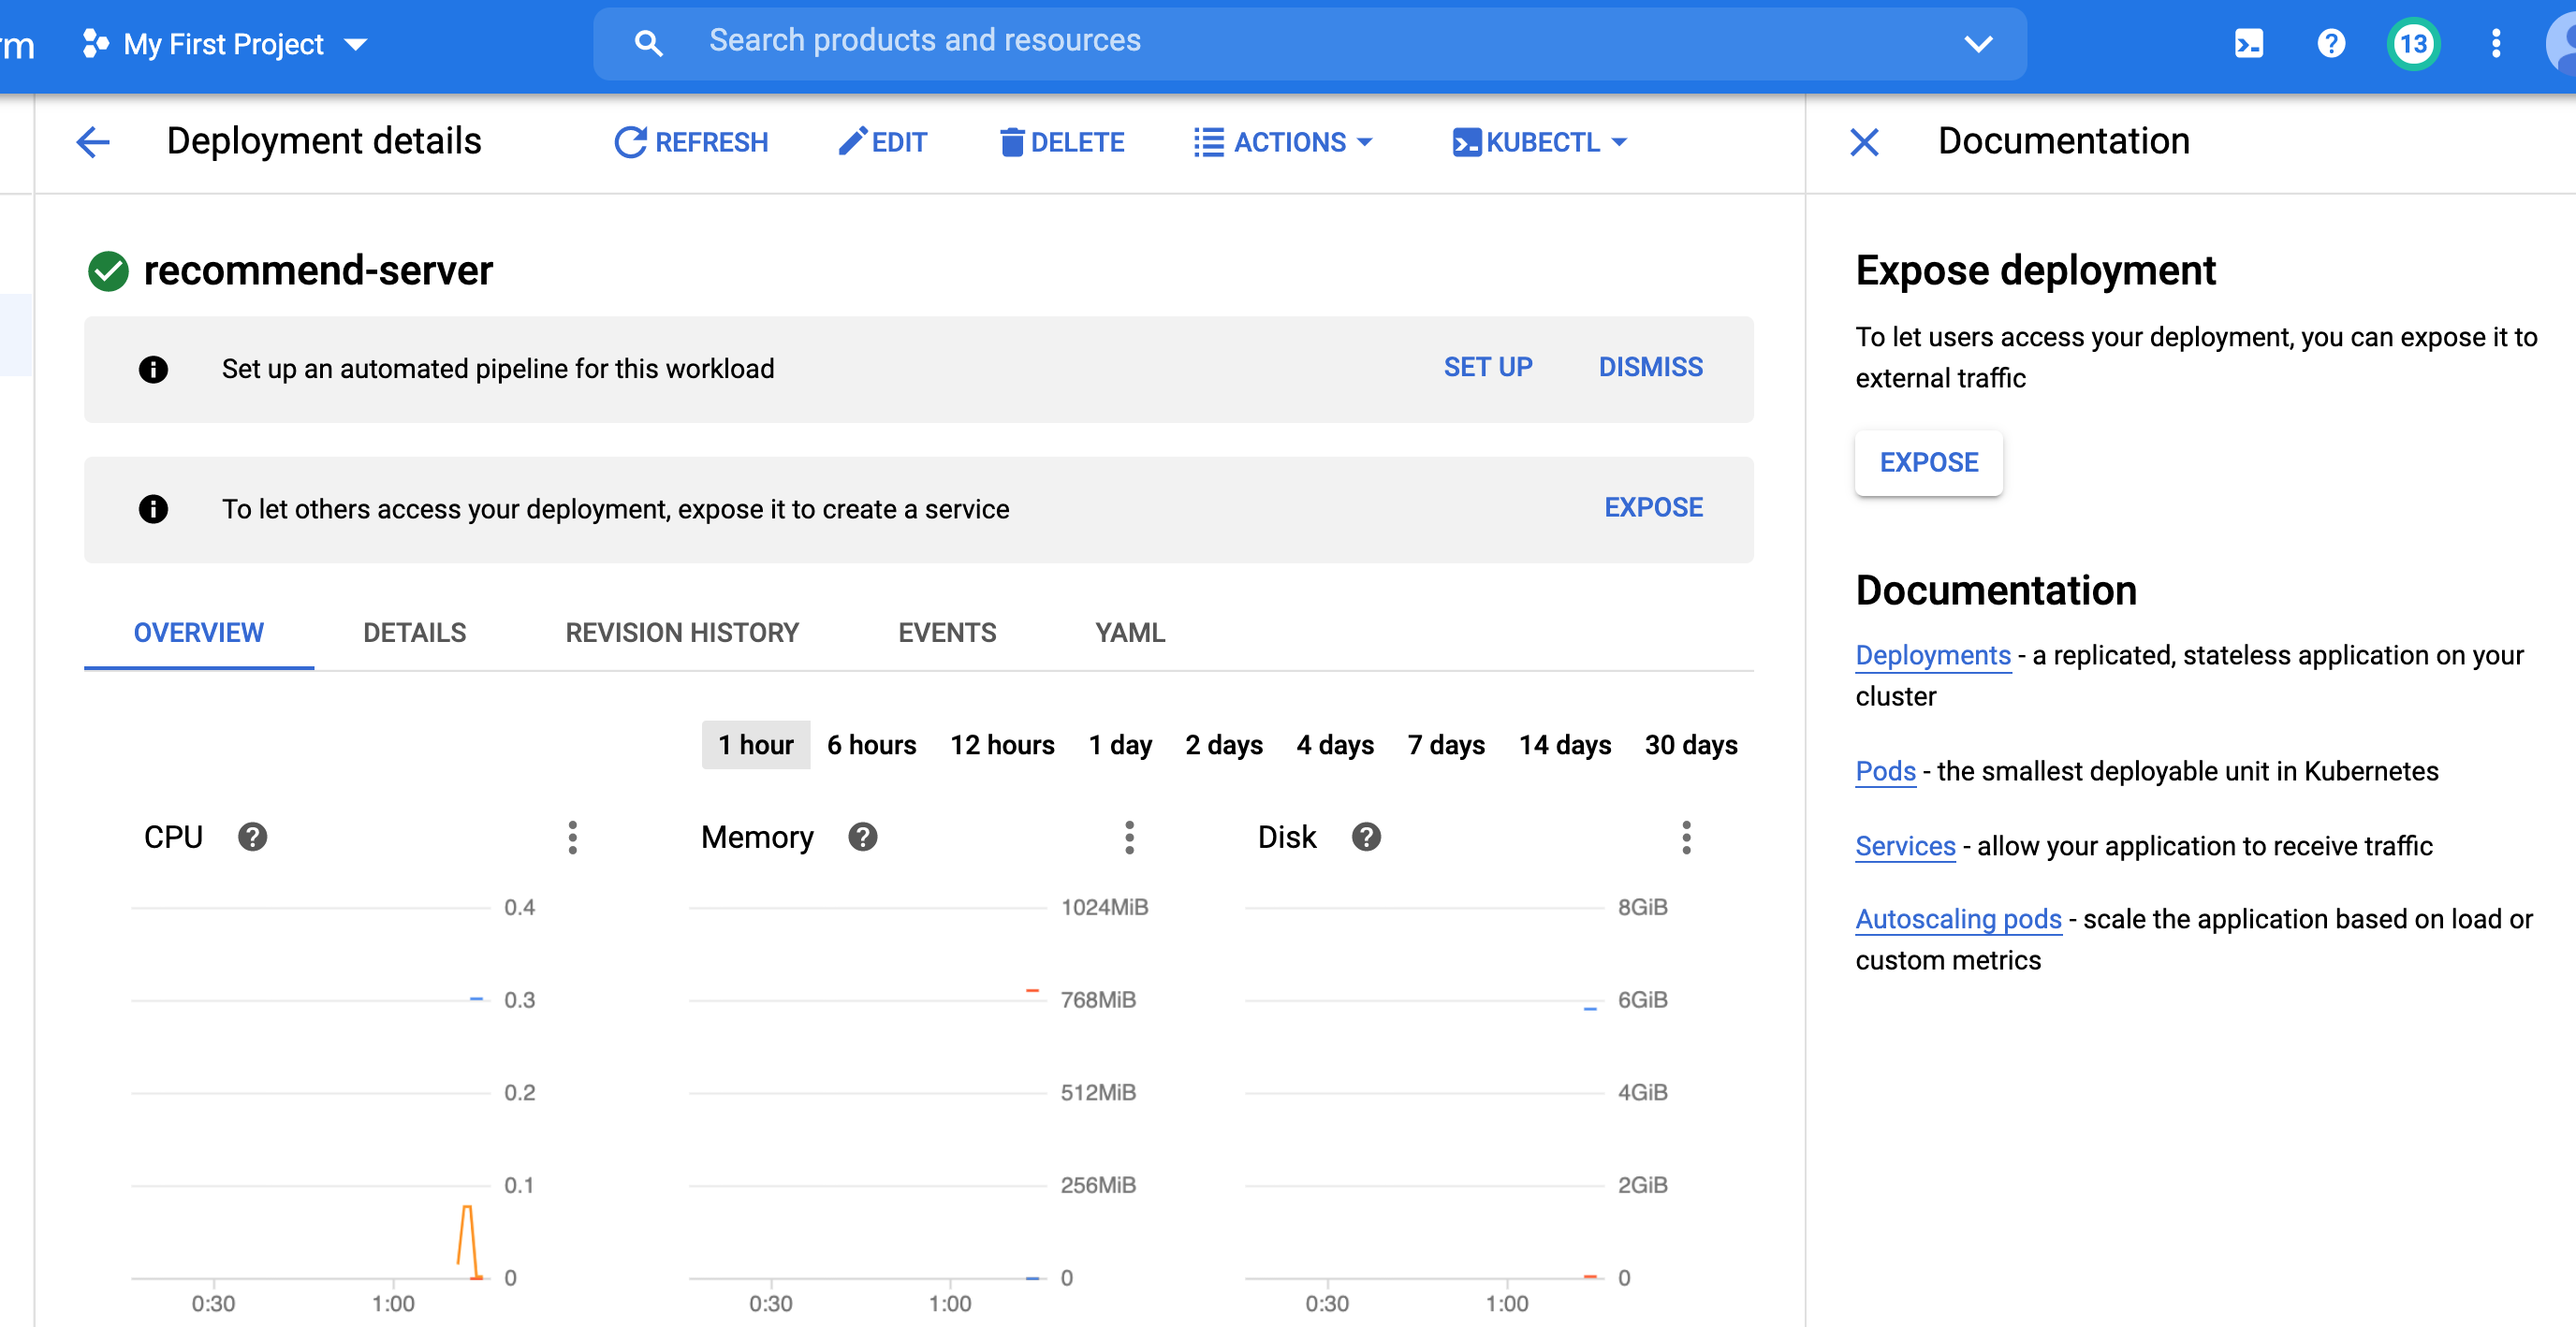
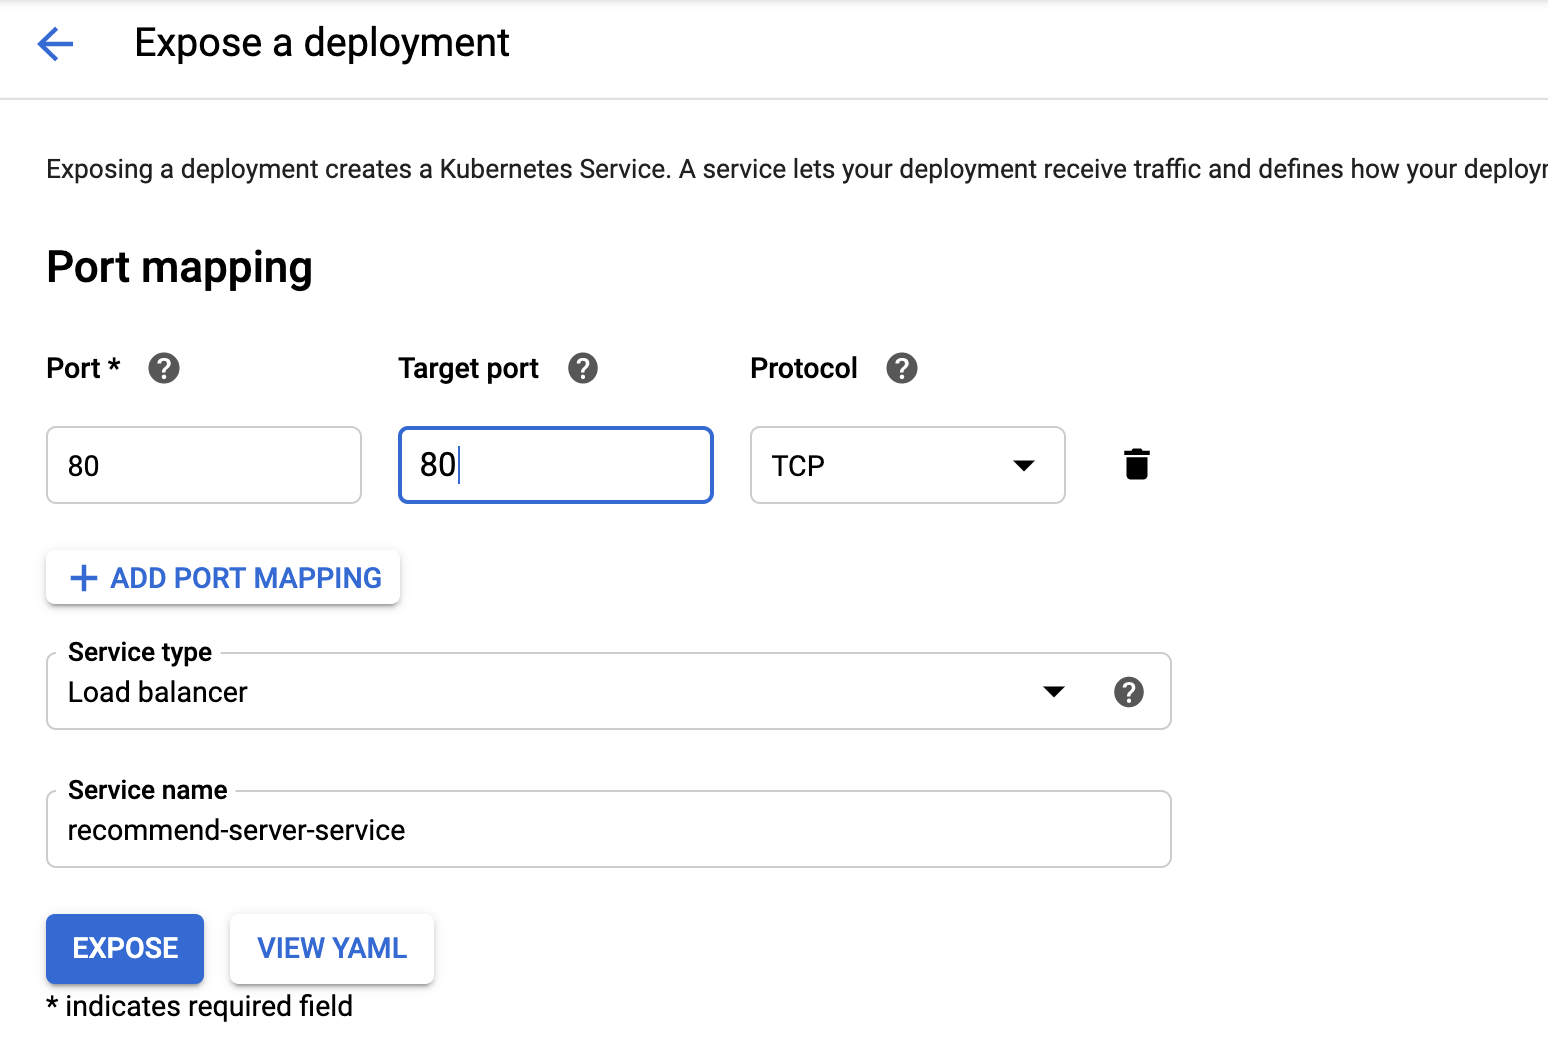
- We will specify the container port as 80 (if you look at recommend.py we have specified port 80 where the flask app listens to requests).
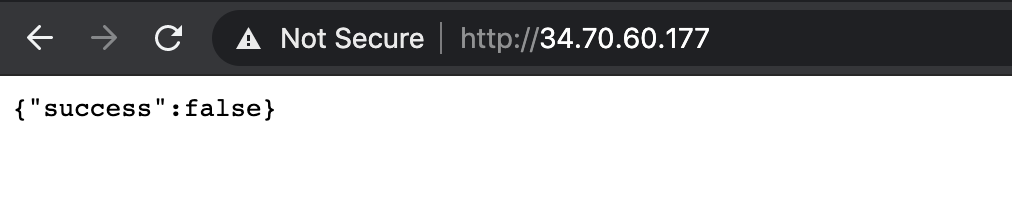
- Once the service is running, we can obtain the external IP.

- As expected, if we query without a payload we get a default response.
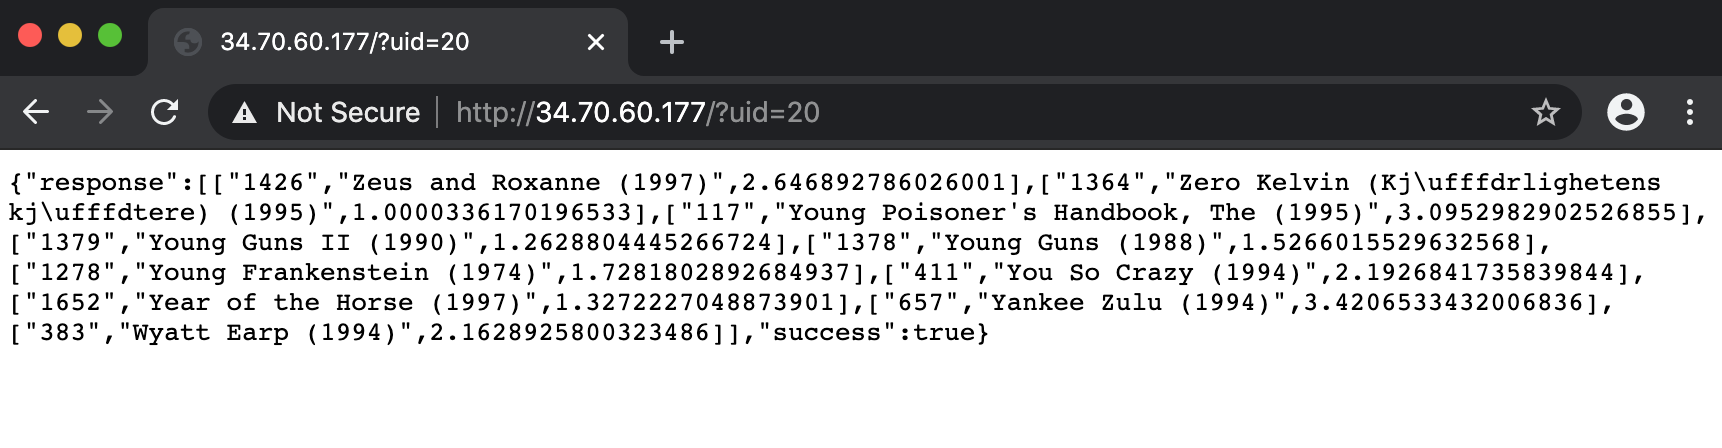
- With an example payload, we are able to retrieve the recommendations from real-time execution of the pytorch model.
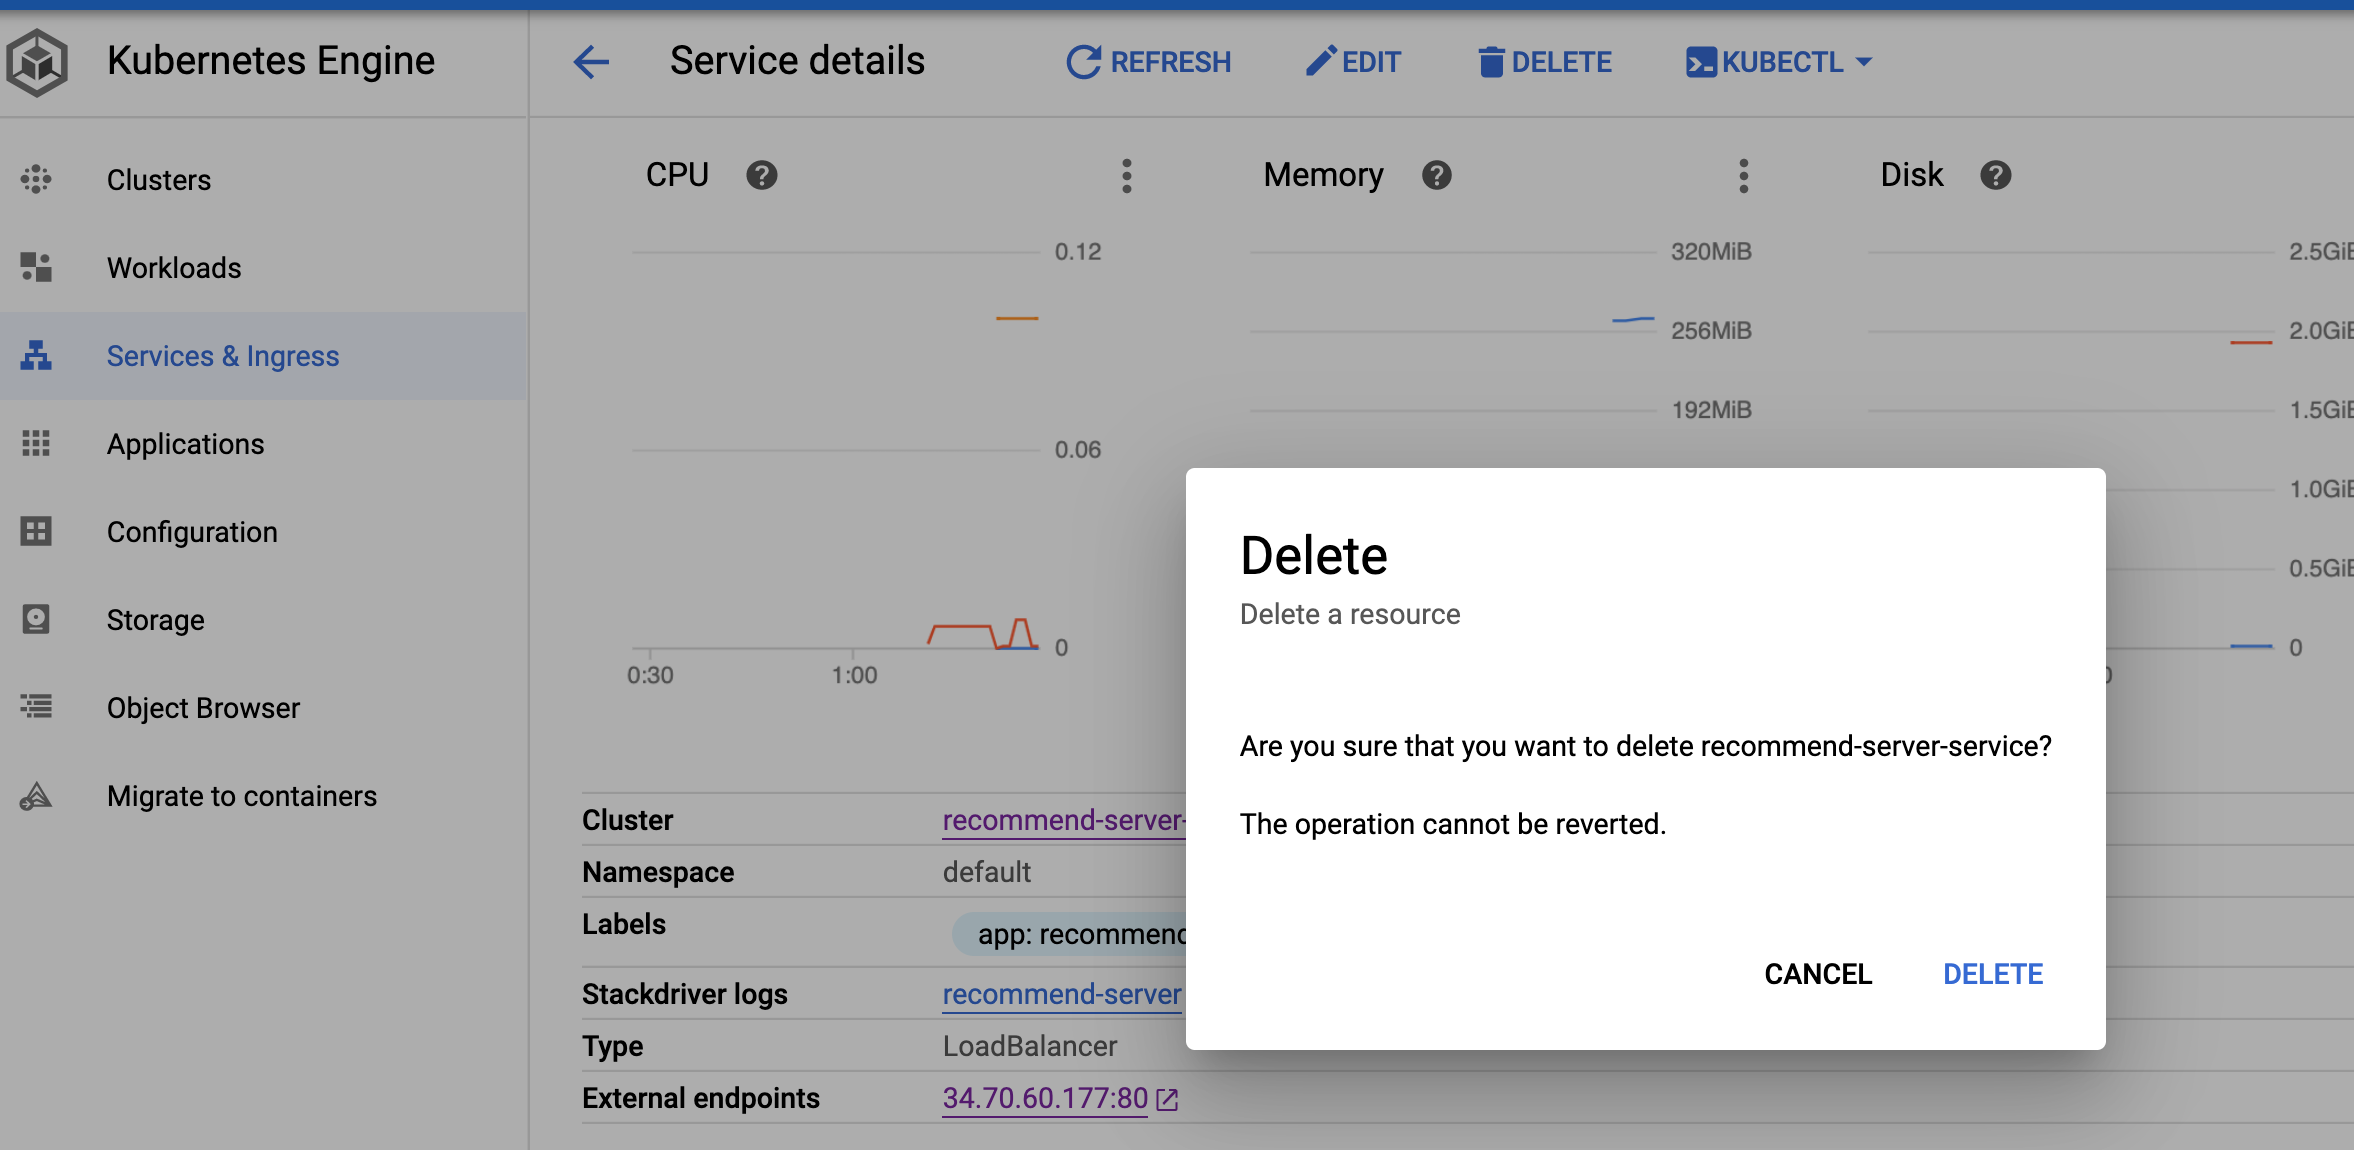
- To tear down the cluster, we first delete the service.

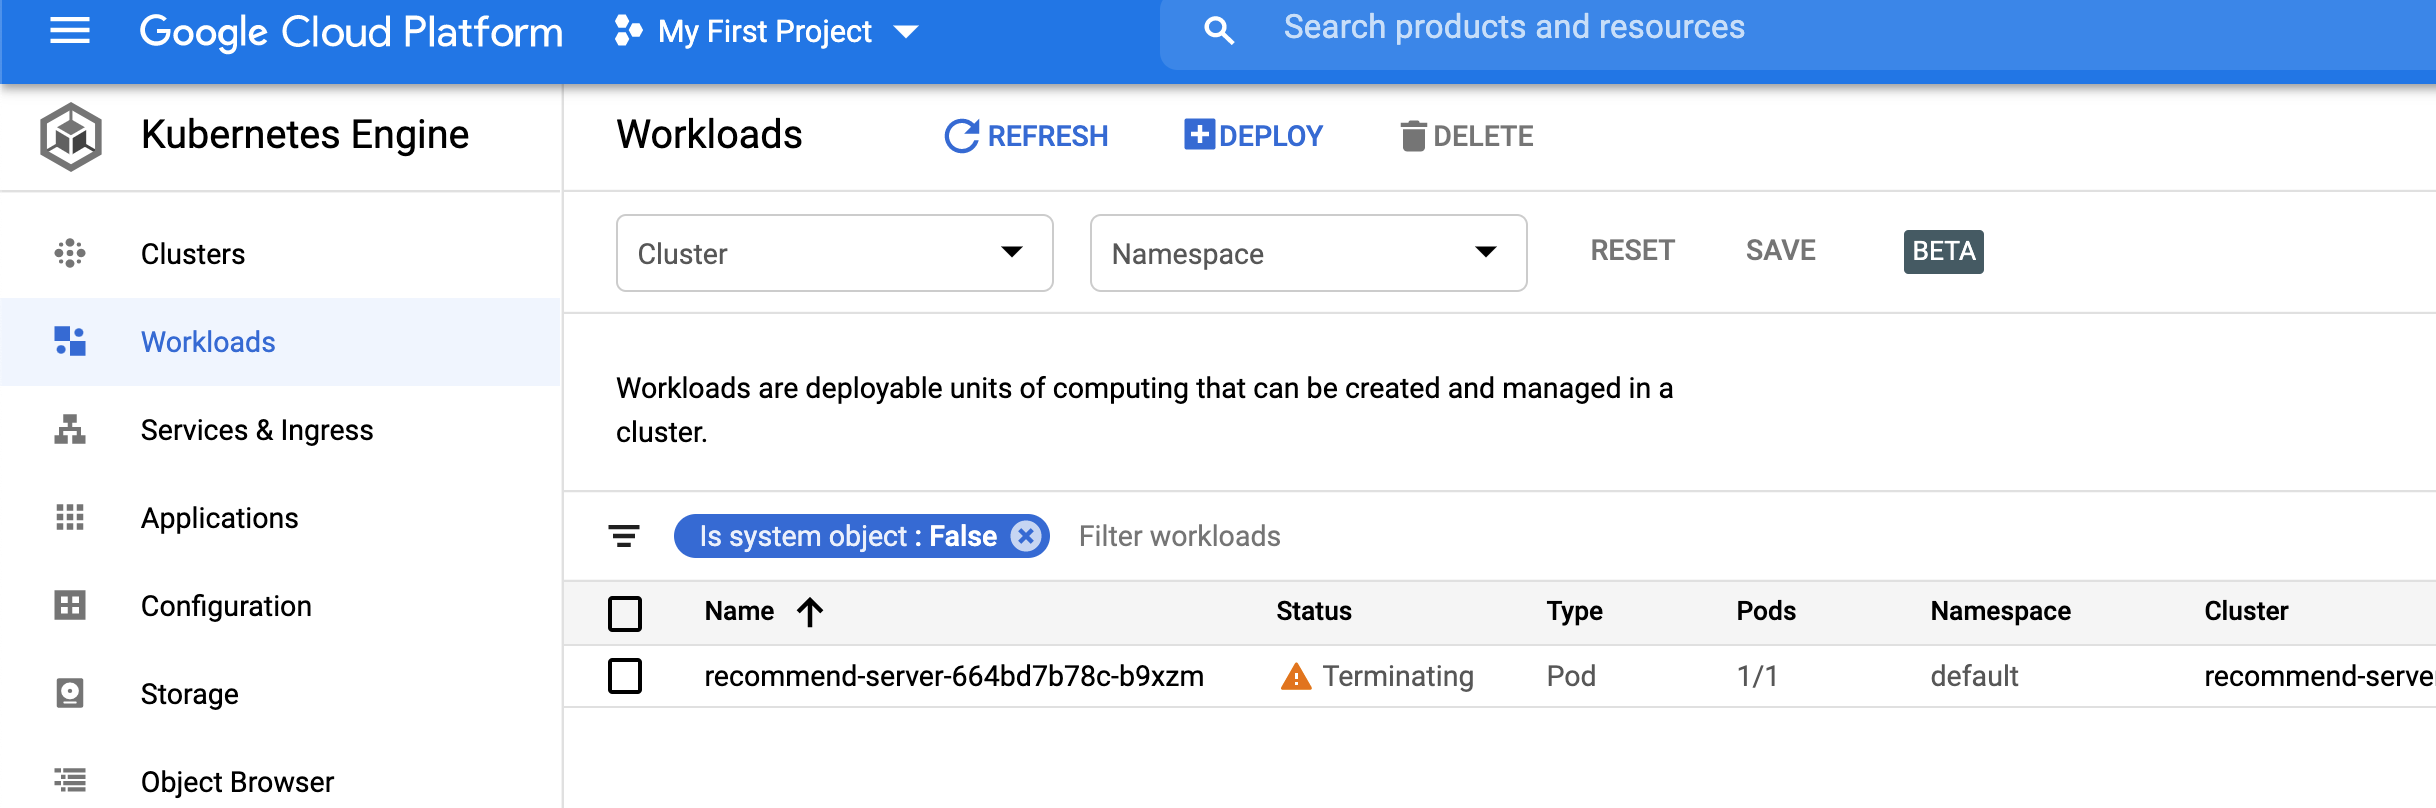
- Finally, we can delete the workload itself.
- As a next exercise, try to create an explicit K8s cluster and deploy the prediction model.