Spark on Databricks
Databricks allows organizations to run spark jobs and integrates well with AWS/Azure/GCP.
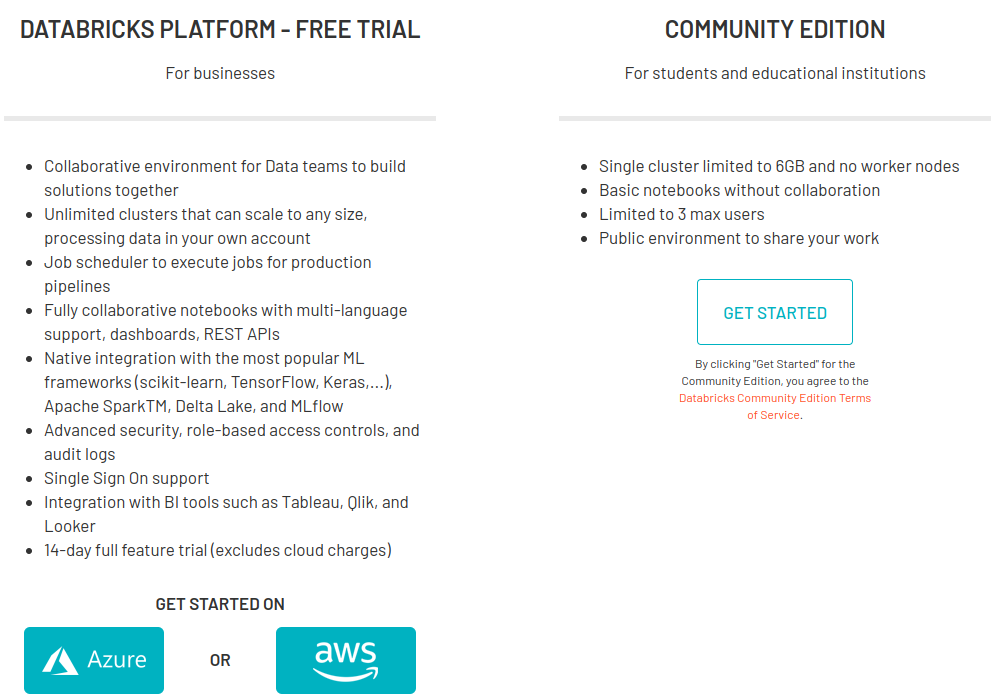
We will use the community edition to learn more about pyspark and spark based task and pipeline development.
- It is hosted on AWS
With the Databricks Community Edition, the users will have access to 15GB clusters, a cluster manager and the notebook environment to prototype simple applications, and JDBC / ODBC integrations for BI analysis. The Databricks Community Edition access is not time-limited and users will not incur AWS costs for their cluster usage.
- You can sign up for a databricks account here
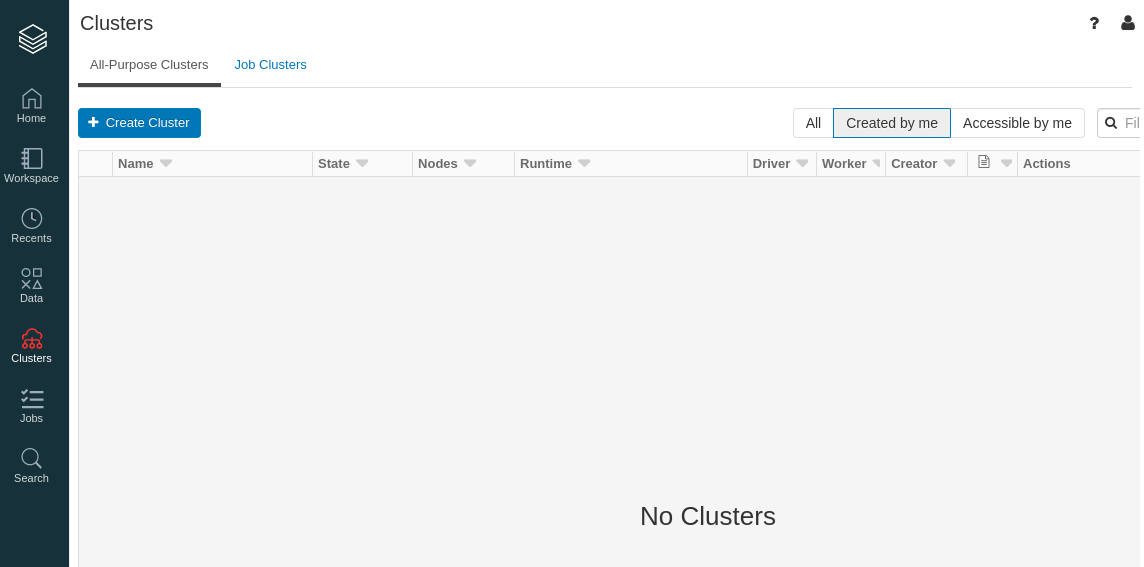
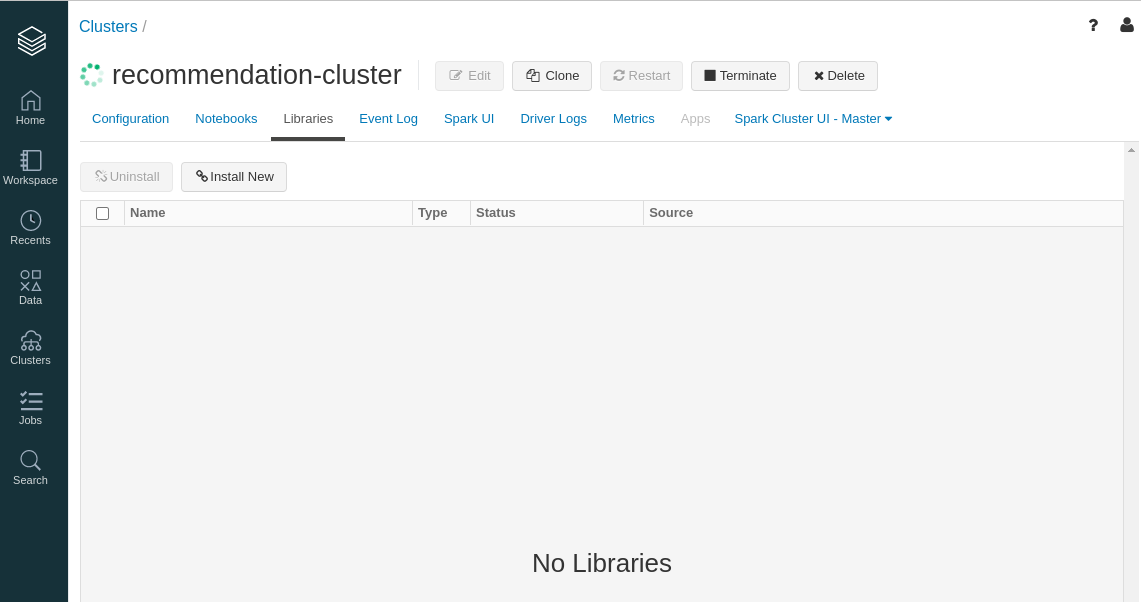
- After verifying your email, lets set up a cluster. We start with the clusters icon on the left hand side.

- On the clusters page, create a cluster with a name of your choice.
- Runtime is essentially the environment (e.g., newer runtimes have newer packages), so choose one of the recent ones.
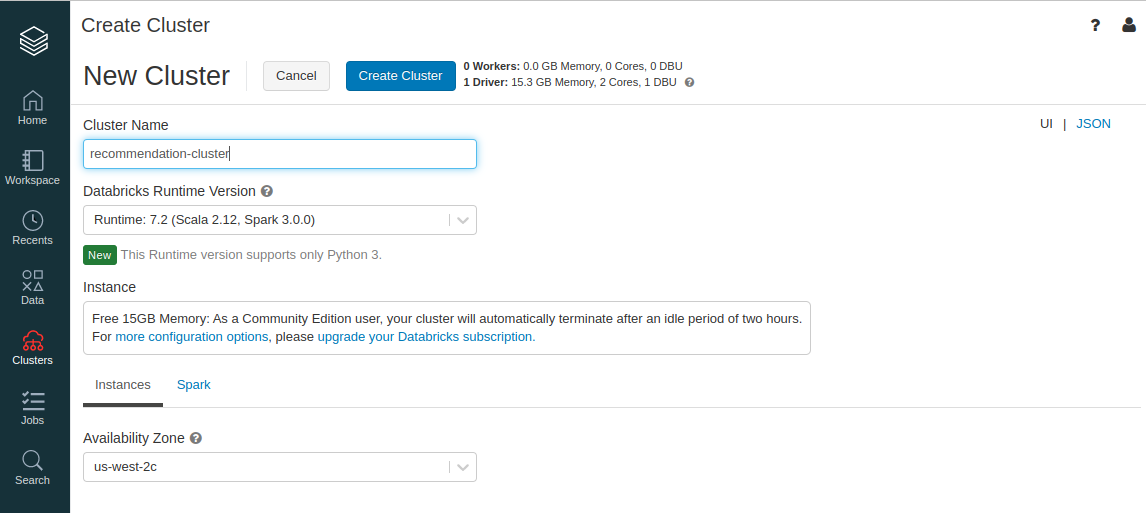
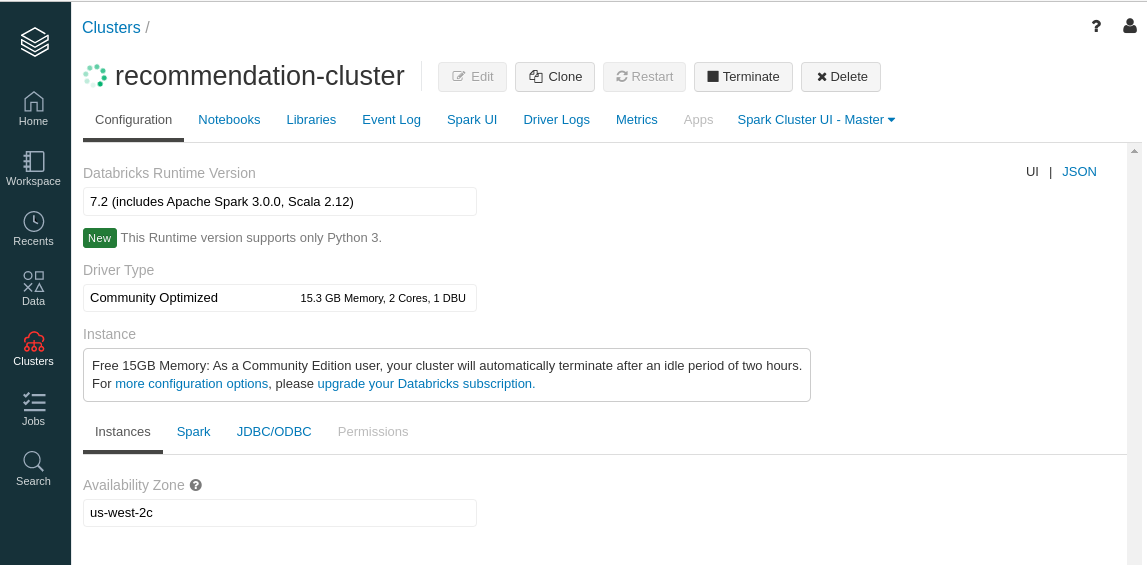
- The cluster will start in a few minutes. As it says on the specification, we have 0 workers and 1 driver.
- Next we will install some libraries directly from the browser. These packages will be present on all worker nodes as well as the driver. Contrast this with Google Colab for instance, where you would need to run
!pip install packagenameat the top of your notebook.
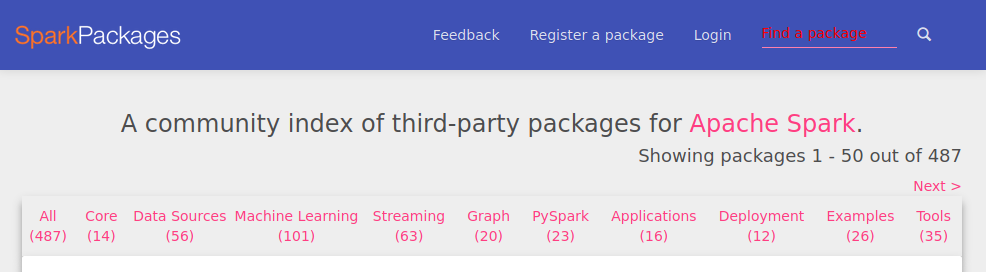
- We can search for third party libraries on https://spark-packages.org/ .
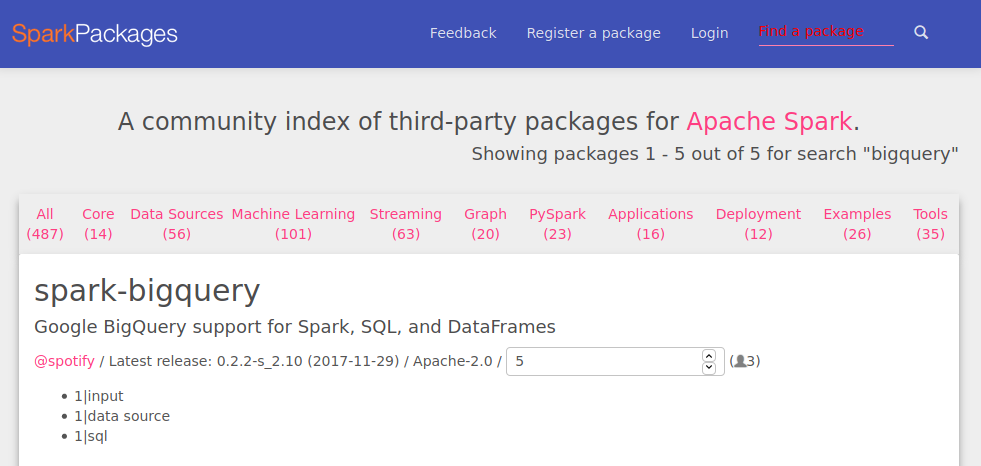
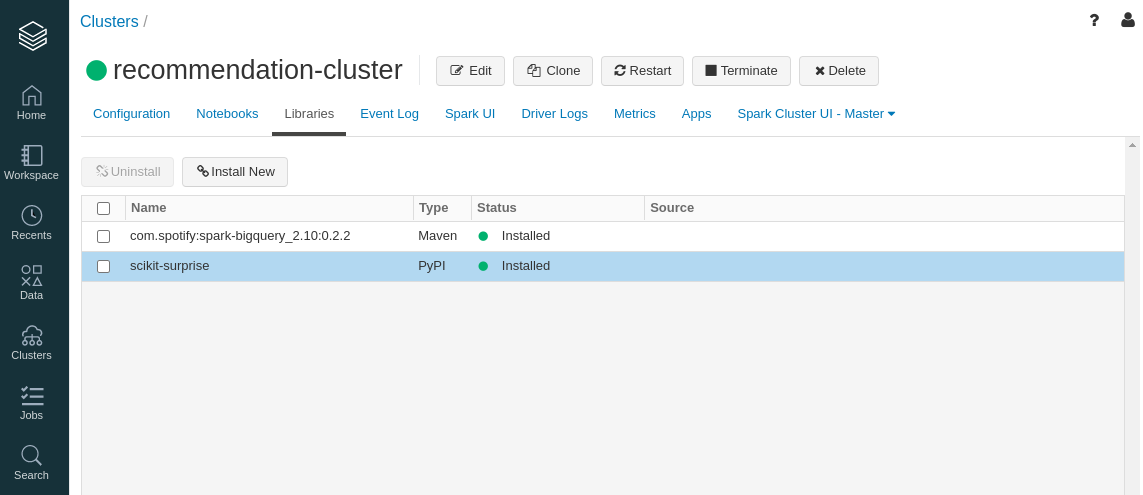
- We will install the spark-bigquery package.
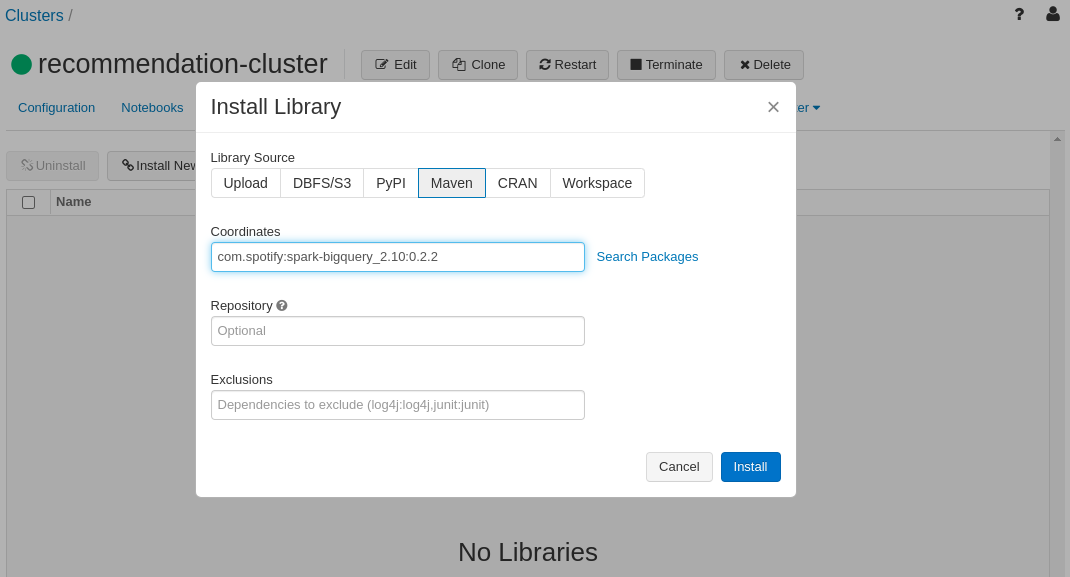
- Click ‘Install New’ and then choose ‘Maven’ tab. use the string
com.spotify:spark-bigquery_2.10:0.2.2for the coordinates. You can leave the other two fields empty and click install.
Databricks PySpark environments are accessed via notebooks, which are very similar to the Jupyter notebooks we have been using before.
The environment comes pre-installed with some libraries in addition to pyspark. For instance, pandas is pre-installed (and its version is dependent on the runtime we chose).
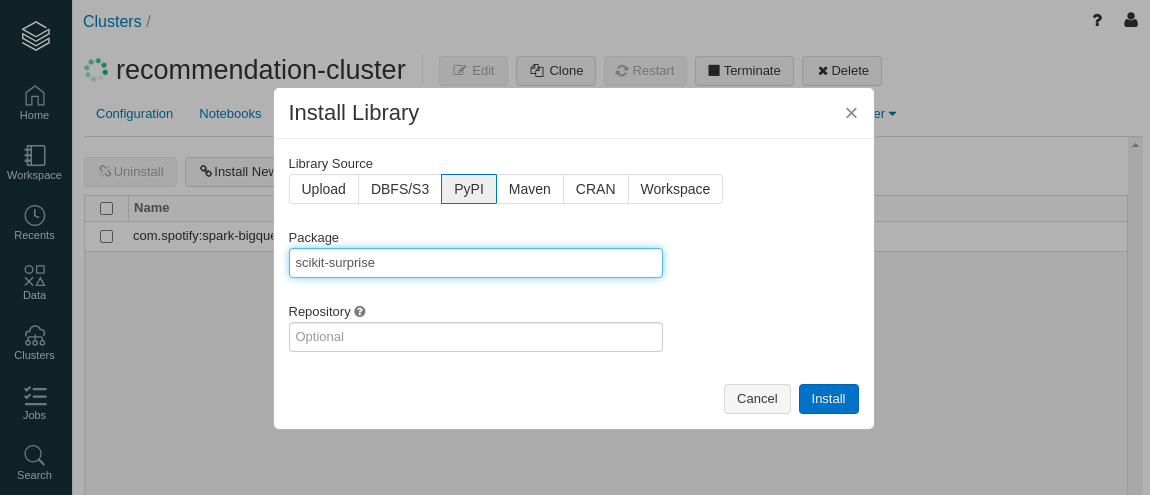
We will install the
scikit-surprisepackage.
- You should see the green symbols indicating that the installations went smoothly.
Getting Data
Before we can jump into the details of spark dataframes, we will first get data into the cluster from elsewhere. This is a typical scenario in many organizations and is worth knowing.
Spark and python in general let us use many different varieties of data sources.
In particular, we will use AWS S3 (this is just an example, any other choice including direct uploading using databricks UI is also possible).
As mentioned before, one should think of the cluster itself as ephemeral and always have persistent data somewhere else.
Lets prepare the data to be put into S3. If you have run any of the examples from surpriselib package before, then you would have already downloaded the ml-100k (movielens 100k ratings dataset) in a location such as
~/.surprise_data/ml-100k/ml-100k.(datasci-dev) theja@t-think:~/.surprise_data/ml-100k/ml-100k$ ls allbut.pl README u1.test u2.test u3.test u4.test u5.test ua.test ub.test u.genre u.item u.user mku.sh u1.base u2.base u3.base u4.base u5.base ua.base ub.base u.data u.info u.occupationWe will copy the relevant data into a folder on the desktop and upload this to S3.
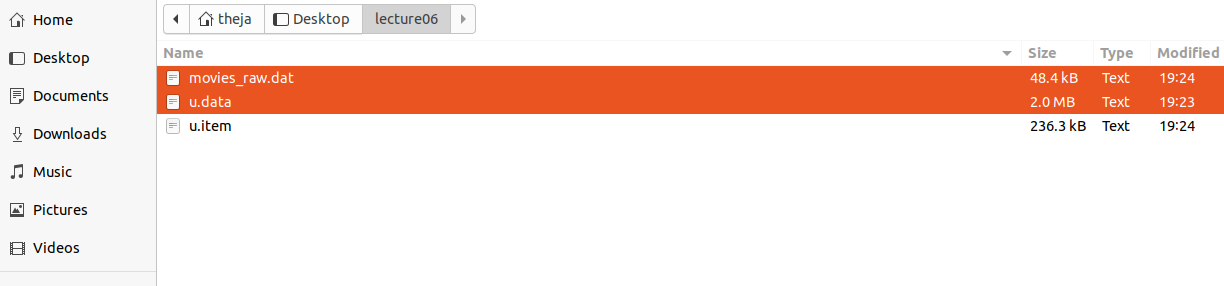
(datasci-dev) theja@t-think:~/.surprise_data/ml-100k/ml-100k$ mkdir -p ~/Desktop/lecture06
(datasci-dev) theja@t-think:~/.surprise_data/ml-100k/ml-100k$ cp u.data ~/Desktop/lecture06/
(datasci-dev) theja@t-think:~/.surprise_data/ml-100k/ml-100k$ cp u.item ~/Desktop/lecture06/
(datasci-dev) theja@t-think:~/.surprise_data/ml-100k/ml-100k$ cd ~/Desktop/lecture06/
We will make two minor modifications. First, we will remove unwanted fields in the
u.itemfile.(datasci-dev) theja@t-think:~/Desktop/lecture06$ cat u.item | cut -f 1,2 -d "|" > movies_raw.dat (datasci-dev) theja@t-think:~/Desktop/lecture06$ head movies_raw.dat 1|Toy Story (1995) 2|GoldenEye (1995) 3|Four Rooms (1995) 4|Get Shorty (1995) 5|Copycat (1995) 6|Shanghai Triad (Yao a yao yao dao waipo qiao) (1995) 7|Twelve Monkeys (1995) 8|Babe (1995) 9|Dead Man Walking (1995) 10|Richard III (1995)We will also add a header to
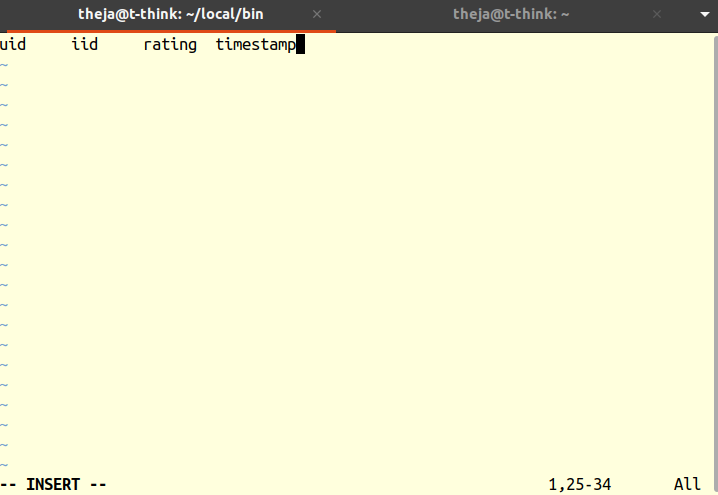
u.data(datasci-dev) theja@t-think:~/Desktop/lecture06$ mv u.data u.data.noheader (datasci-dev) theja@t-think:~/Desktop/lecture06$ vim u.data (datasci-dev) theja@t-think:~/Desktop/lecture06$ cat u.data.noheader >> u.data (datasci-dev) theja@t-think:~/Desktop/lecture06$ head u.data uid iid rating timestamp 196 242 3 881250949 186 302 3 891717742 22 377 1 878887116 244 51 2 880606923 166 346 1 886397596 298 474 4 884182806 115 265 2 881171488 253 465 5 891628467 305 451 3 886324817 (datasci-dev) theja@t-think:~/Desktop/lecture06$ rm u.data.noheaderIn the vim edit above, we create a single tab separated line with column names.
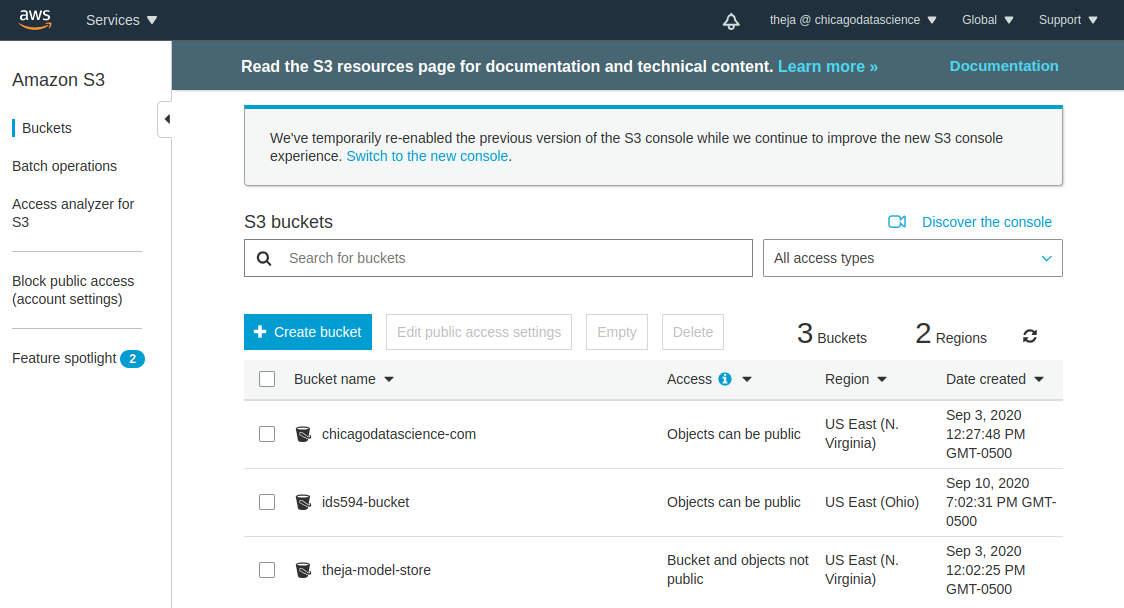
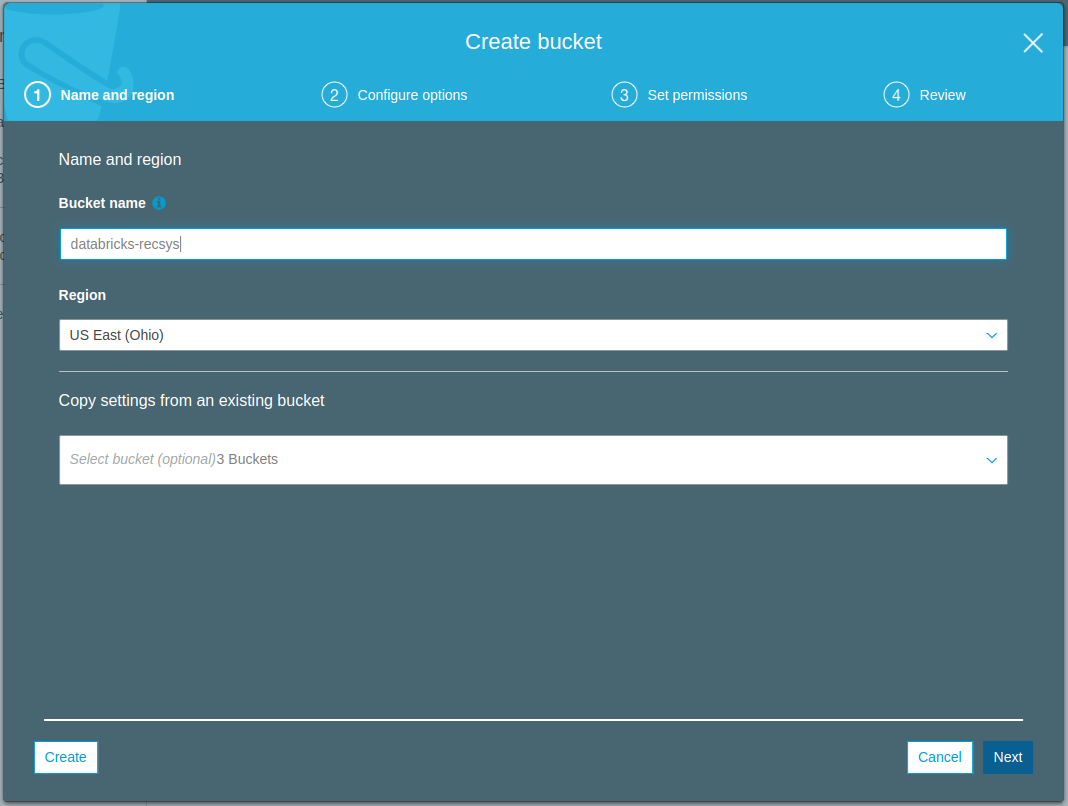
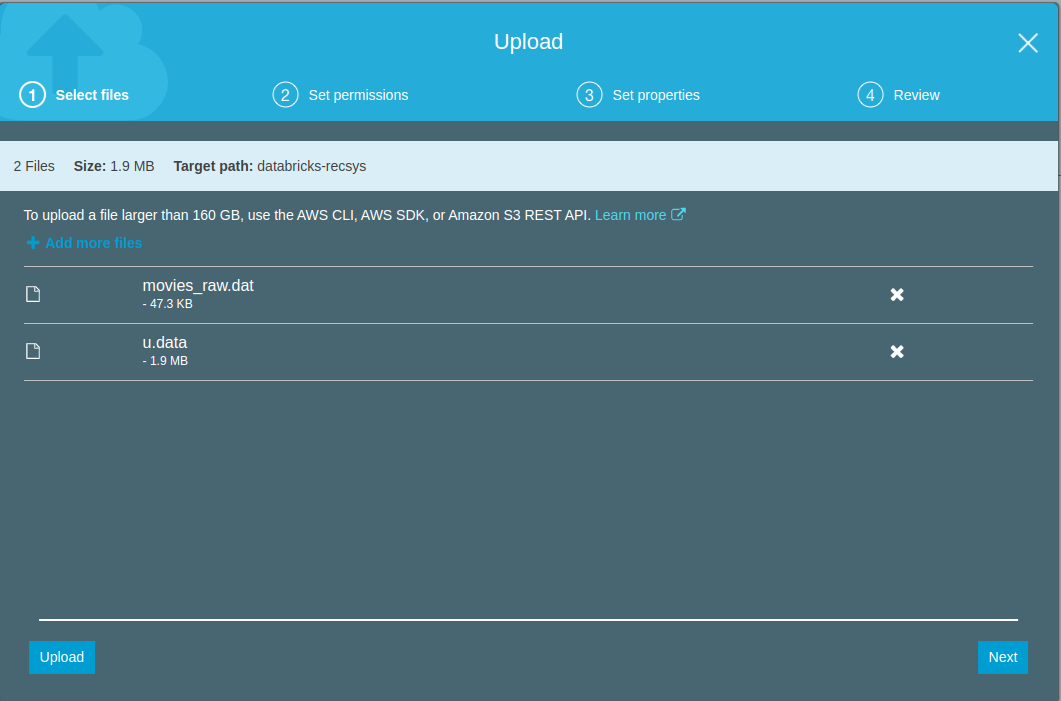
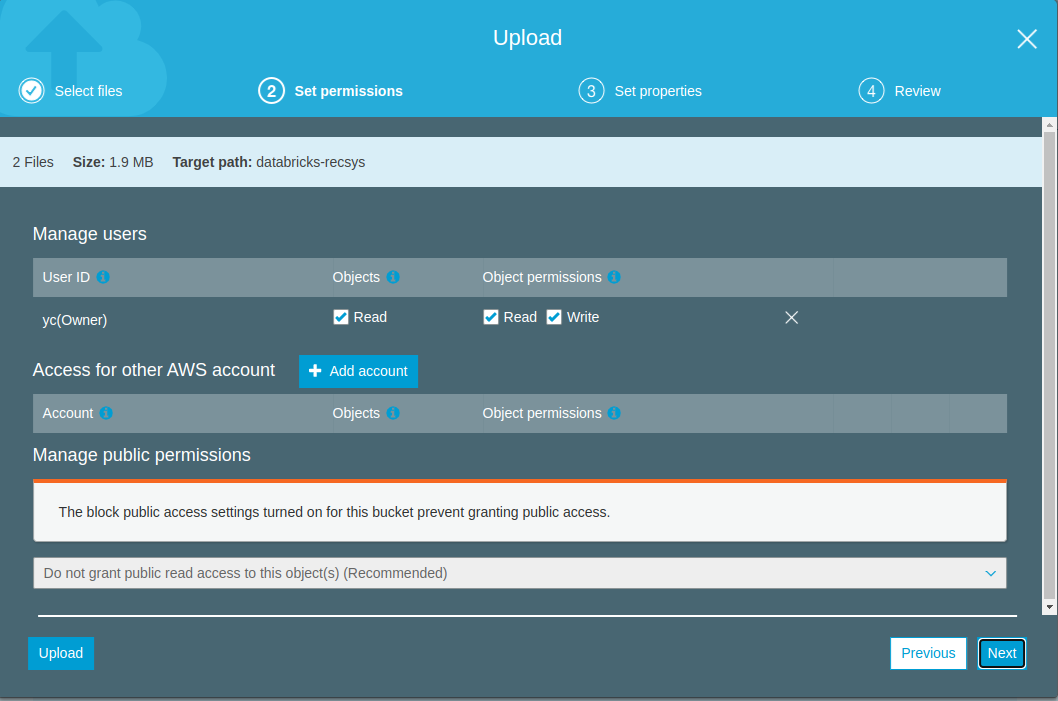
- Lets create a new S3 bucket using the web interface and upload the movielens-100k data that we saved above.
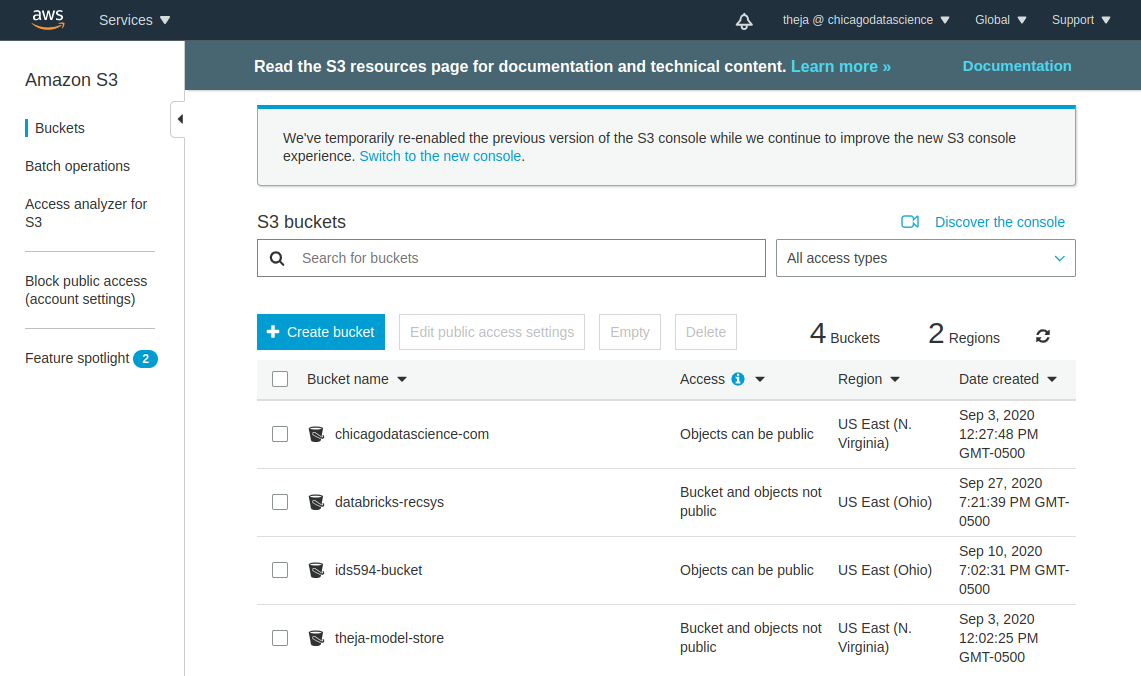
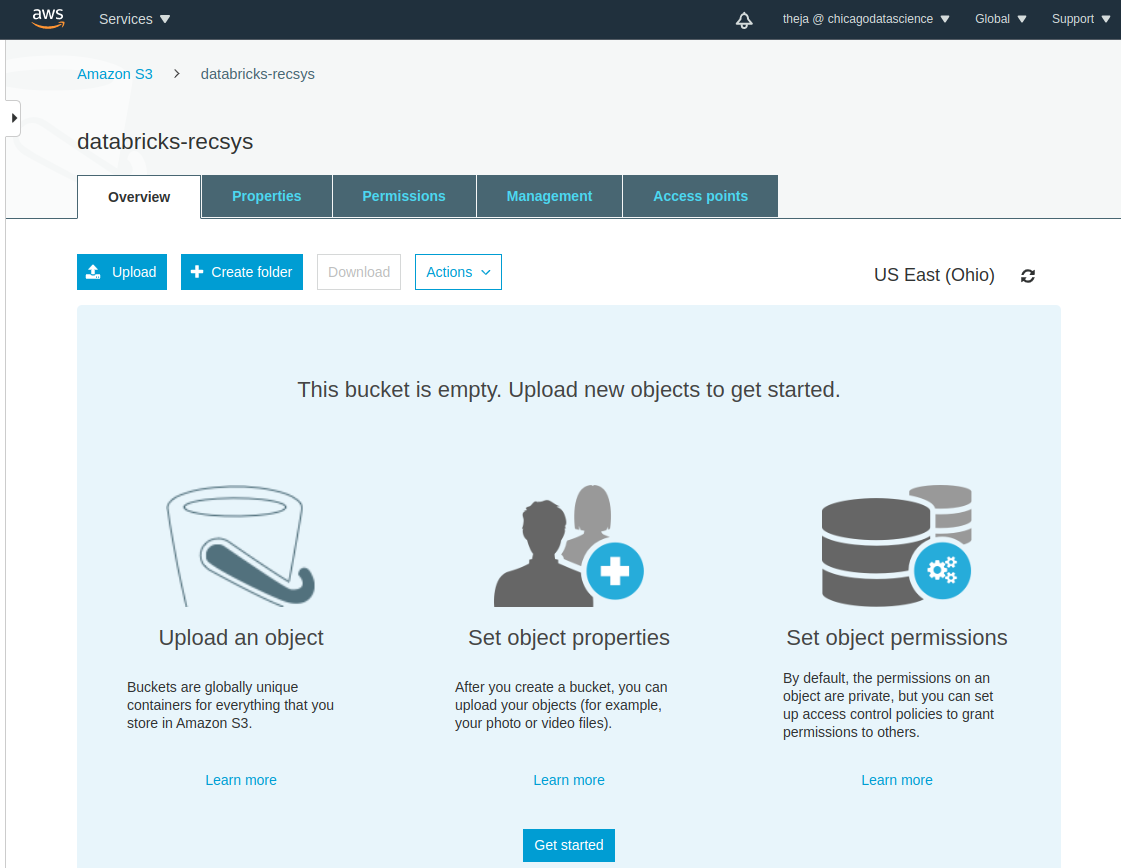
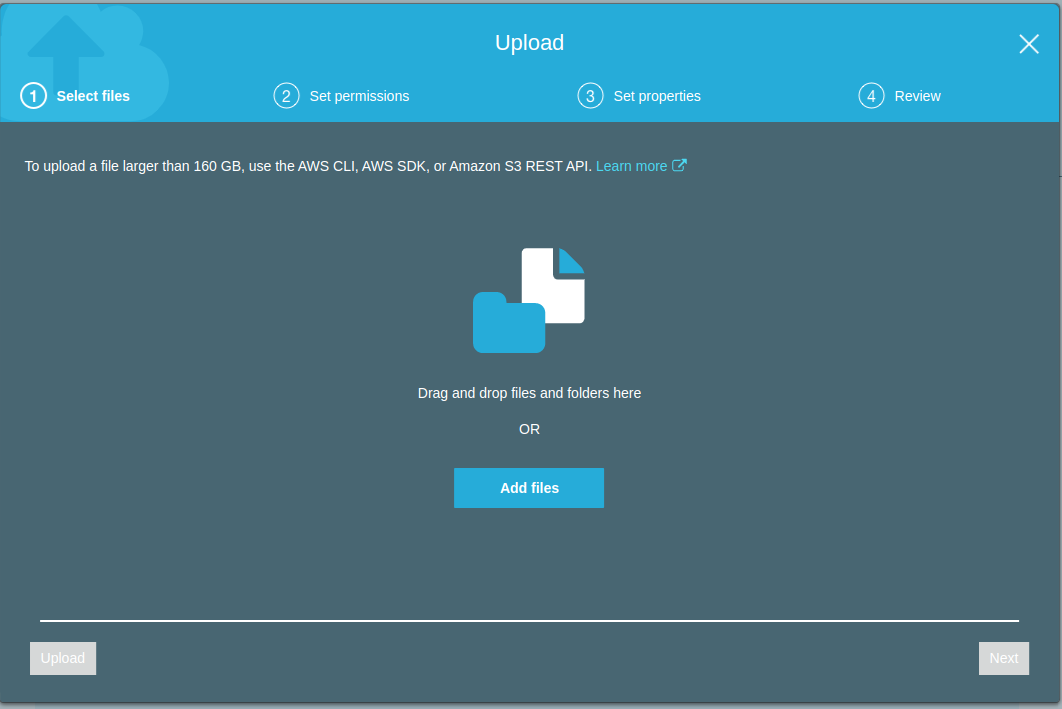
- After the bucket has been created successfully, lets use the web interface to upload
u.dataandmovies_raw.dat.

Before get started with pyspark based notebooks and ML pipeline development, we will need to get S3 credentials that we can use within the notebooks.
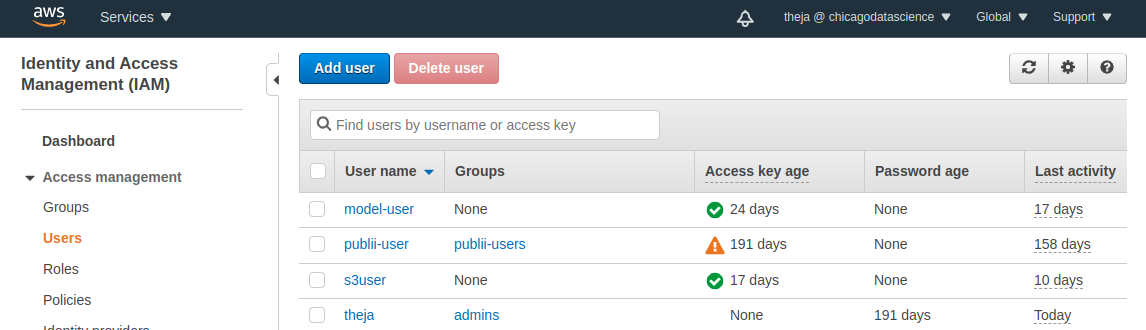
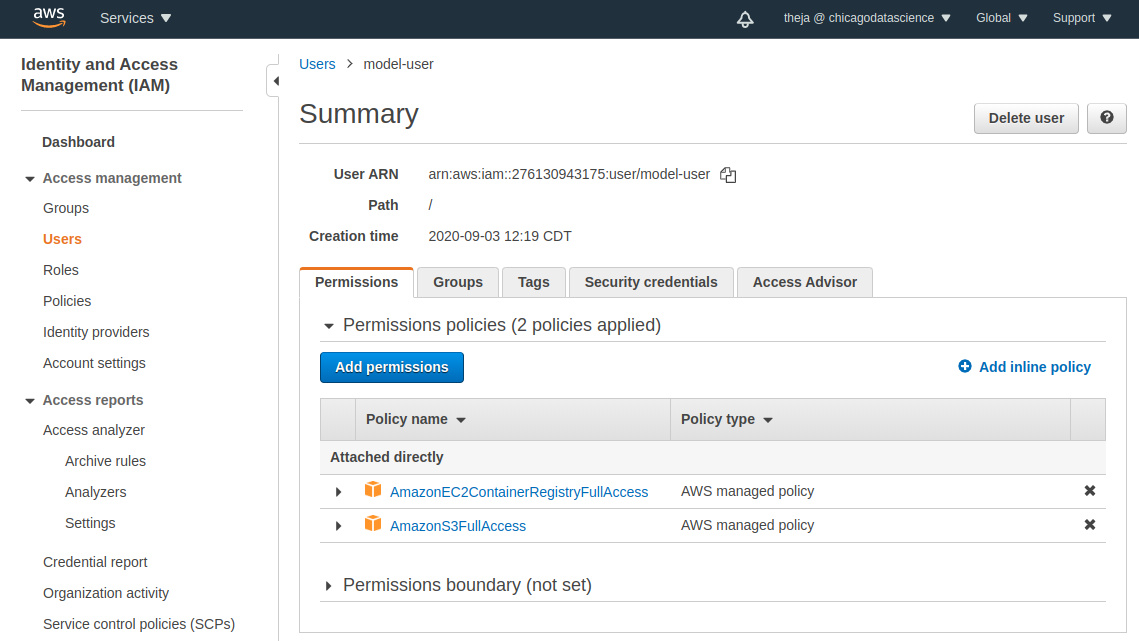
Access IAM and either create a new user or use an existing user. We have used model-user before with S3 and ECR, so lets use that. Note that we don’t need access to ECR, in case you are creating a new user.
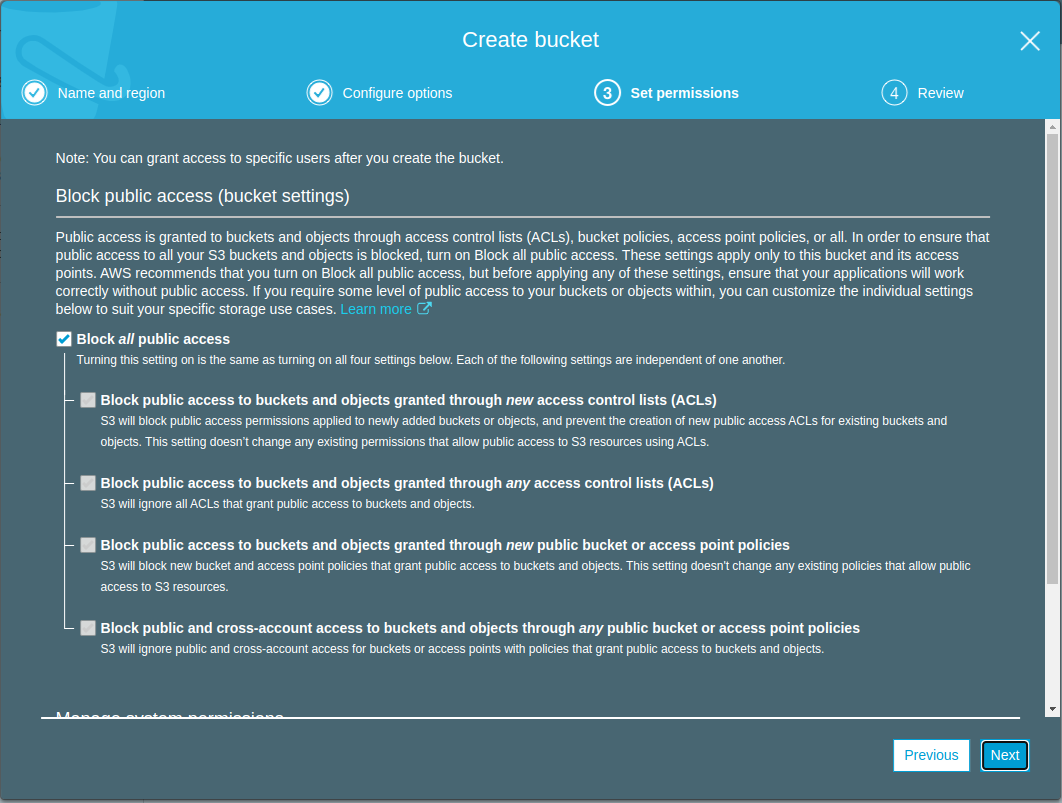
- We can see that this user has S3 permissions. If our objective was restricted to reading, then we would limit the permission policy to be more restrictive. Here, we are also interested in saving some training outputs, so we will allow write access as well (hence the choice of full access).
- Go to the credentials tab and obtain the access key and secret key. We will need these strings in the notebooks that we will work with next.
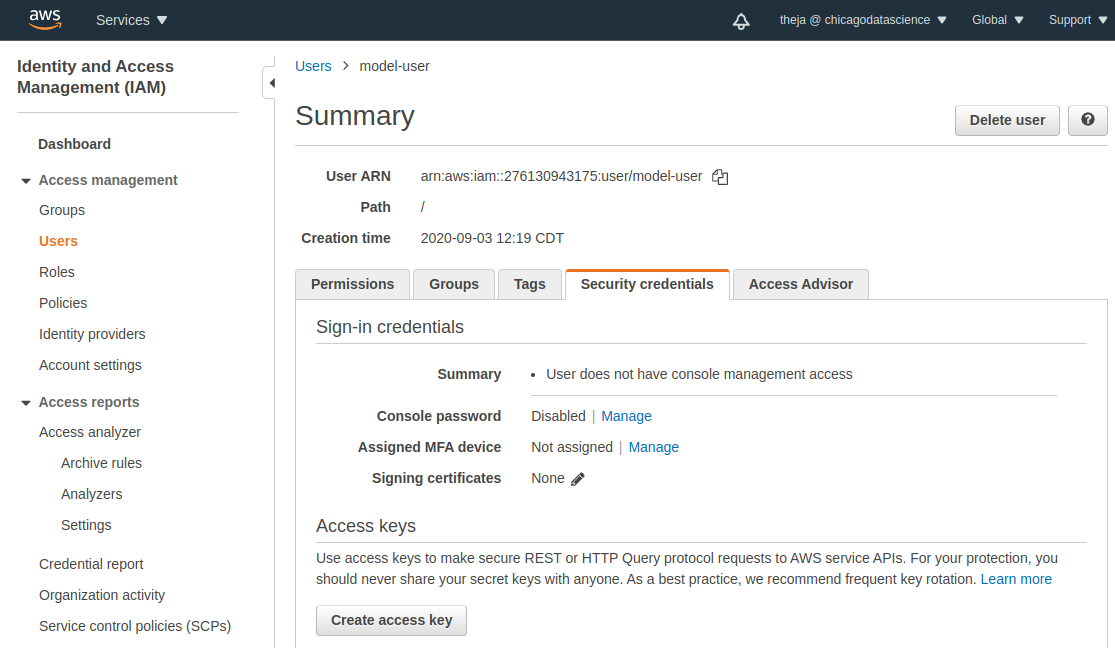
- Note that we are spending minimal time on key and password management. Access and secret keys should be held very carefully, especially in a business environment.