Training Workflows
What are some common task blocks?
- Extract data
- Train a model
- Predict on a test set
- Save results in a database
The data must first be prepared (via ETL or extract/transform/load jobs).
Training and making predictions requires appropriate compute resources.
Data read and write imply access to an external service (such as a database) or storage (such as AWS S3).
- When you do data science work on a local machine, you will likely use some simple ways to read data (likely from disk or from databases) as well as write your results to disk. But this is not sufficient in a production setting.
And these jobs may need to run periodically so as to get the latest data from logging systems/data lakes.
Some example of batch pipelines are:
- persistent model pipelines: model update is de-coupled from updating predictions.
- transient model pipelines: model update is tightly coupled with predictions. This helps with ensuring that the model is not losing prediction accuracy due to changing data distributions (e.g., time varying).
- …
Transient Pipeline
We will build a pipeline such that it is built from scratch every-time to generate predictions.
- This will need compute resources (GPUs if its a neural network), which may impact cost benefit analysis.
Our sub-tasks are as follows:
- get the training data
- train a model
- use the model for predictions
- save the results in an external resource. In particular, we will try out BigQuery.
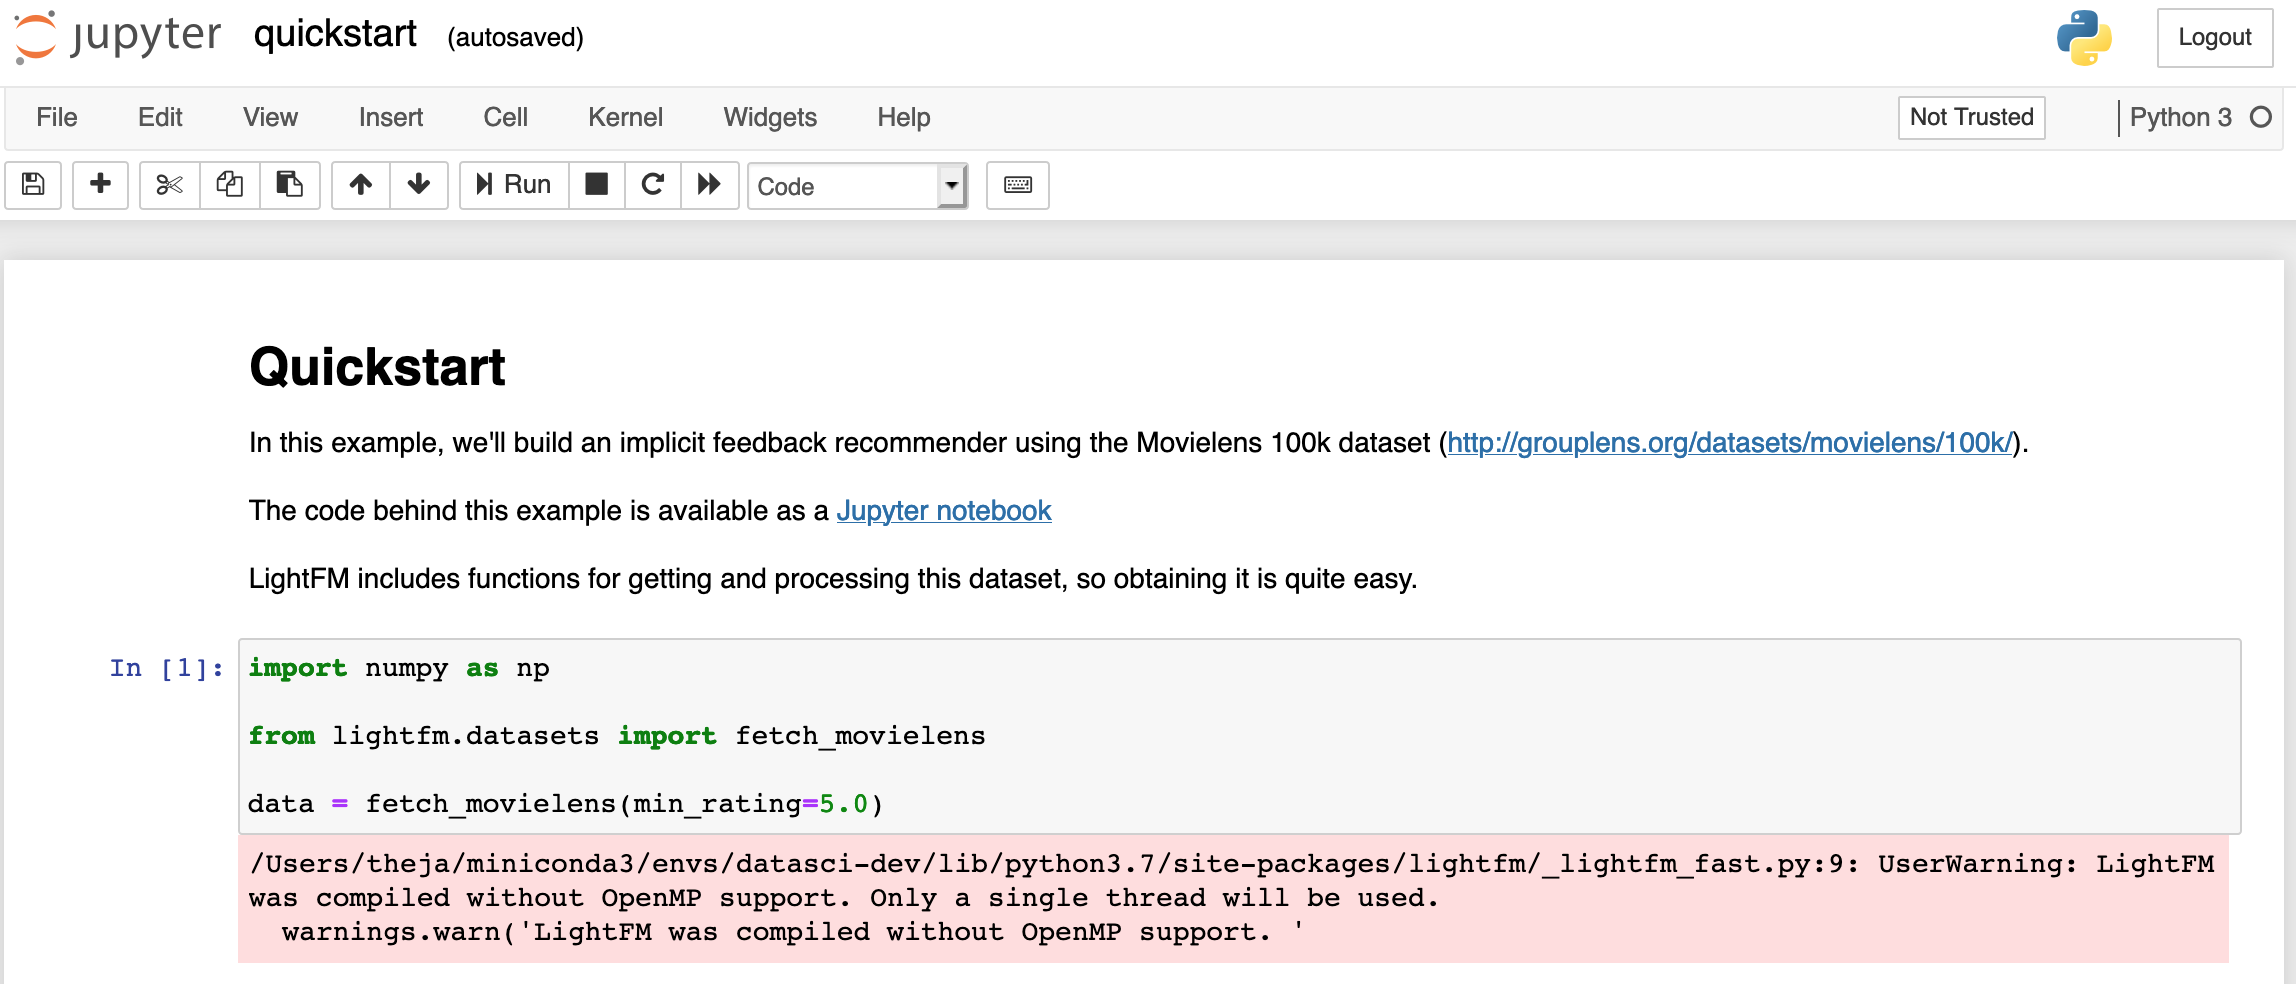
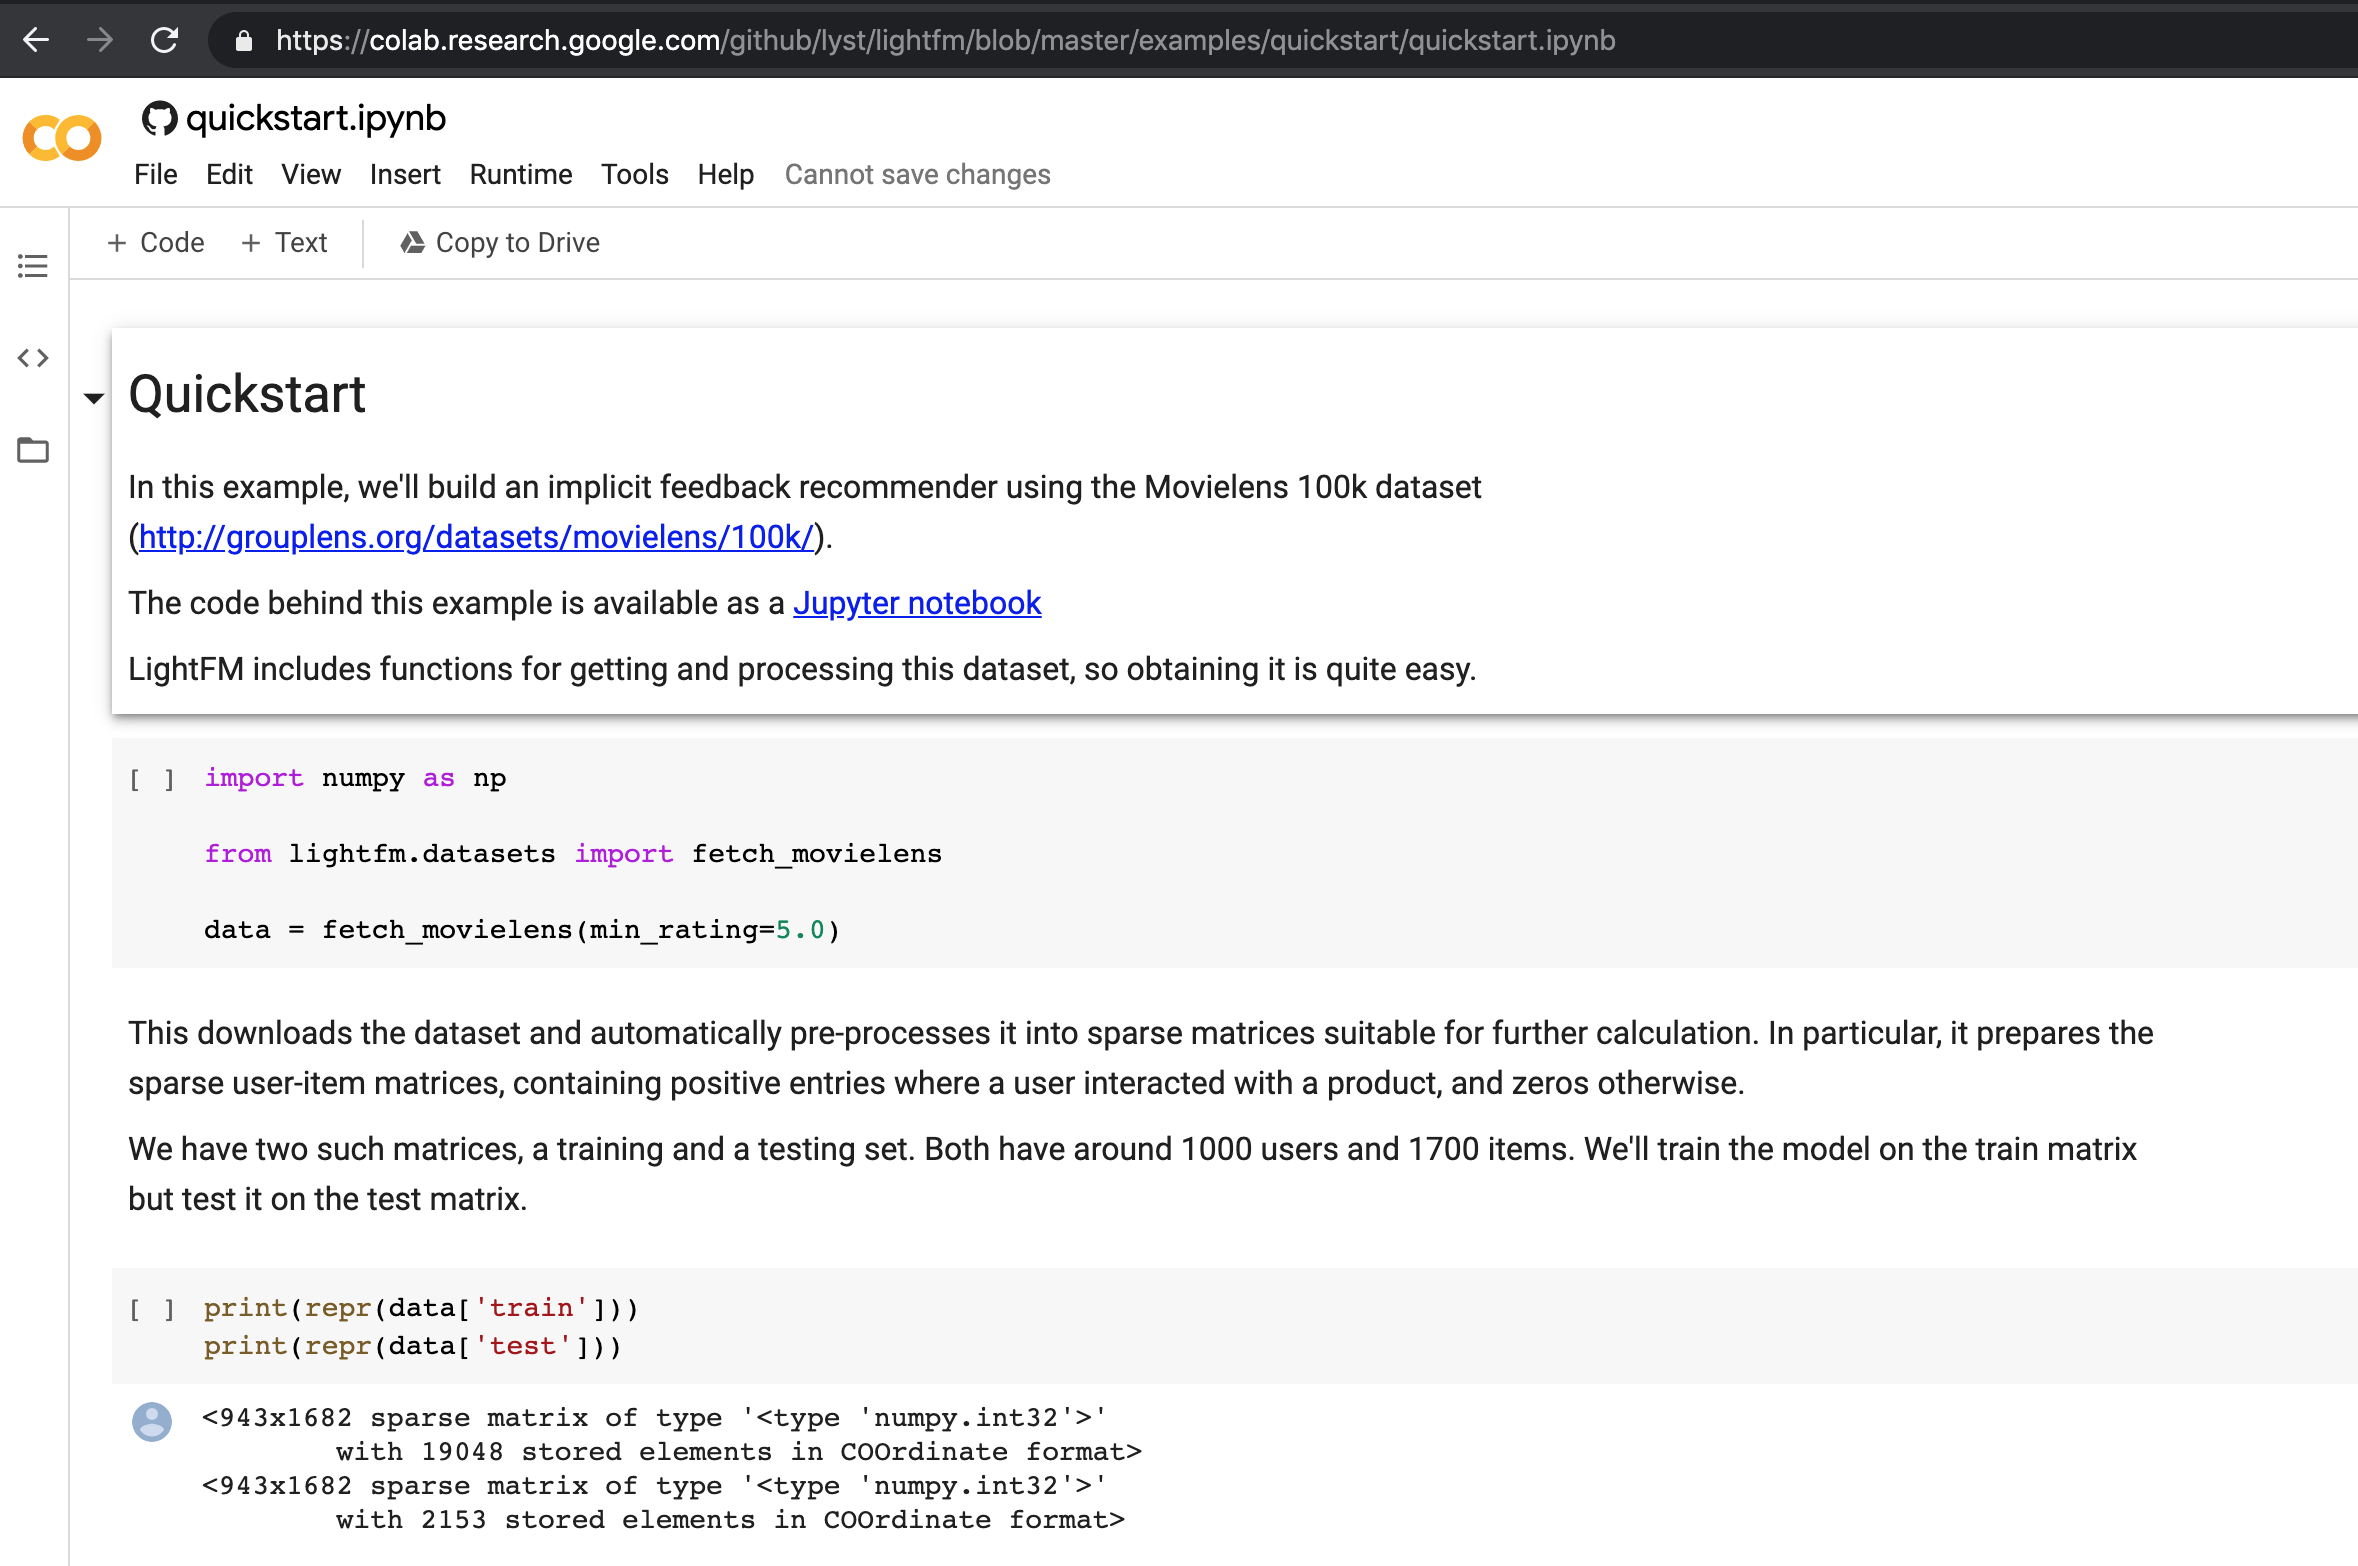
We will be training a recommendation engine for movie recommendation using the
lightfmpackage. In particular, we will follow the example here.
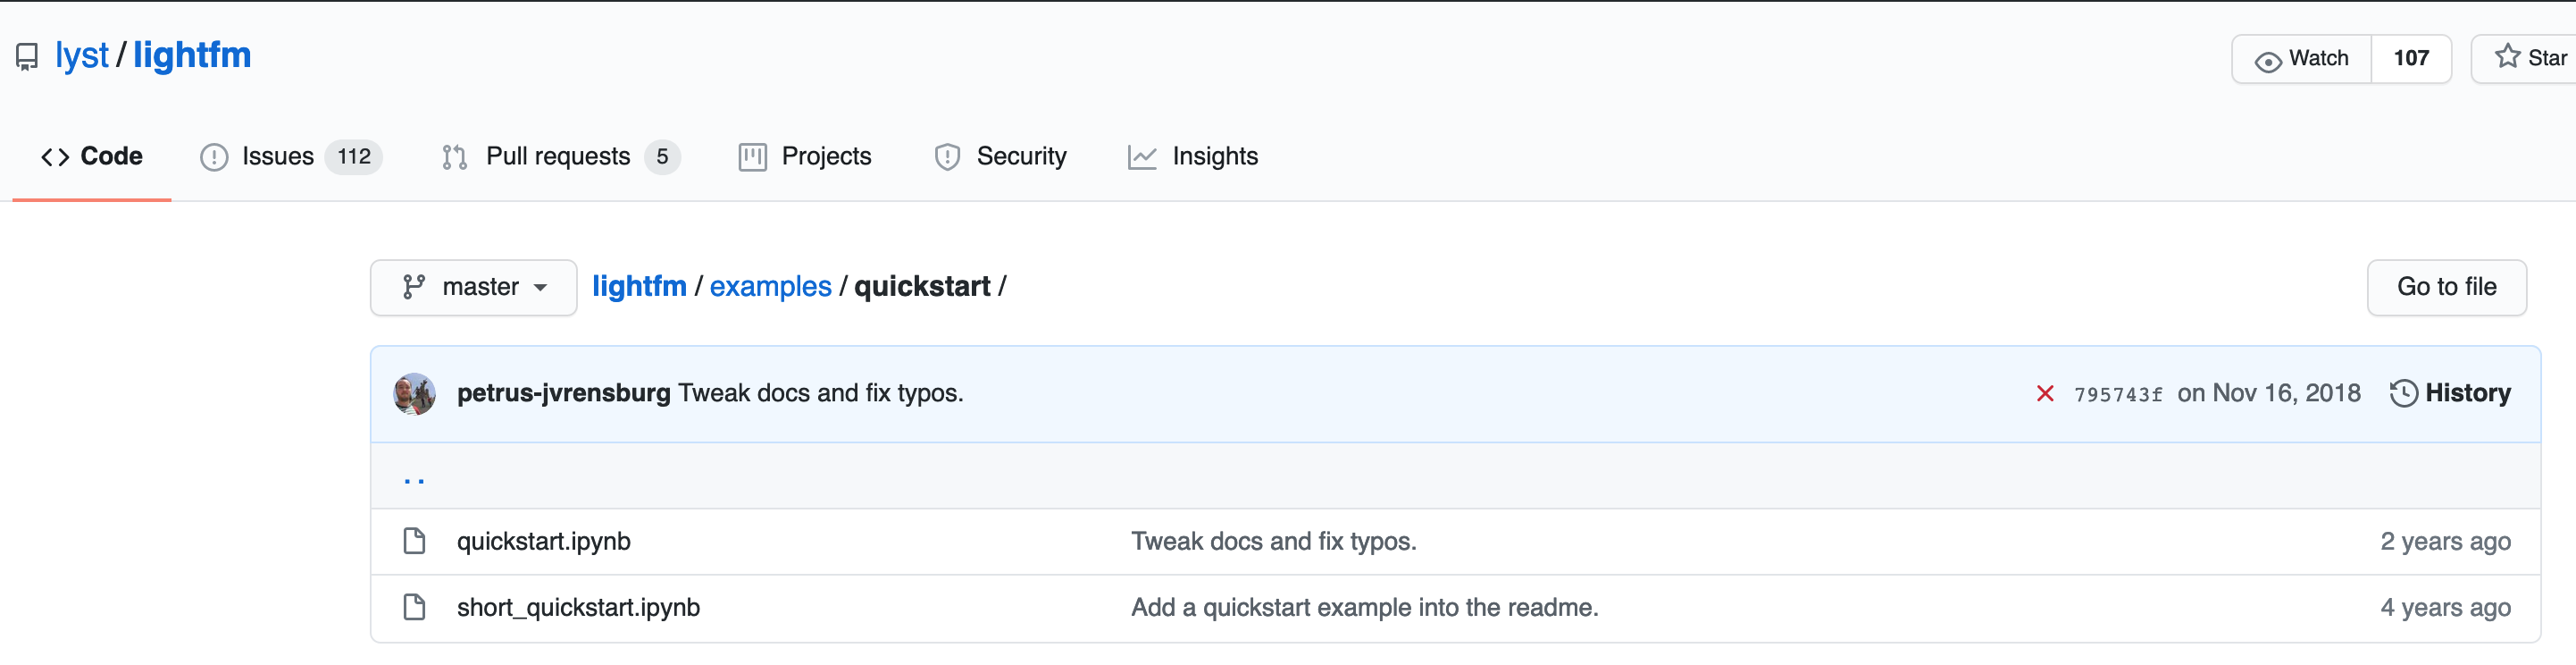
Lets clone the repository and start a local jupyter notebook server to have a look at the notebook. For cloning we use the following:
(datasci-dev) ttmac:pipelines theja$ git clone https://github.com/lyst/lightfm.git
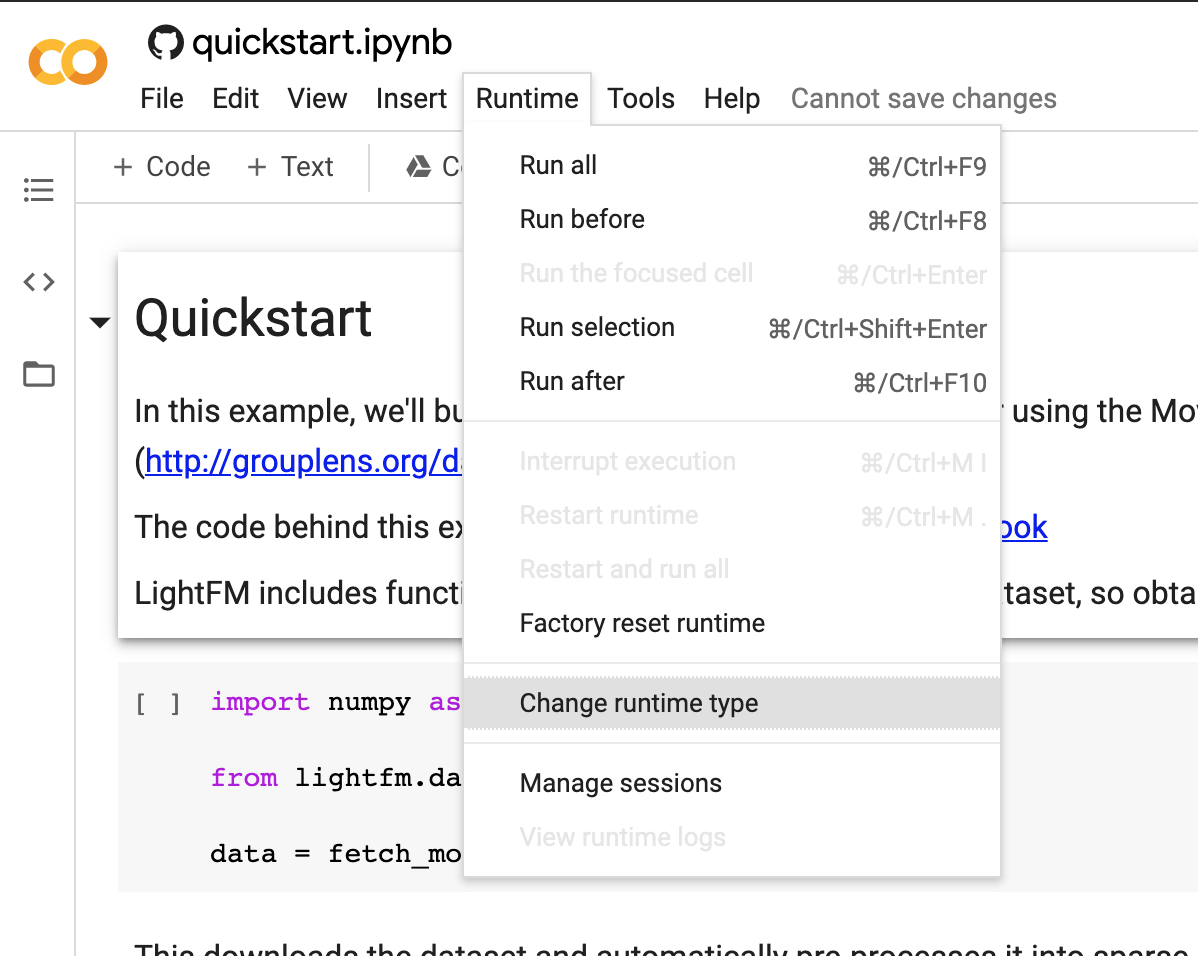
- Alternatively, we can load the notebook on Google colab. For this, navigate to colab.research.google.com and logging in using your google account.
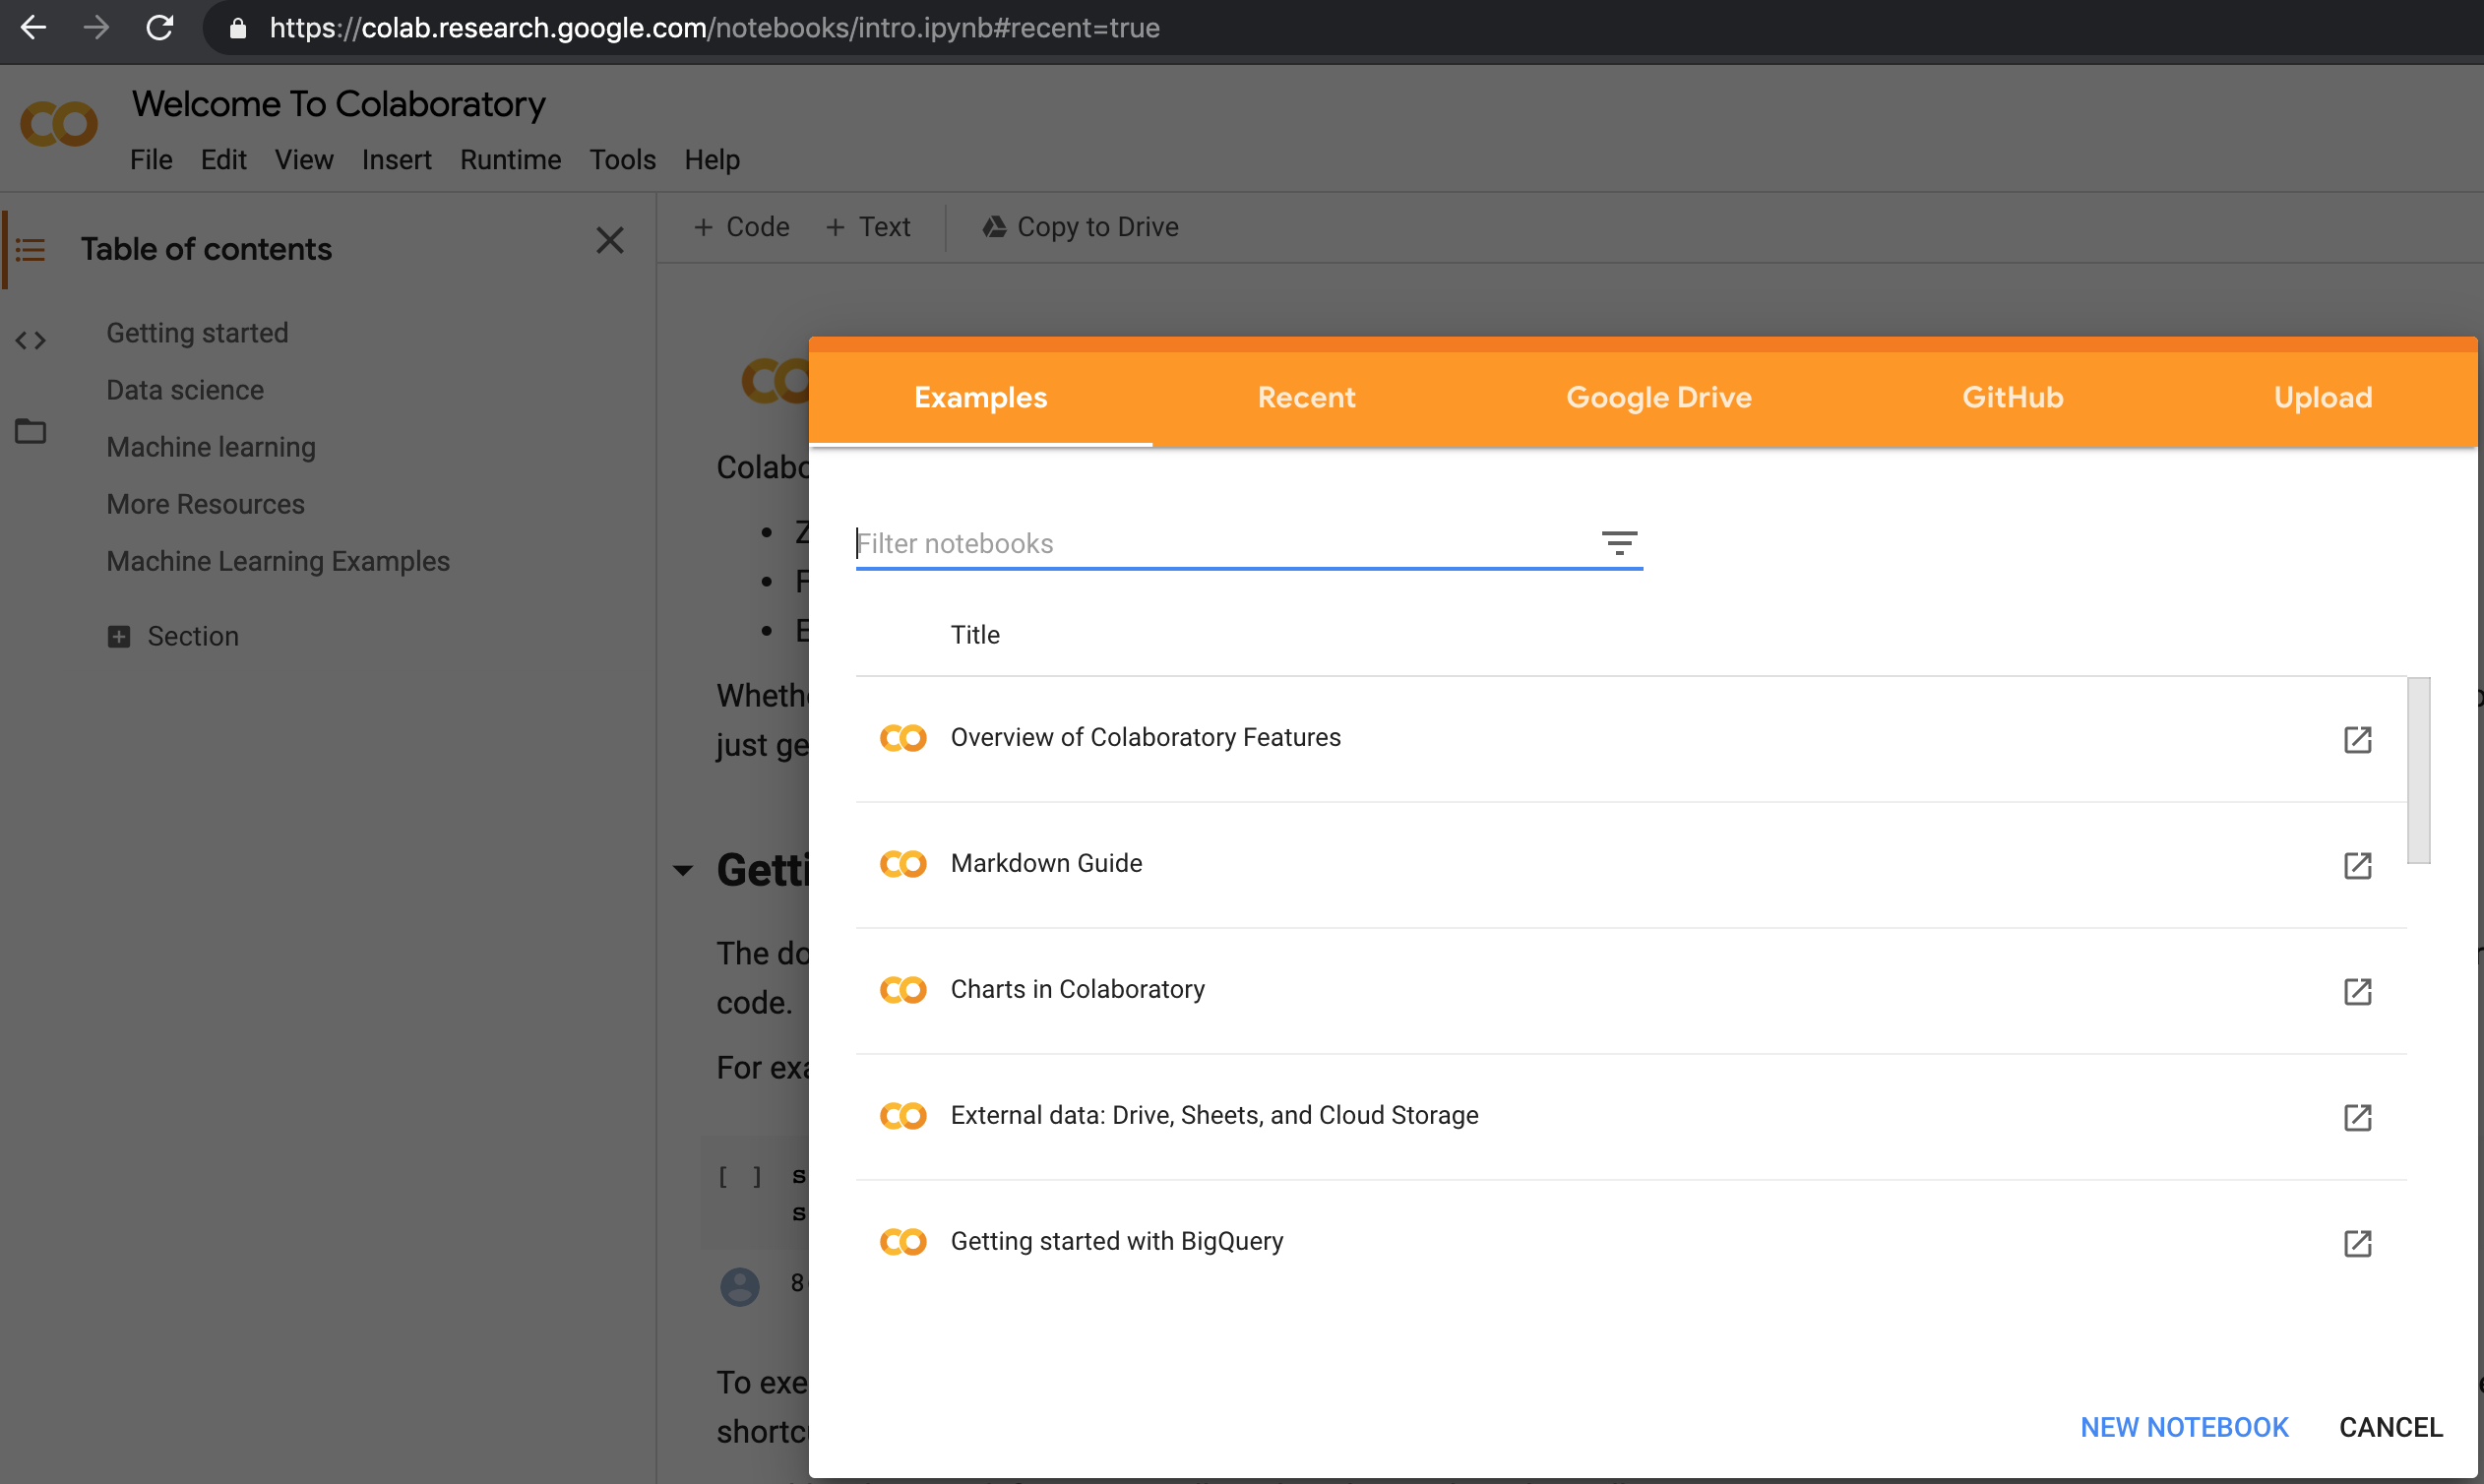
- You can choose the Github tab and paste the url to the repository.
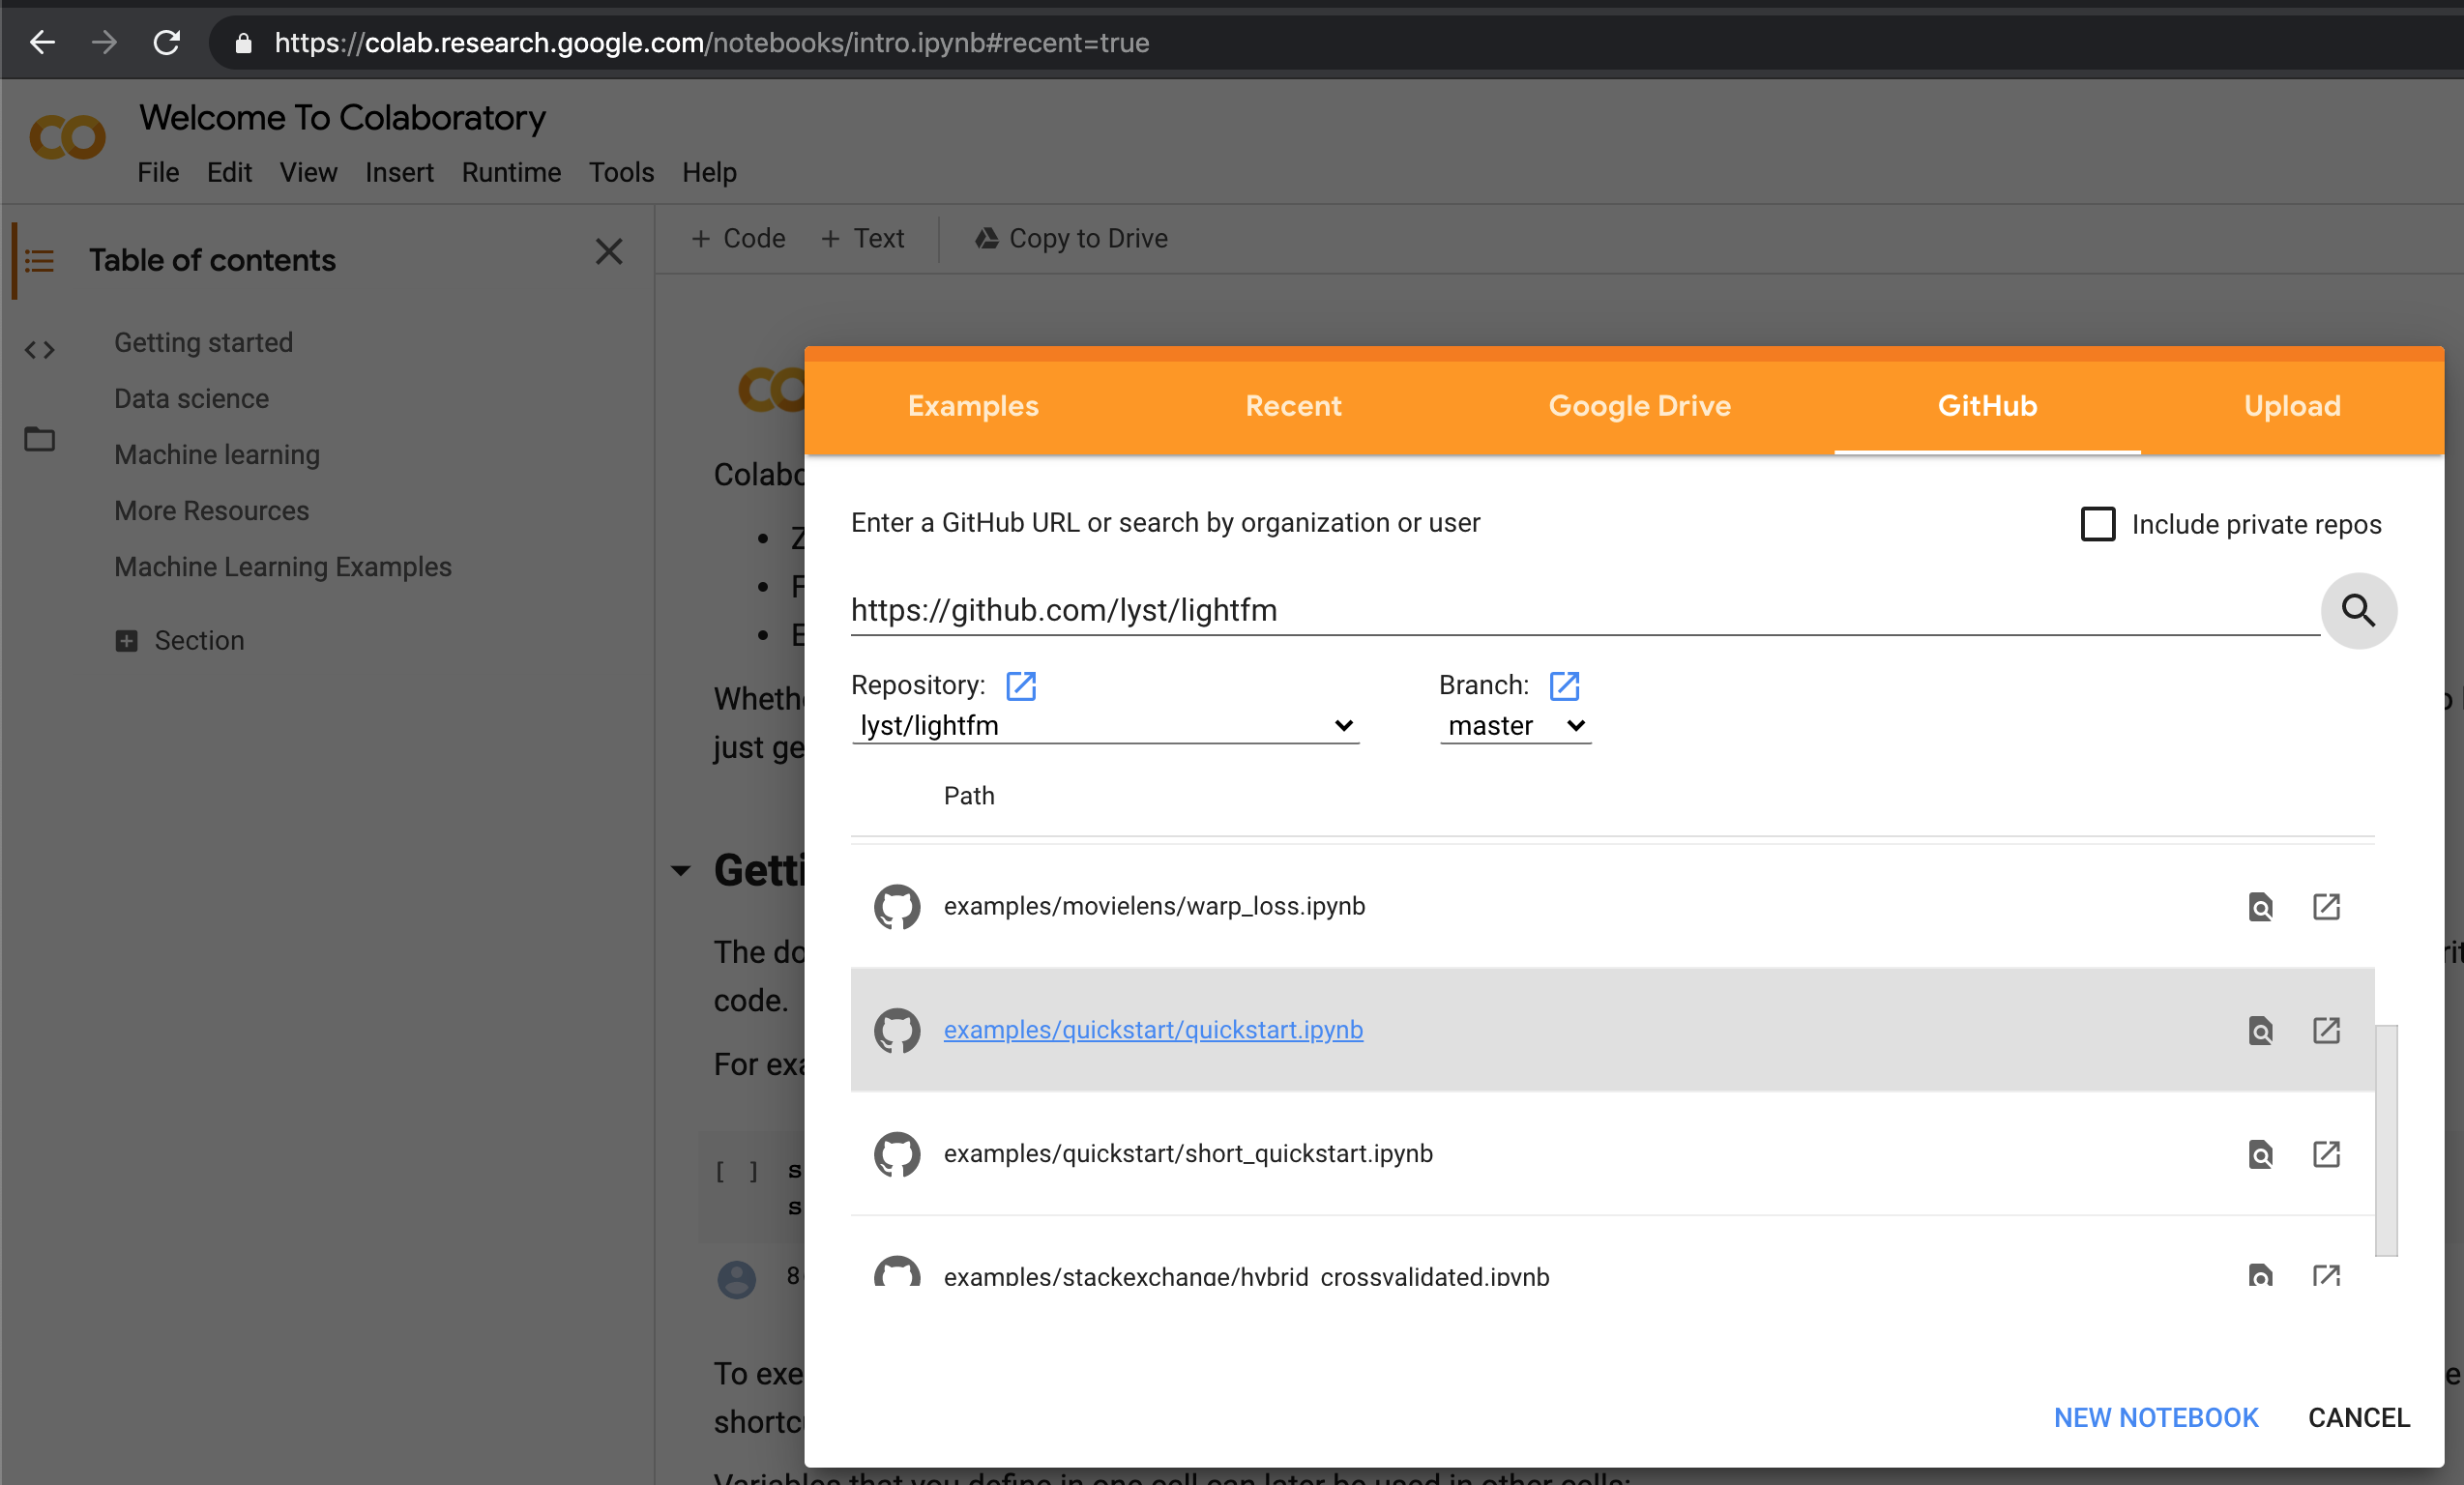
- Colab will open the notebook for you.
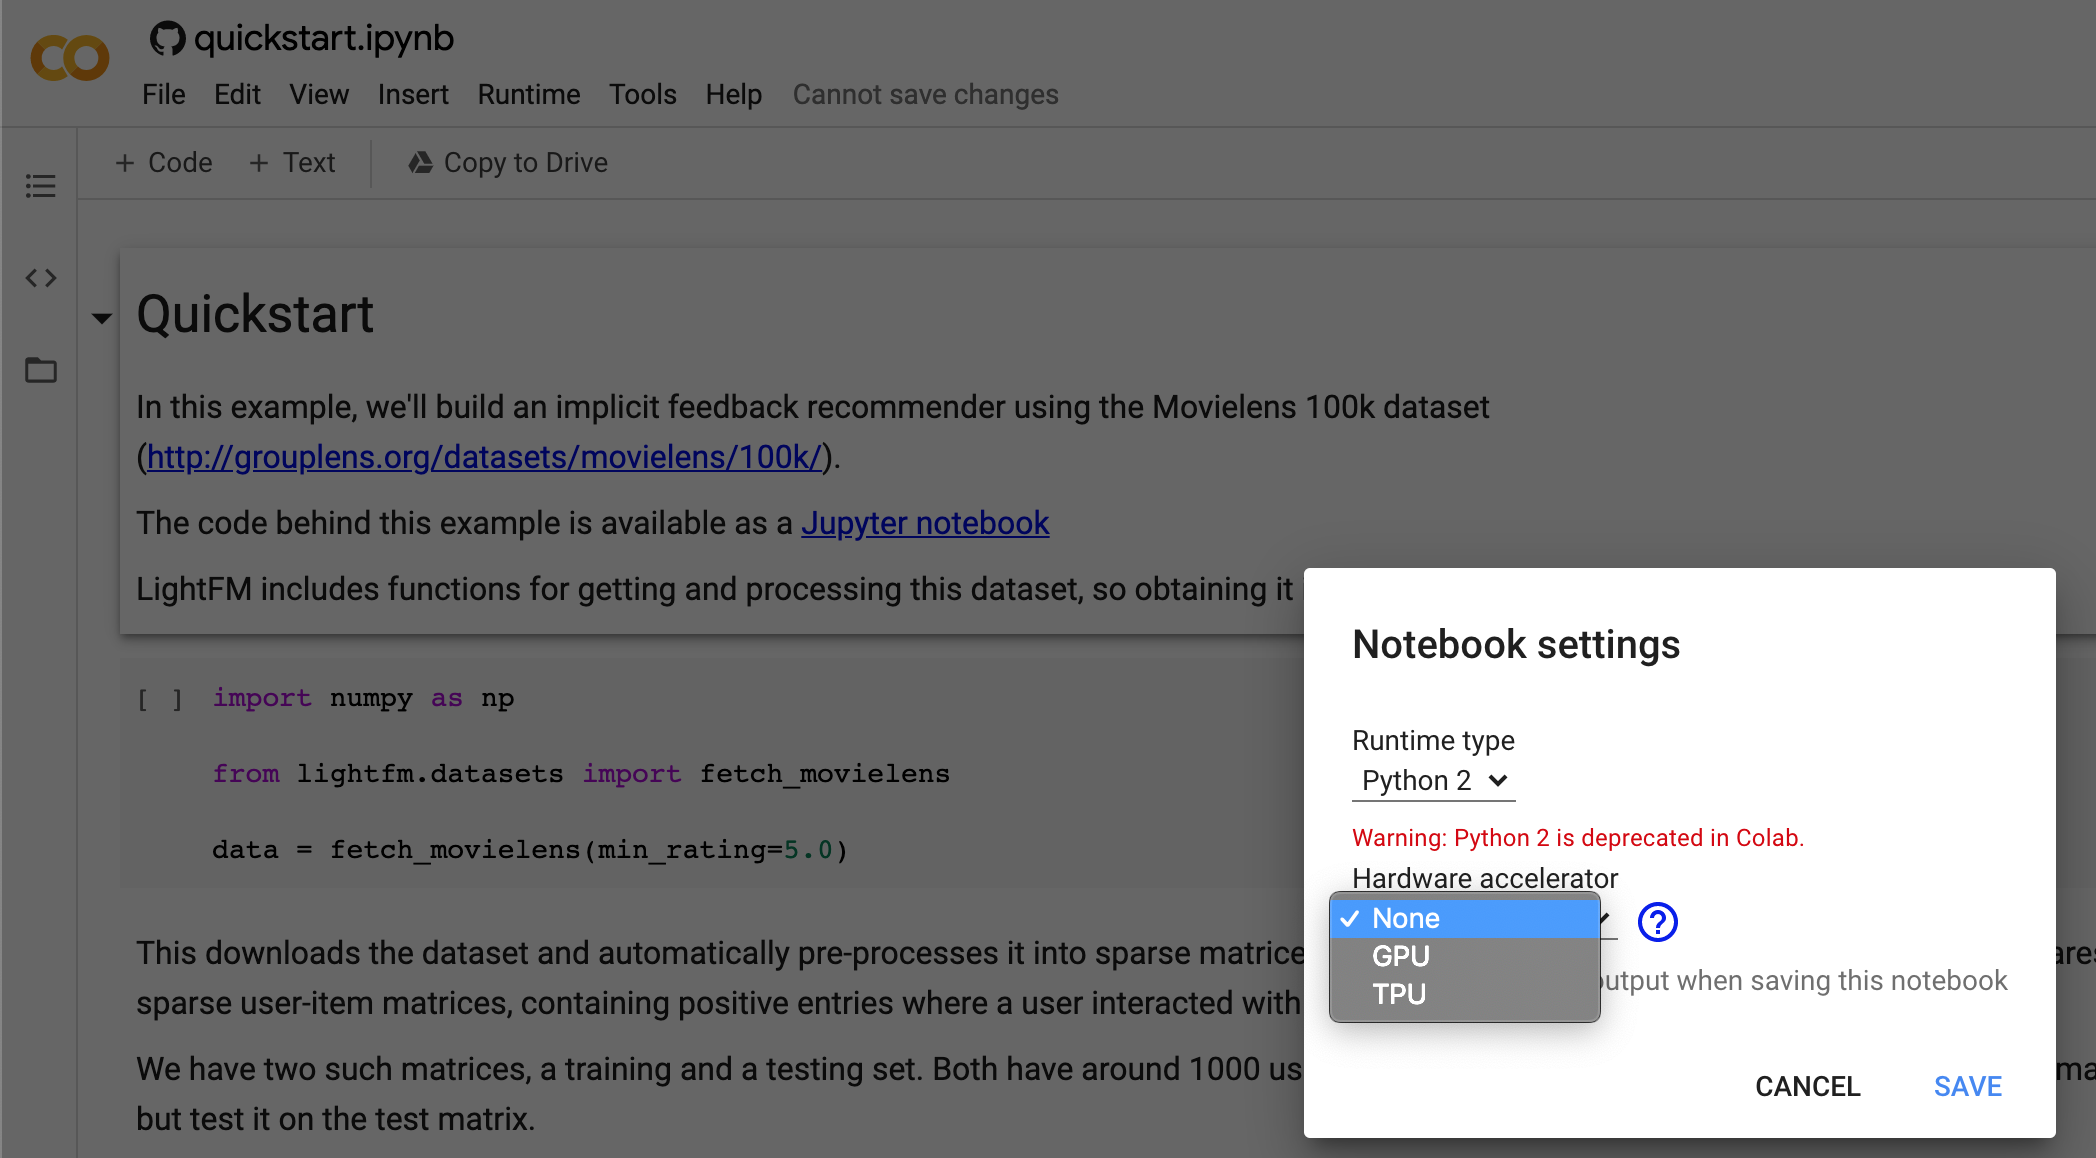
- The colab notebook above is not stored on your google drive yet. You will need to explicitly choose so (use the
file->save a copy in drive). You can also turn on GPU option (not needed for this notebook) by navigating toruntime-> change runtime typeas shown below.
Lets come back to our local jupyter notebook. We can actually execute the notebook by running the following command. See https://github.com/jupyter/nbconvert/issues/515 for more information on the command line arguments used here.
(datasci-dev) ttmac:pipelines theja$ cd lightfm/examples/quickstart/
(datasci-dev) ttmac:quickstart theja$ jupyter nbconvert --to notebook --ExecutePreprocessor.kernel_name=python3 --inplace --execute quickstart.ipynb
[NbConvertApp] Converting notebook quickstart.ipynb to notebook
[NbConvertApp] Executing notebook with kernel: python3
[NbConvertApp] Writing 8387 bytes to quickstart.ipynb
We will slightly modify the quickstart notebook to delineate the four steps and add the BigQuery export code.
- Download notebook locally
- Open with Colab bu using the URL https://github.com/ChicagoDataScience/MLOps/.
We will install one additional package called
pandas_gbqfrom https://pandas-gbq.readthedocs.io/en/latest/ to upload our predictions to Google’s BigQuery managed service (can act like an application database).(datasci-dev) ttmac:quickstart theja$ conda install pandas-gbq --channel conda-forge Collecting package metadata (current_repodata.json): done Solving environment: done . . (truncated) . . oauthlib-3.0.1 | 82 KB | ############################################################################################################ | 100% Preparing transaction: done Verifying transaction: done Executing transaction: done(Aside) To do a quick check if you are authenticated, execute the following commands in the terminal (don’t forget to set the environment variable using
export GOOGLE_APPLICATION_CREDENTIALS=/Users/theja/model-user.jsonbeforehand):(datasci-dev) ttmac:pipelines theja$ gcloud auth list Credentialed Accounts ACTIVE ACCOUNT * *****@gmail.com To set the active account, run: $ gcloud config set account `ACCOUNT` (datasci-dev) ttmac:pipelines theja$ gcloud config list project [core] project = authentic-realm-276822 Your active configuration is: [default](Aside) You may need to do a downgrade of a package using the command
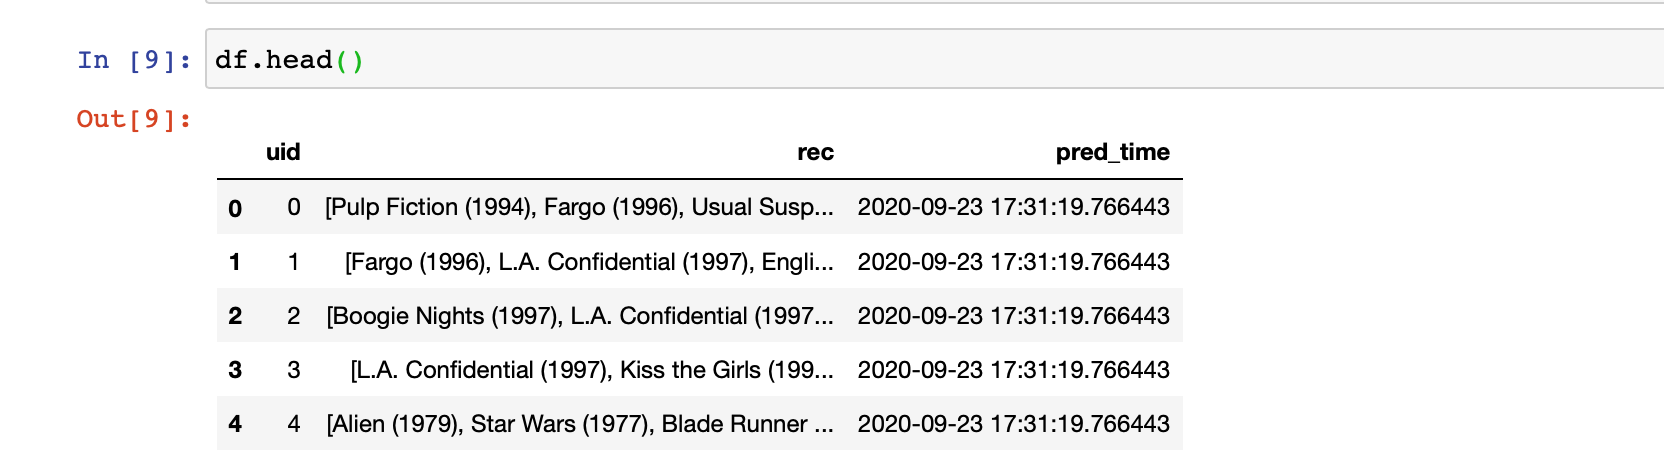
conda install google-cloud-core==1.3.0in case you are seeing errors such asAttributeError: 'ClientOptions' object has no attribute 'scopes'Once we run all cells of the notebook, we have essentially pushed a pandas dataframe of predictions to Google BigQuery. The dataframe itself looks like the following:
- we should be able to see these predictions on the Google cloud console. So lets open up the Google Console homepage.
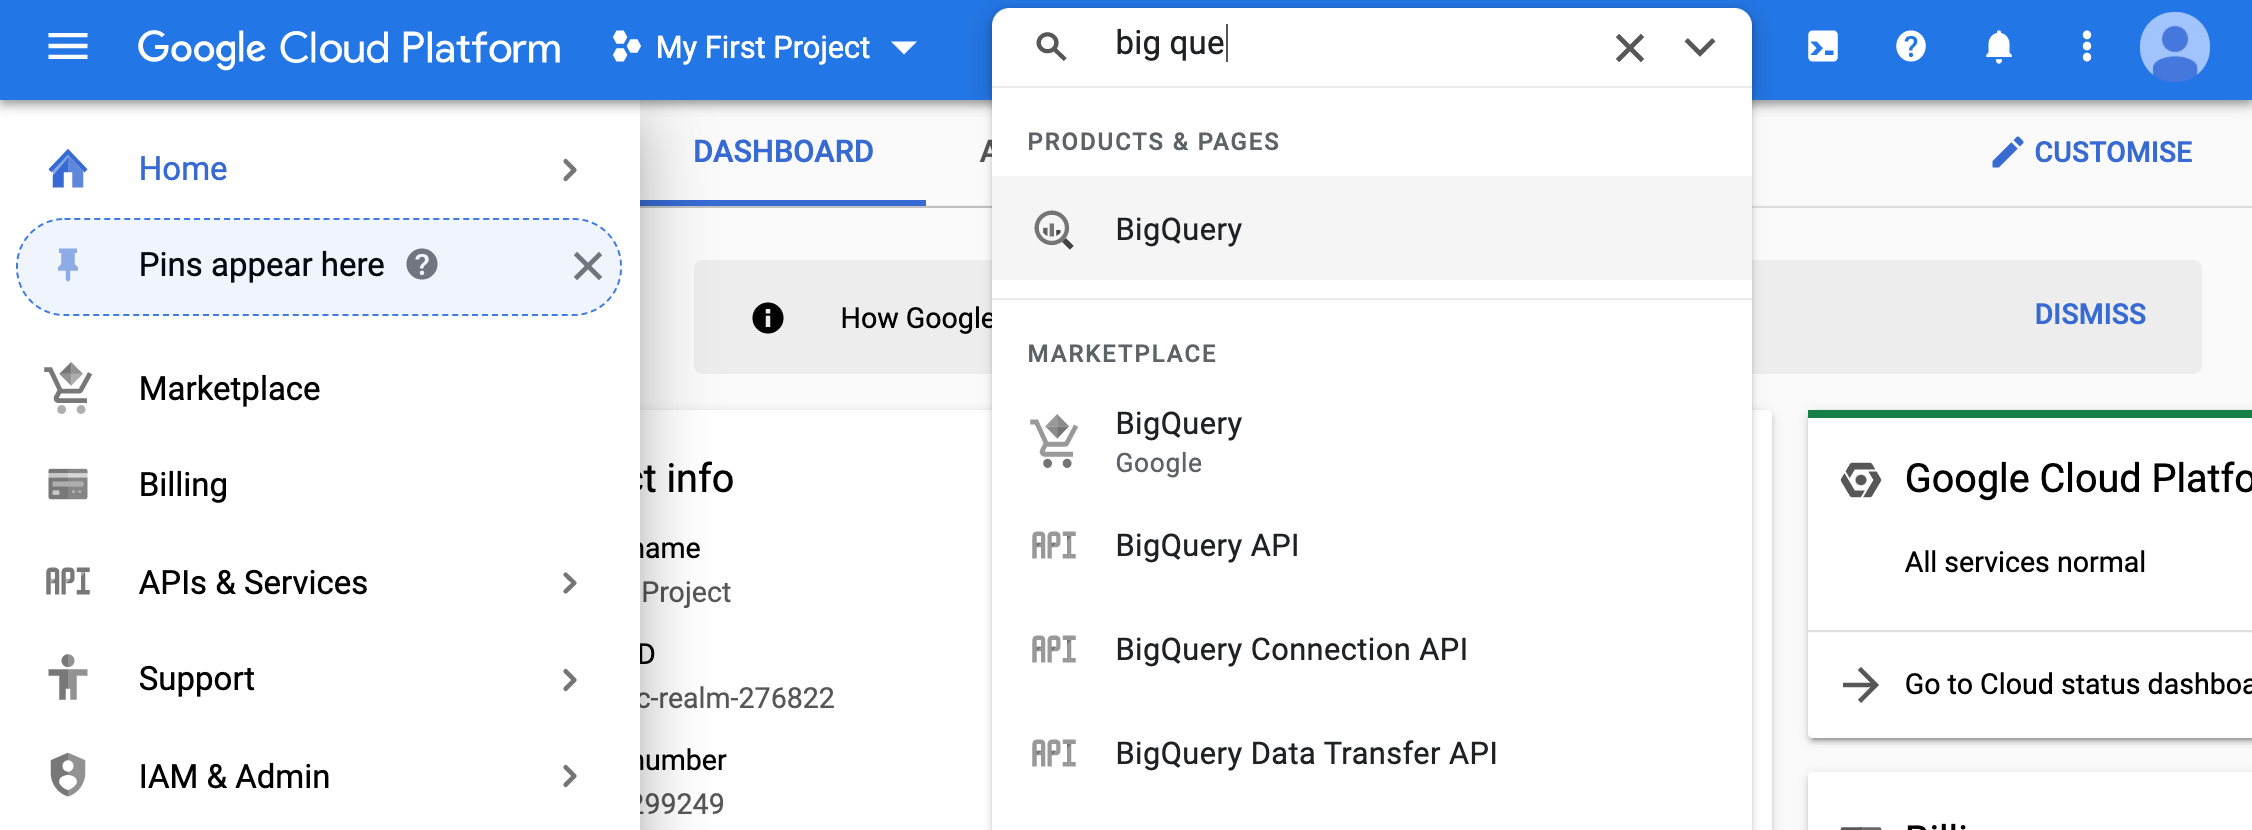
- From the console homepage, navigating to BigQuery lands us the following page.
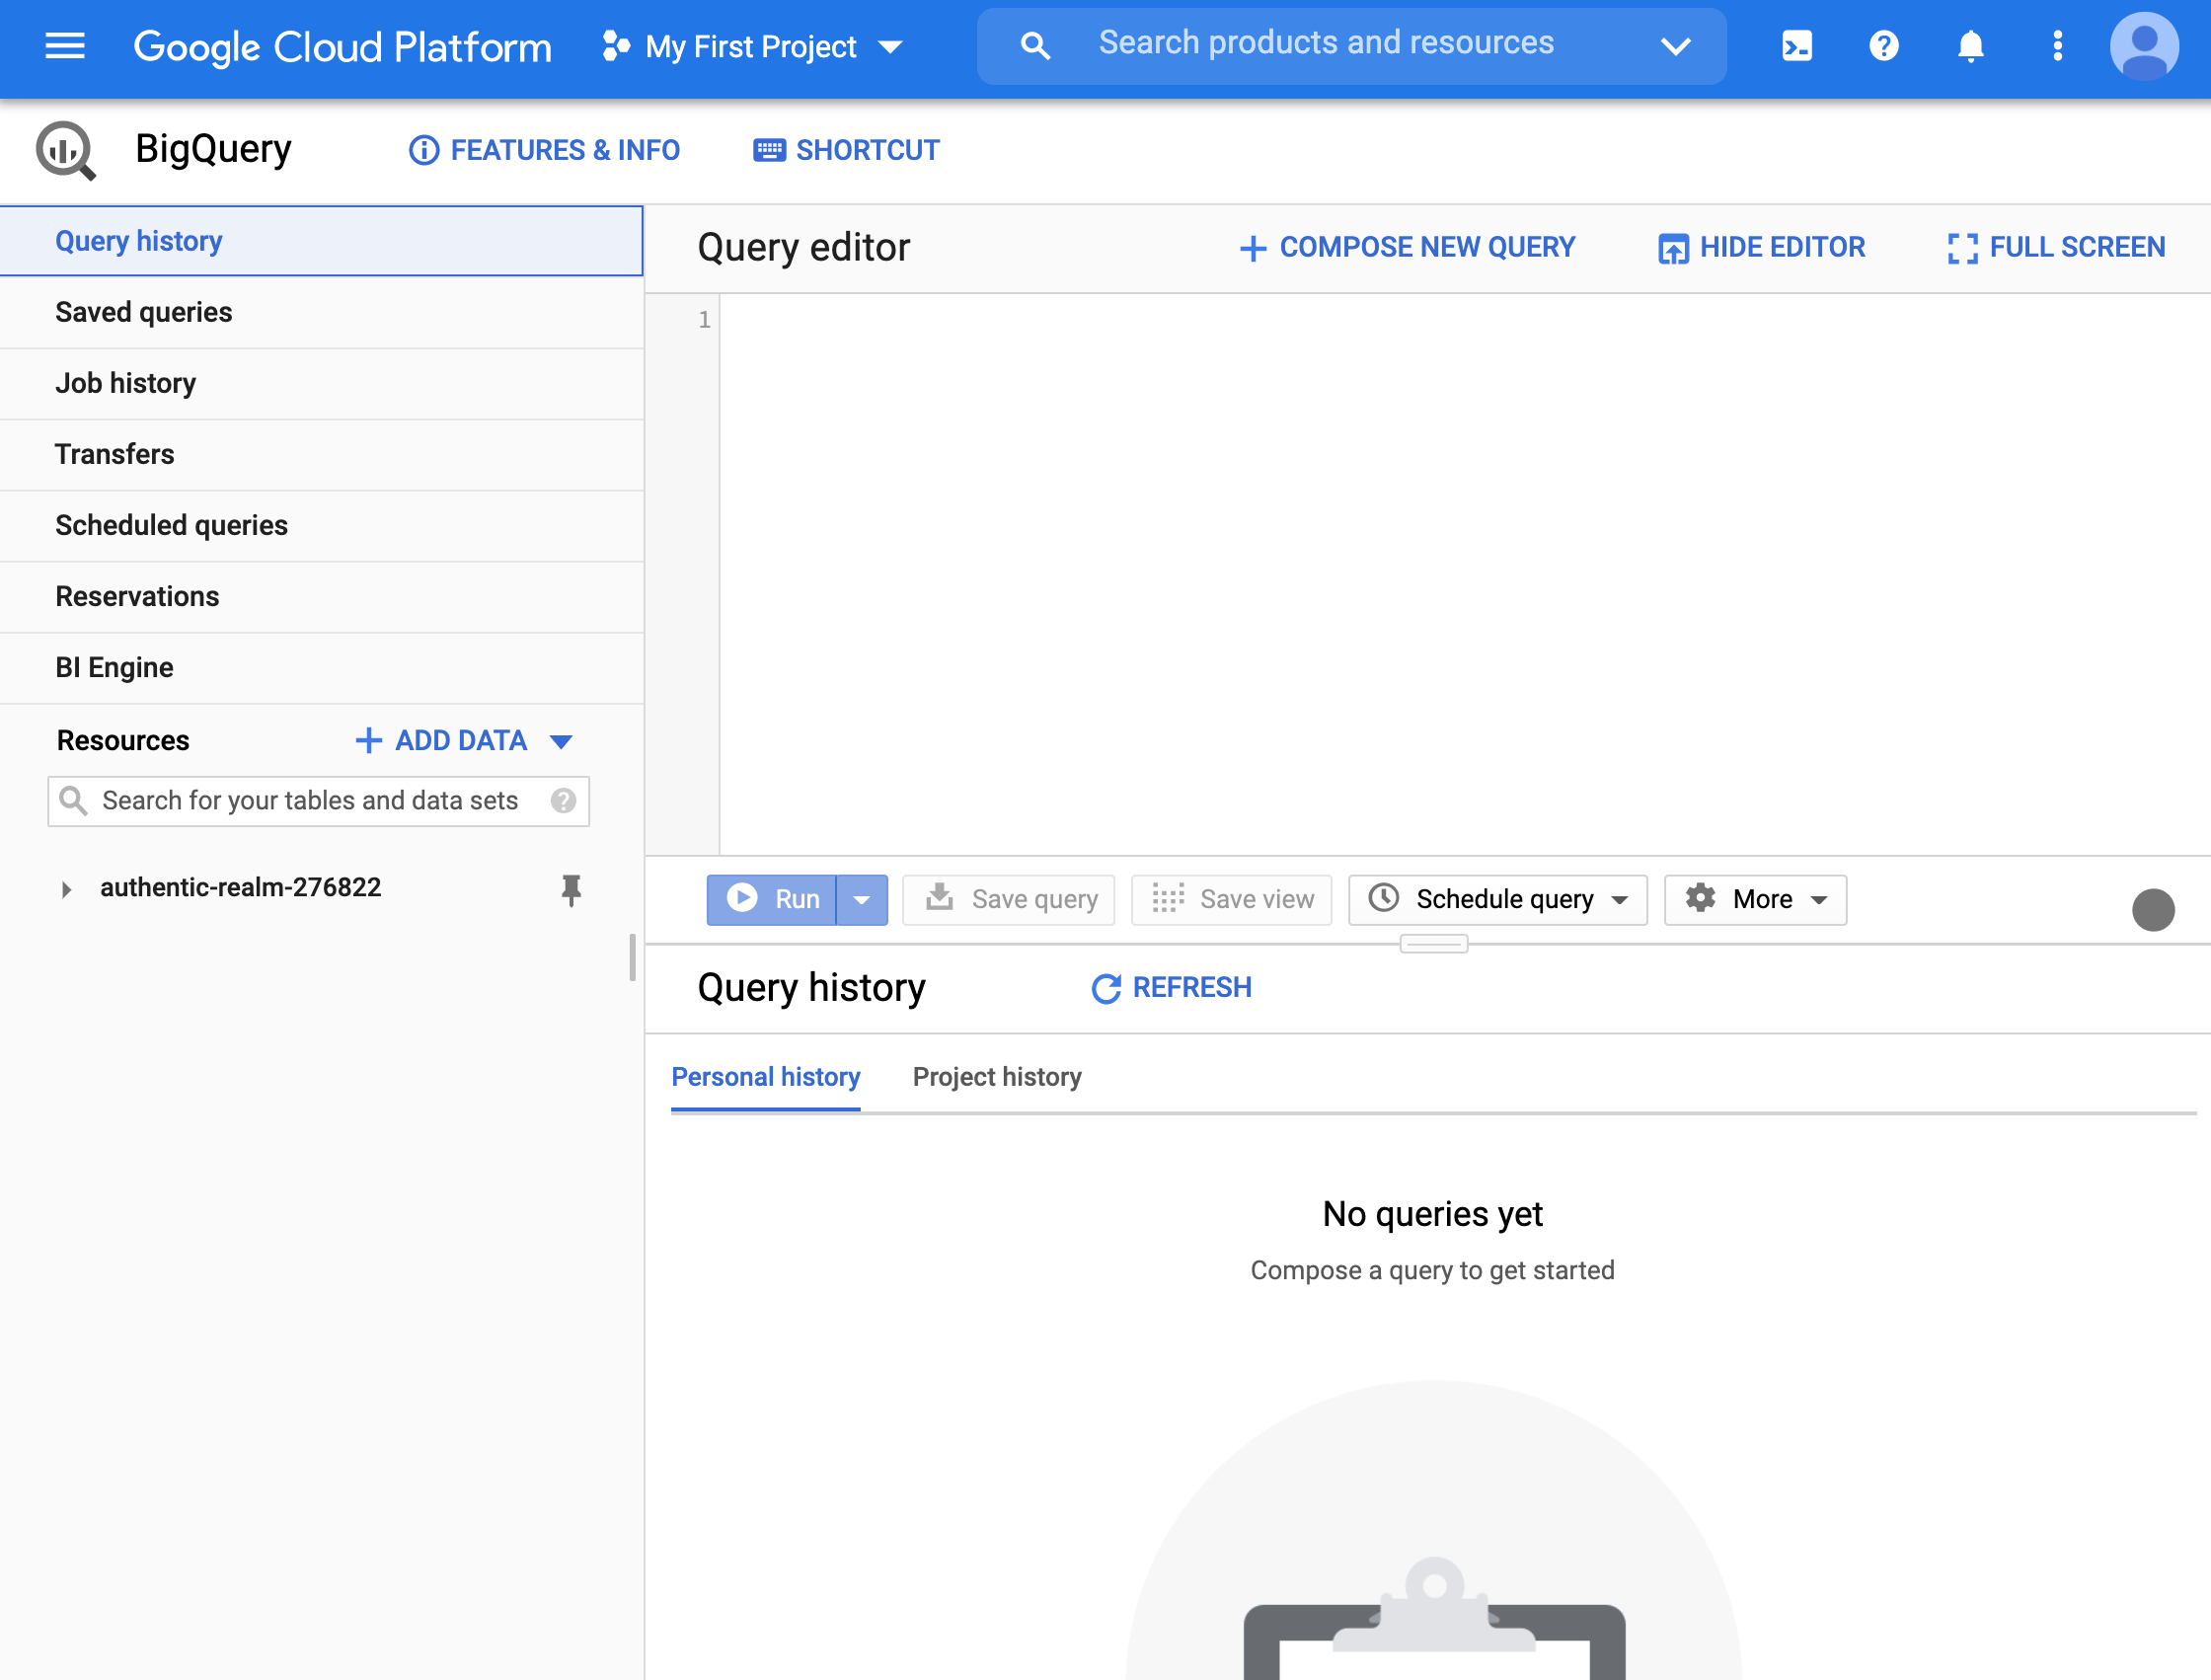
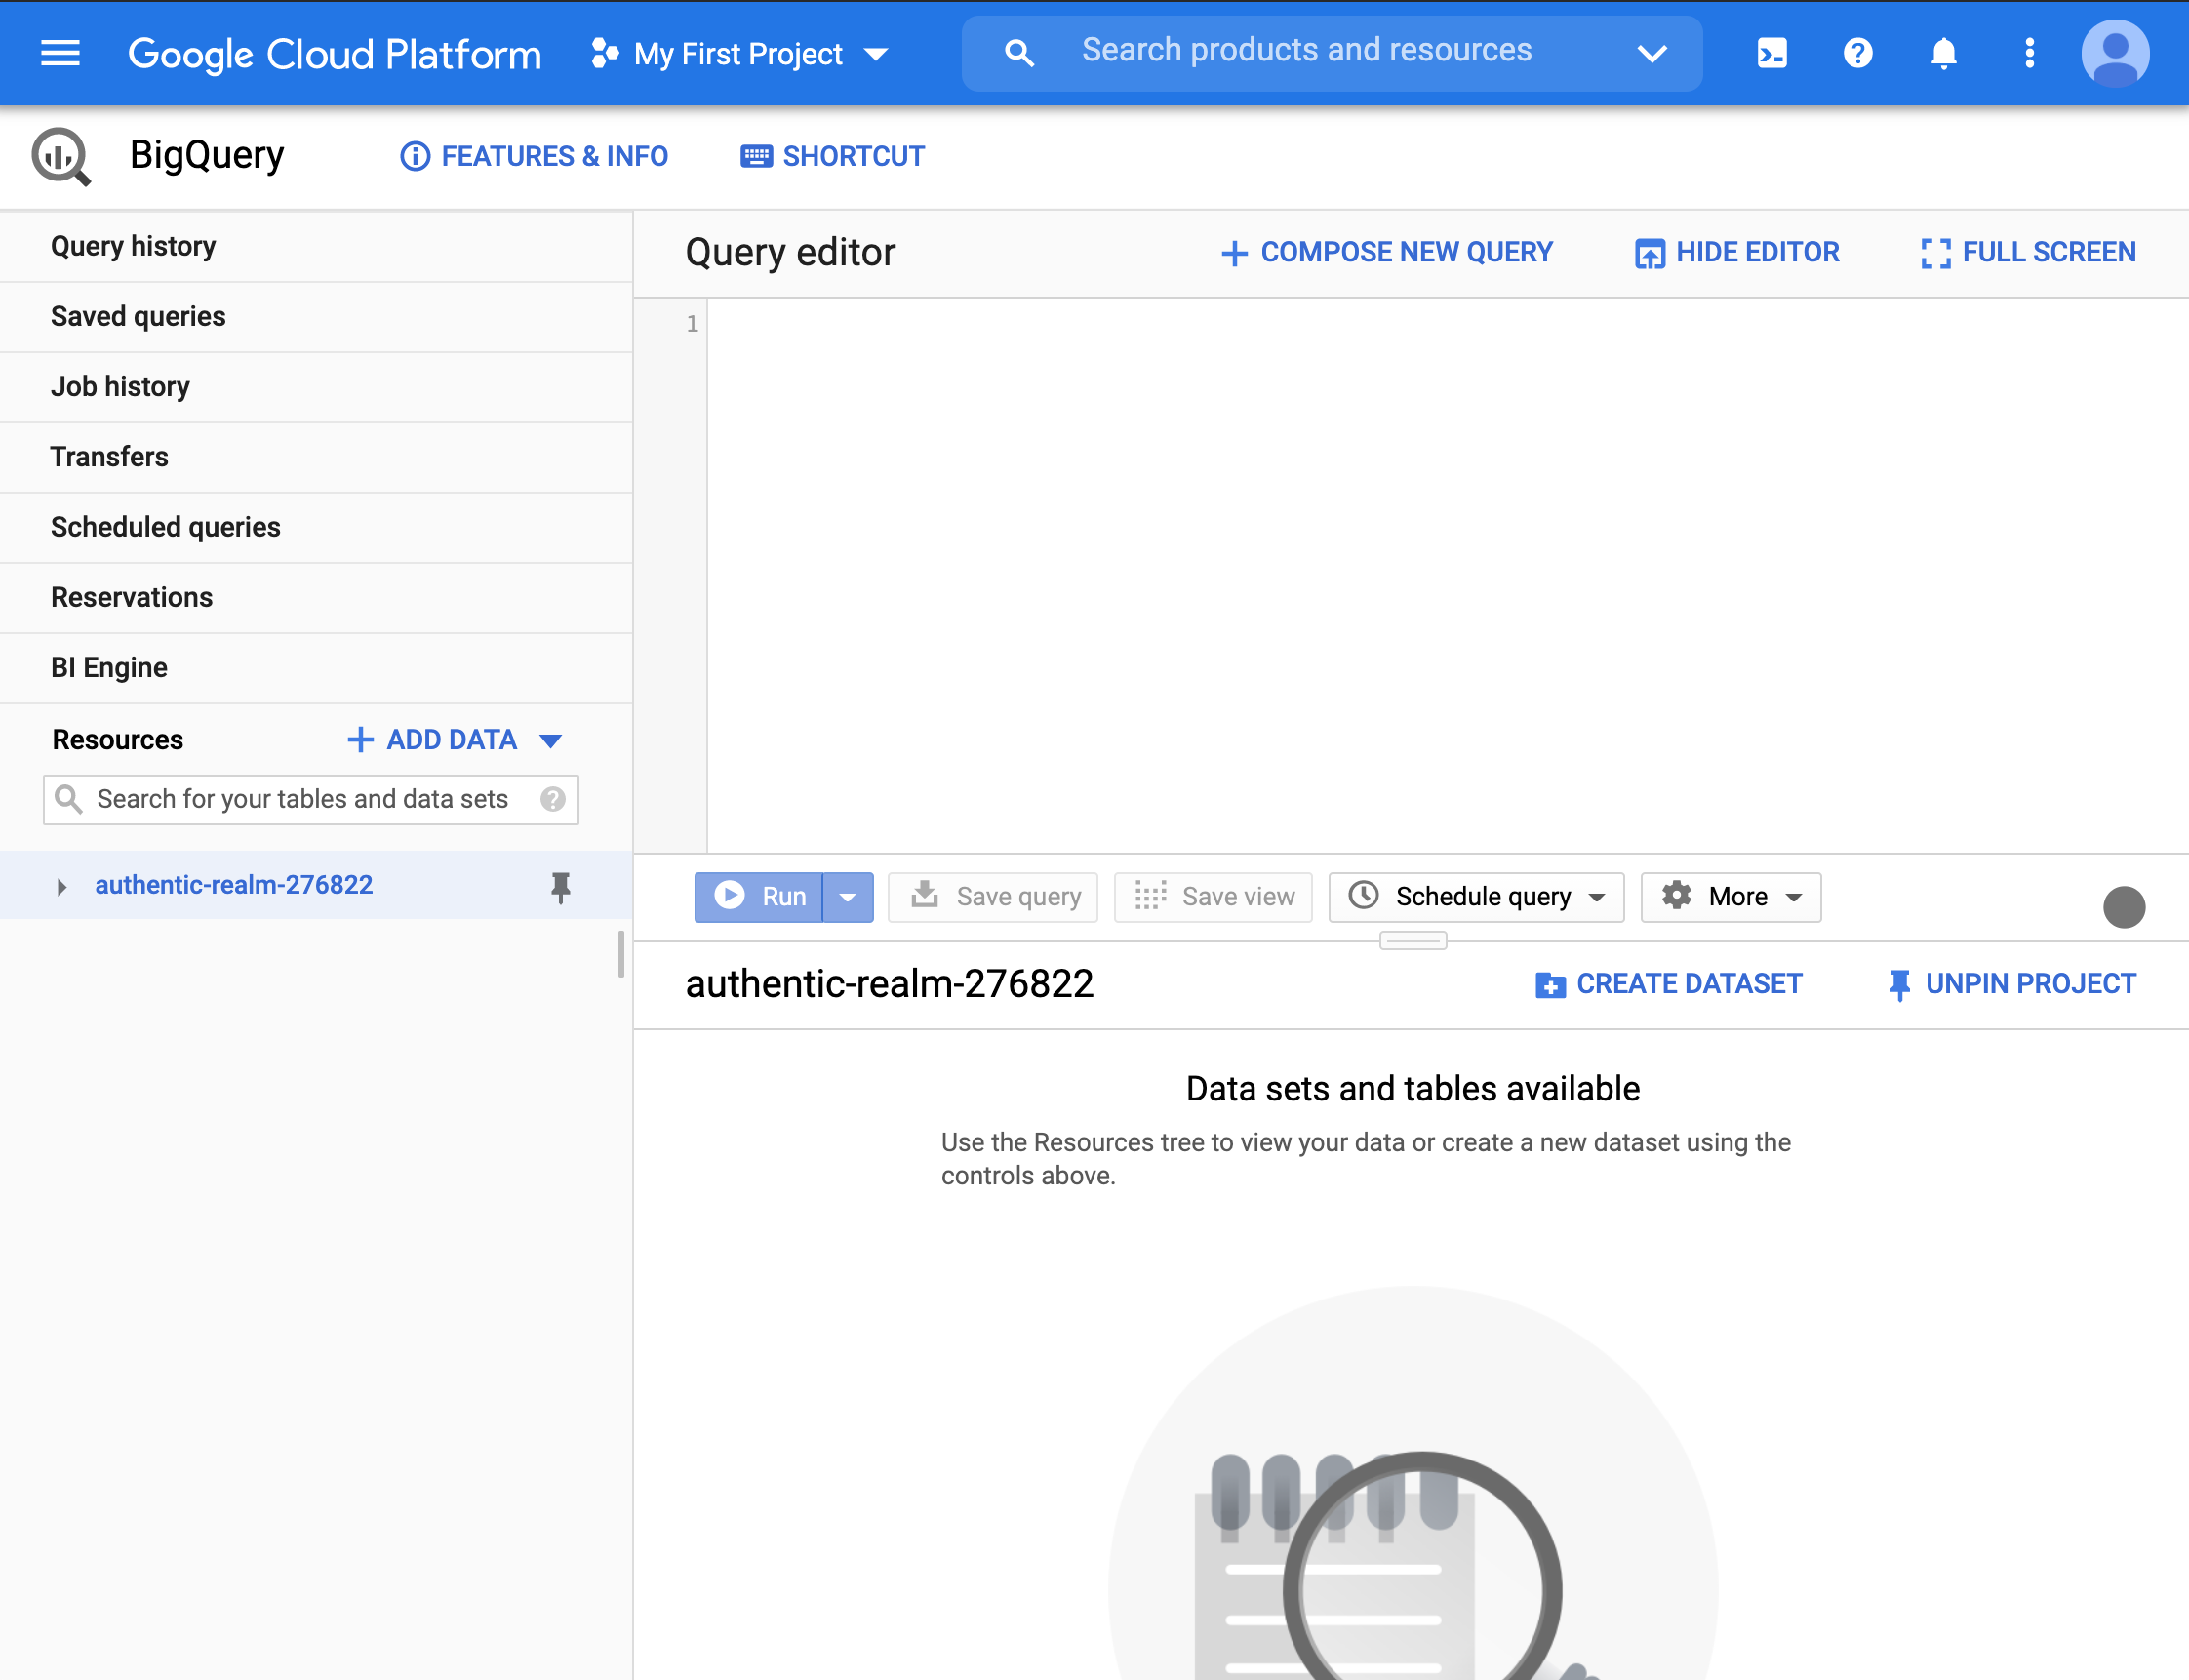
- We are not interested in the SQL editor at the moment. At the bottom right, we can see our project.
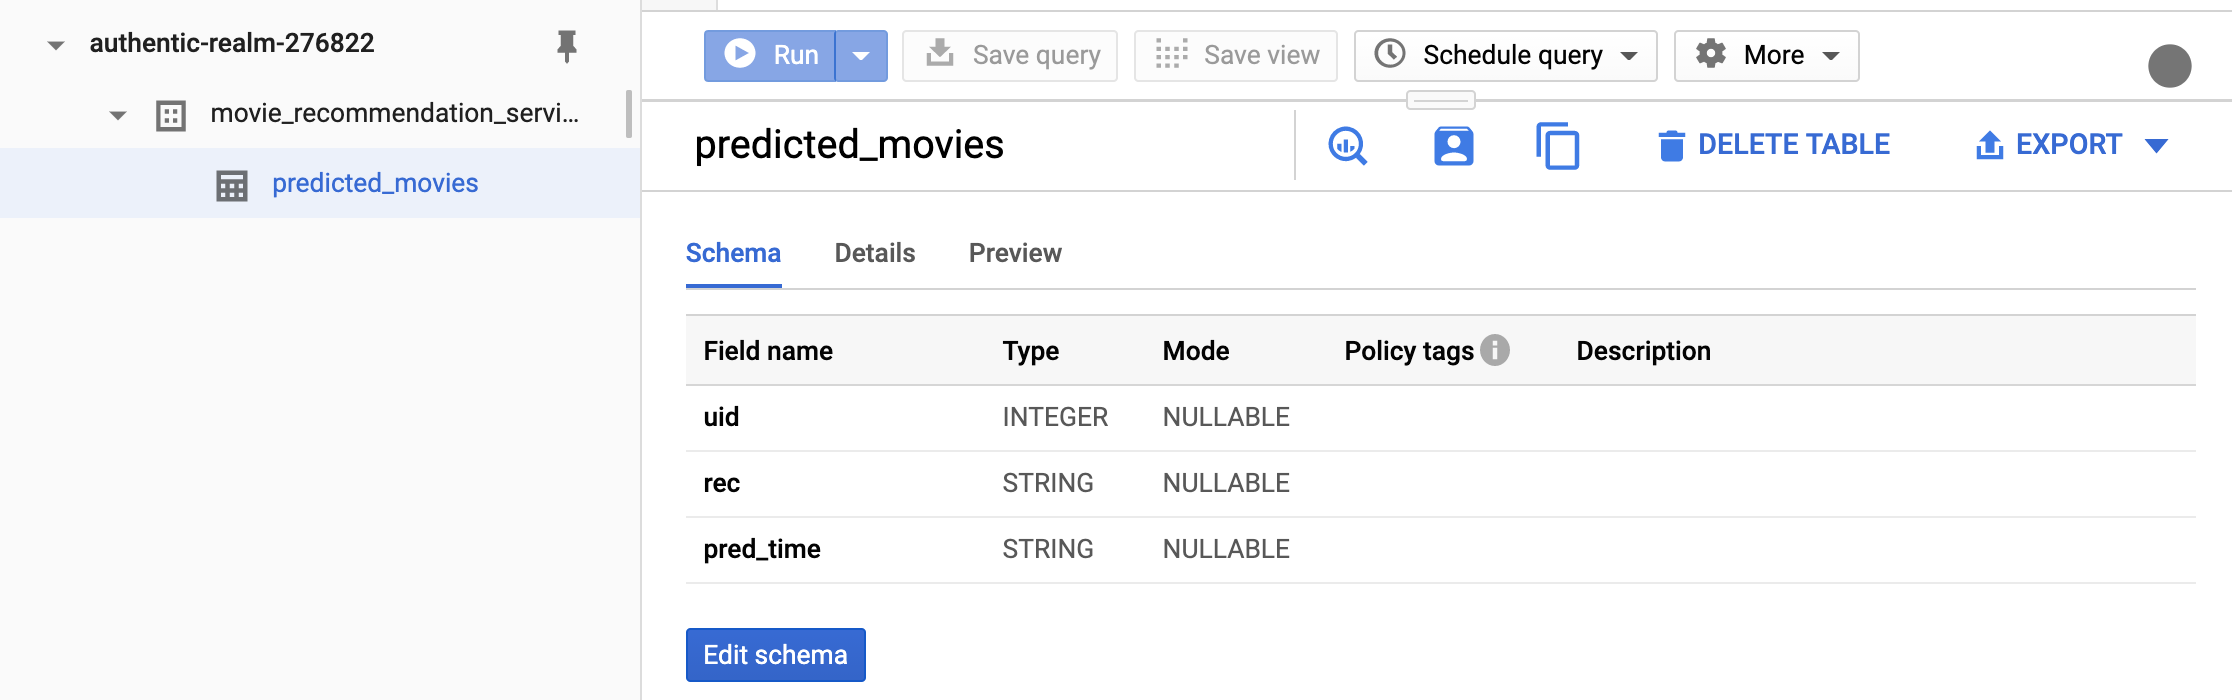
- Expand the project on the left column to get to the
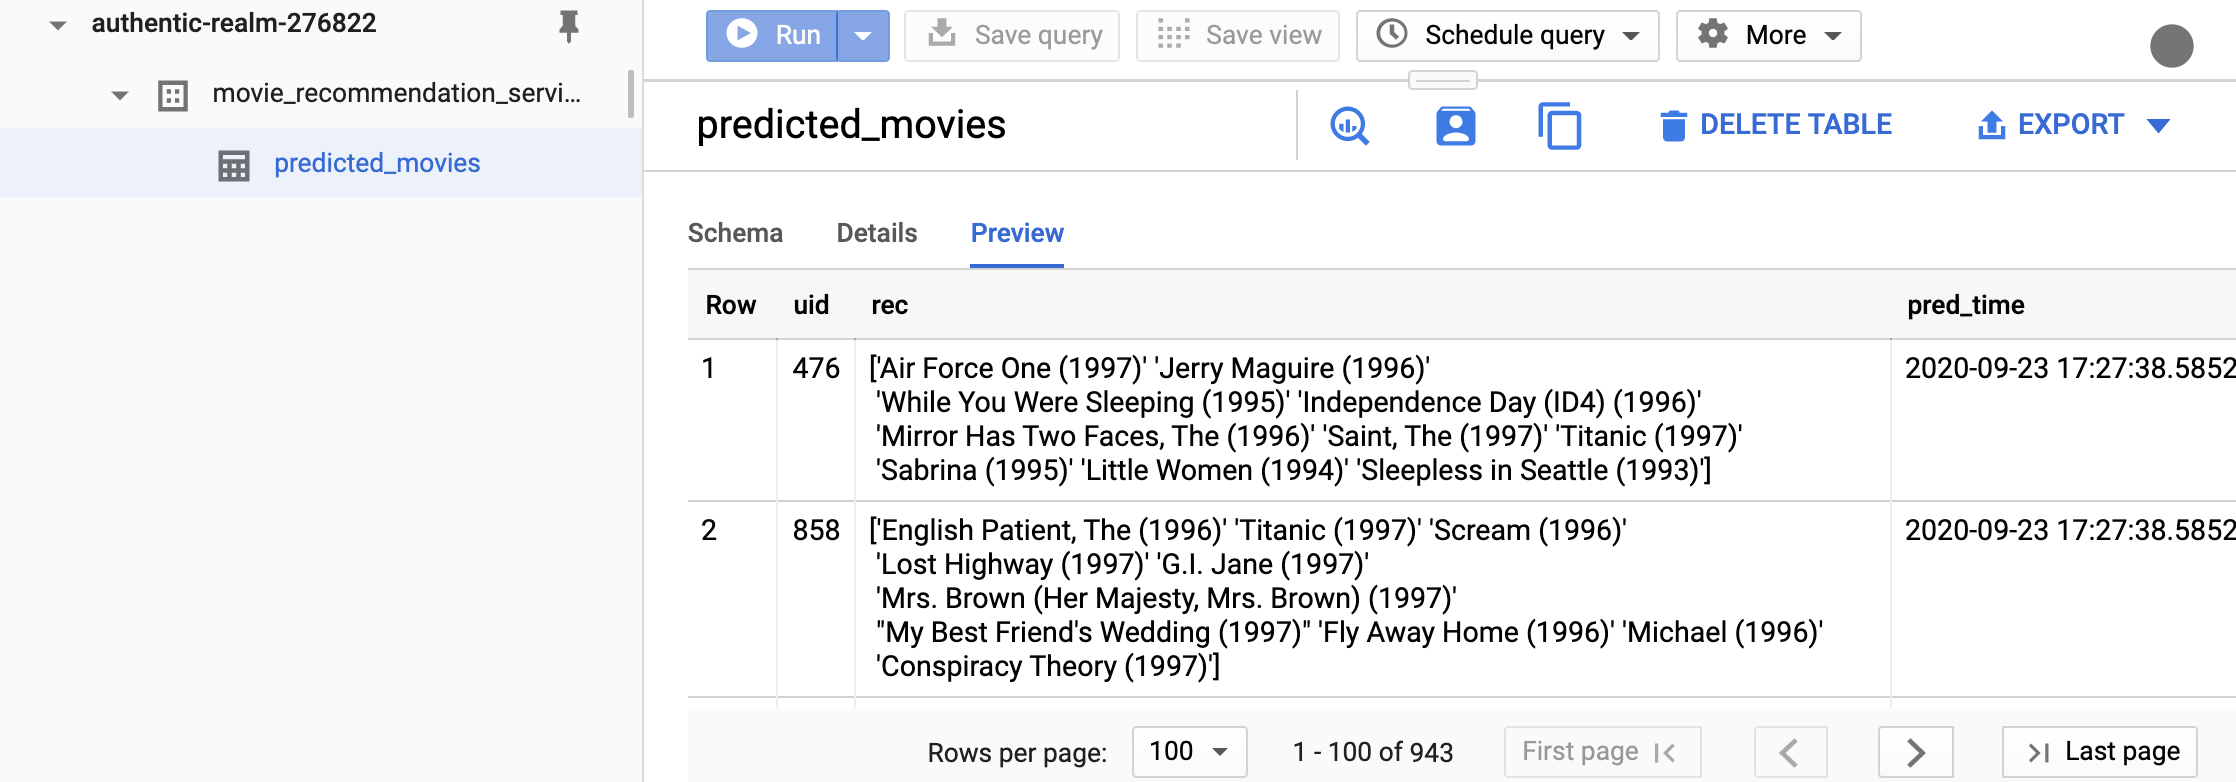
movie_recommendation_servicedatabase and then to thepredicted_moviestable. The default information is the schema.
- Changing from the scema tab to the preview tab shows that the upload was successful.
Lets rerun the notebook from the commandline. I am assuming that the
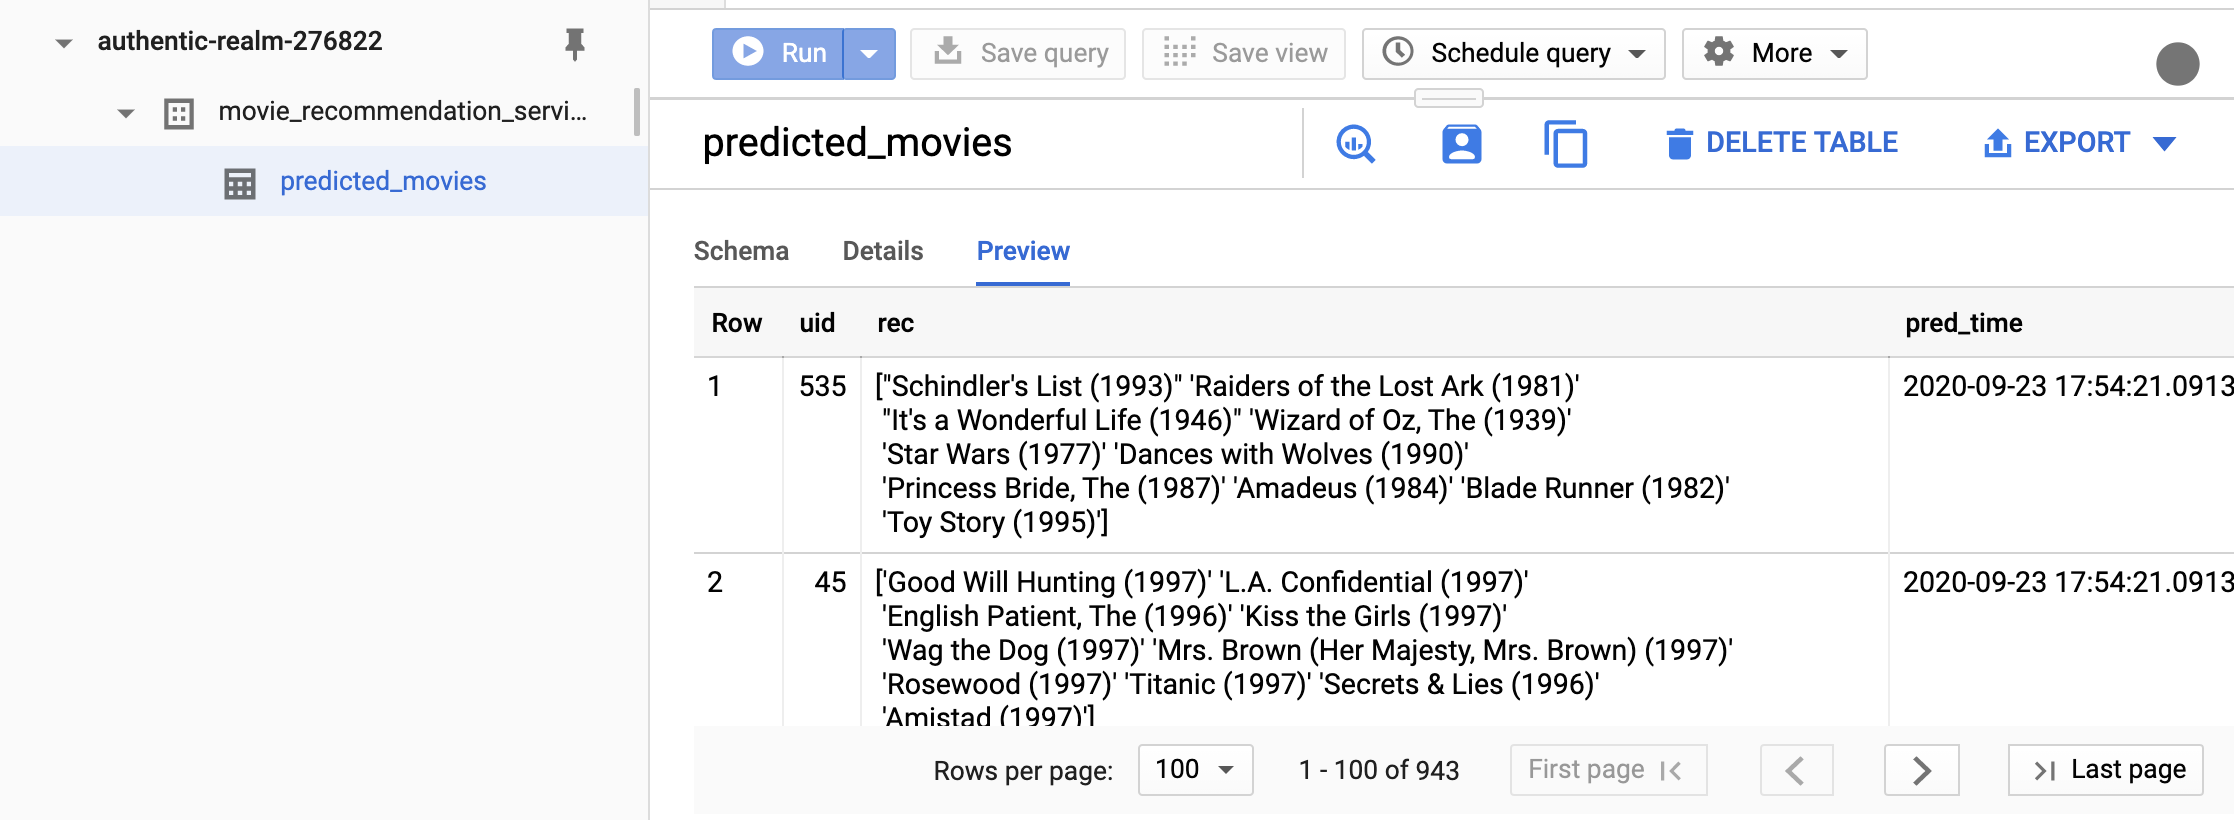
model-user.jsonis in the current directory for simplicity. This way, we don’t have to set the environment variableGOOGLE_APPLICATION_CREDENTIALS.(datasci-dev) ttmac:pipelines theja$ jupyter nbconvert --to notebook --ExecutePreprocessor.kernel_name=python3 --inplace --execute recommend_lightfm.ipynb [NbConvertApp] Converting notebook recommend_lightfm.ipynb to notebook [NbConvertApp] Executing notebook with kernel: python3 [NbConvertApp] Writing 11592 bytes to recommend_lightfm.ipynbGoing back to the BigQuery interface, the only thing that has changed is the timestamp when the predictions were generated (previewed results may not retrieve the same user-ids).
- Querying from this table can also be done from a notebook:
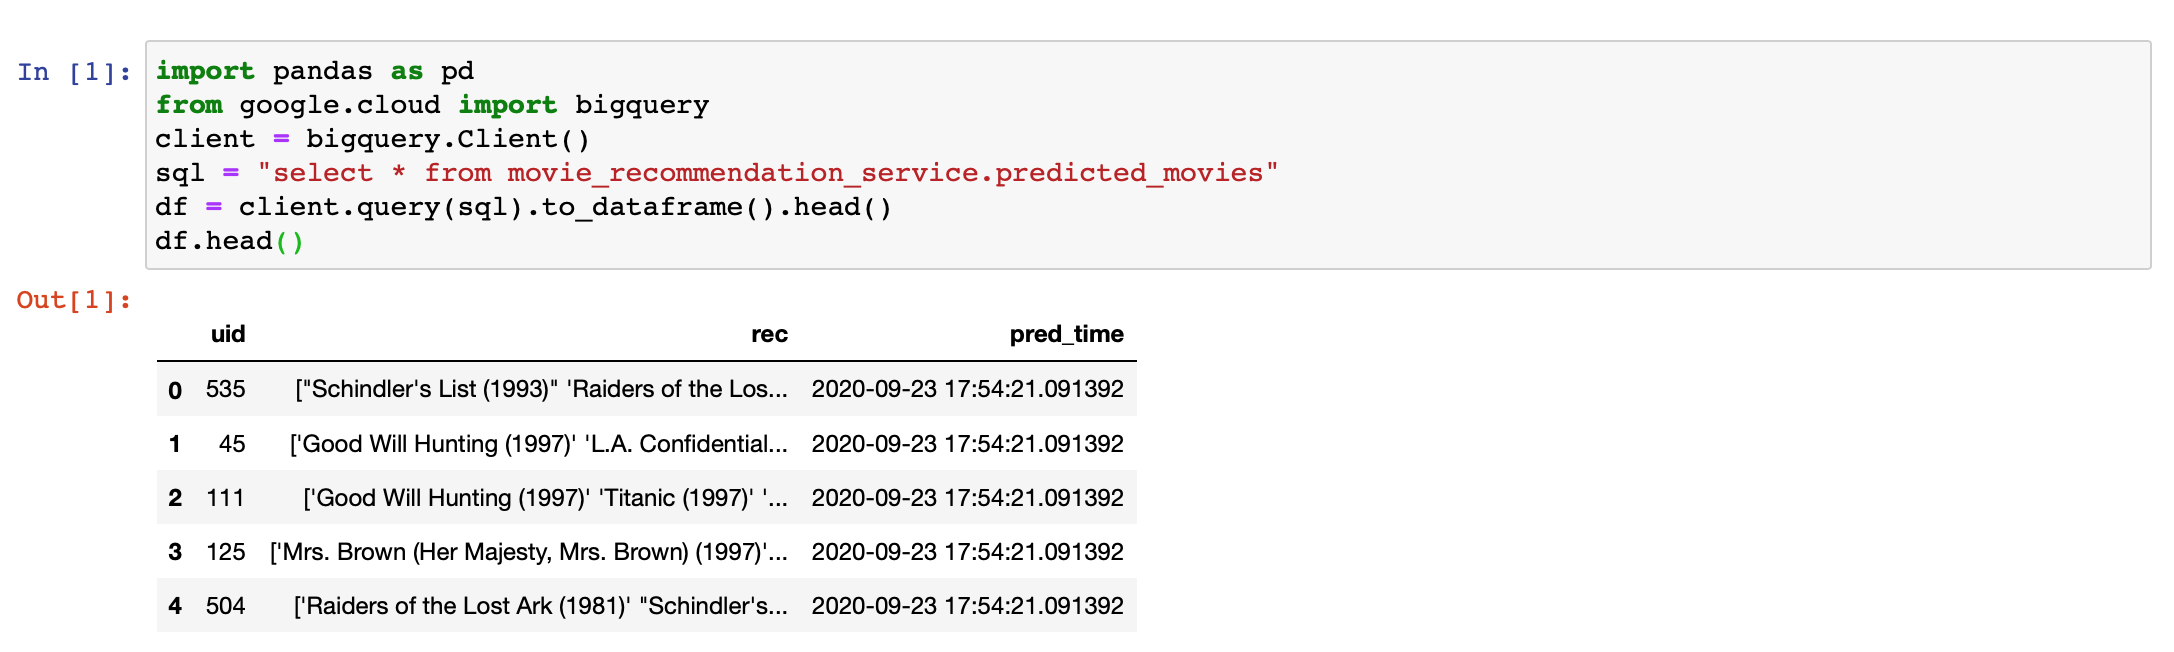
- You will notice that the format of the returned recommendations is not easy to parse. So a good exercise challenge is to use regular expressions on the output or modify the way predictions are generated (see Exercises).

Remark
While we did all four blocks in a single script, it makes sense to break it into 4 blocks (fetch data, train, predict, send predictions to database service). This, way a block can retry its execution if the previous block fails and is manually handled by a team member. In particular, this retry can be automated using scheduling tools. One such tool is
cron, which is the subject of the next section.For simplicity we will containerize the four blocks of this transient model pipeline into a single container and script (i.e., retain the above). Our next tool will allow us to run it automatically in a periodic manner.